Get rid of unfinished projects that are giving you a guilt complex!
I've on a mission to tackle some unfinished projects (AKA UFO's), and move on to new shiny objects that I'm more interested in right now. Can you relate to having partially made projects stuffed away in a closet or bin? If I was dishing out advice to a new sewing enthusiast I would encourage them to follow the rule of three. That is, “try” to have no more than three projects you are working on at once. And, if you start something, and it isn't working out, and has no chance of working out, forgive yourself for starting and not finishing, then promptly get rid of it!
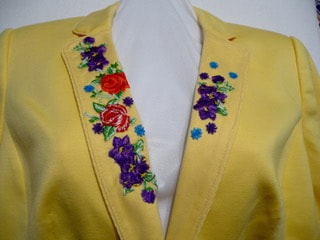
Forgive yourself you say? Yes! You see, I think sewing folks are some of the most kind hearted and generous folks in the world, but that also means we are good at piling guilt on ourselves when we perceive something is wasteful. I'm a big fan of recycling and hate to just throw things away. How to get rid of the guilt? If you can finish the item and donate it, great! Perhaps someone else will wear it or use it with joy. I remember a suit I made long ago that turned out great but just wasn't me. What was I thinking was all I could thing when I tired it on. I finished it up, promptly donated it, and always wondered who fell in love with it at the thrift shop.
Can't stand to finish up a UFO? A local thrift shop in town collects fabric scraps by the bagful. Not quite sure how they re-purpose the materials but I was told by one person that they re-cycle it, and then a clerk told me they can use it for packing material. Check your local thrift shops and ask if they take fabric remnants and scraps.
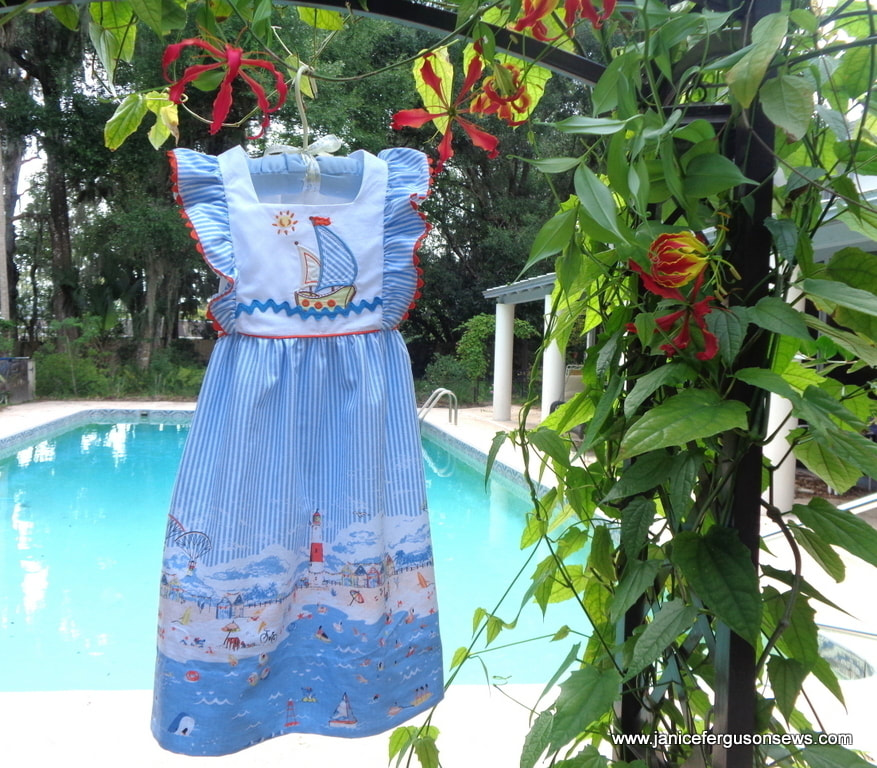
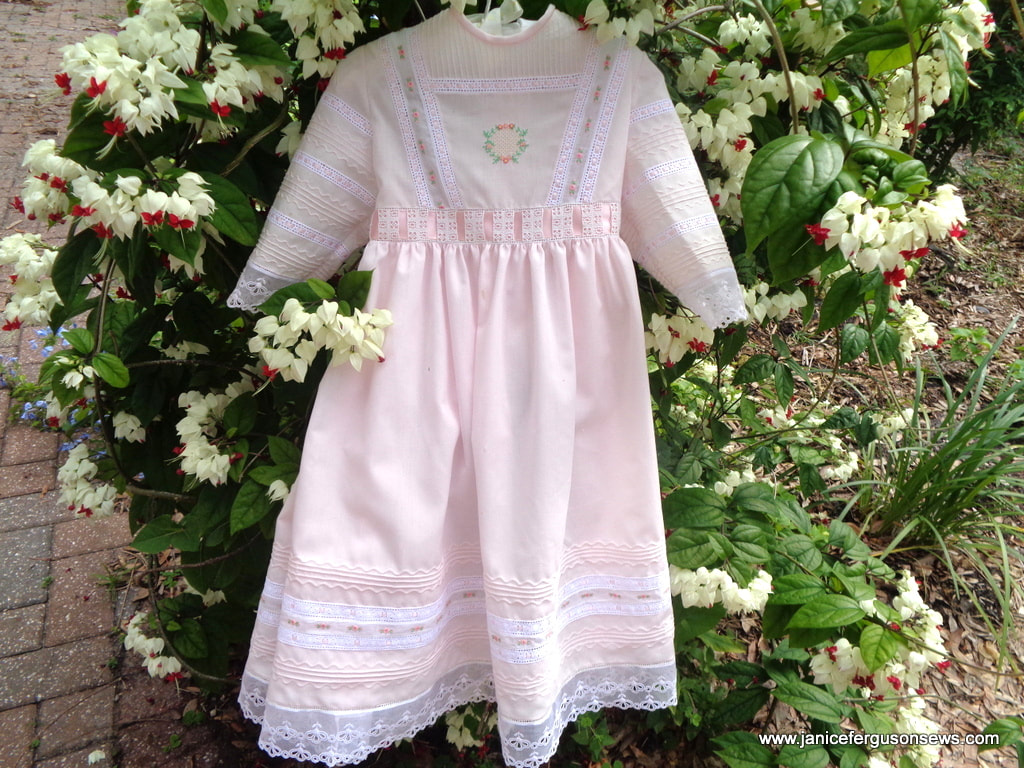
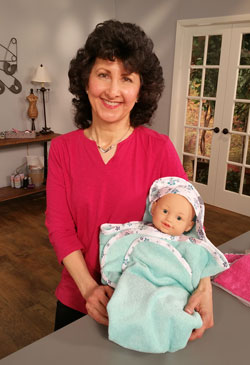
If I would have received and heeded the “rule of three” advice, I would not be in the predicament I am right now. I readily admit that I have way to many so called UFO's. I'm happy to say that I've been motivated to finish a few this week and finishing is a sure way to get rid of the guilt. I found three unfinished baby blankets stored away when I was doing lots for the Project Linus organization. While I did finish quite a few. My enthusiasm for the project meant that I cut more than I sewed. These UFO's have been hanging around for too long and weighed on my conscience. So, I finished then as quickly as I could and they are now ready for a new home where they can be used and loved. Thought I'd share a few photos with a description of each, with the hope of inspiring you.
Forgive yourself you say? Yes! You see, I think sewing folks are some of the most kind hearted and generous folks in the world, but that also means we are good at piling guilt on ourselves when we perceive something is wasteful. I'm a big fan of recycling and hate to just throw things away. How to get rid of the guilt? If you can finish the item and donate it, great! Perhaps someone else will wear it or use it with joy. I remember a suit I made long ago that turned out great but just wasn't me. What was I thinking was all I could thing when I tired it on. I finished it up, promptly donated it, and always wondered who fell in love with it at the thrift shop.
Can't stand to finish up a UFO? A local thrift shop in town collects fabric scraps by the bagful. Not quite sure how they re-purpose the materials but I was told by one person that they re-cycle it, and then a clerk told me they can use it for packing material. Check your local thrift shops and ask if they take fabric remnants and scraps.
If I would have received and heeded the “rule of three” advice, I would not be in the predicament I am right now. I readily admit that I have way to many so called UFO's. I'm happy to say that I've been motivated to finish a few this week and finishing is a sure way to get rid of the guilt. I found three unfinished baby blankets stored away when I was doing lots for the Project Linus organization. While I did finish quite a few. My enthusiasm for the project meant that I cut more than I sewed. These UFO's have been hanging around for too long and weighed on my conscience. So, I finished then as quickly as I could and they are now ready for a new home where they can be used and loved. Thought I'd share a few photos with a description of each, with the hope of inspiring you.

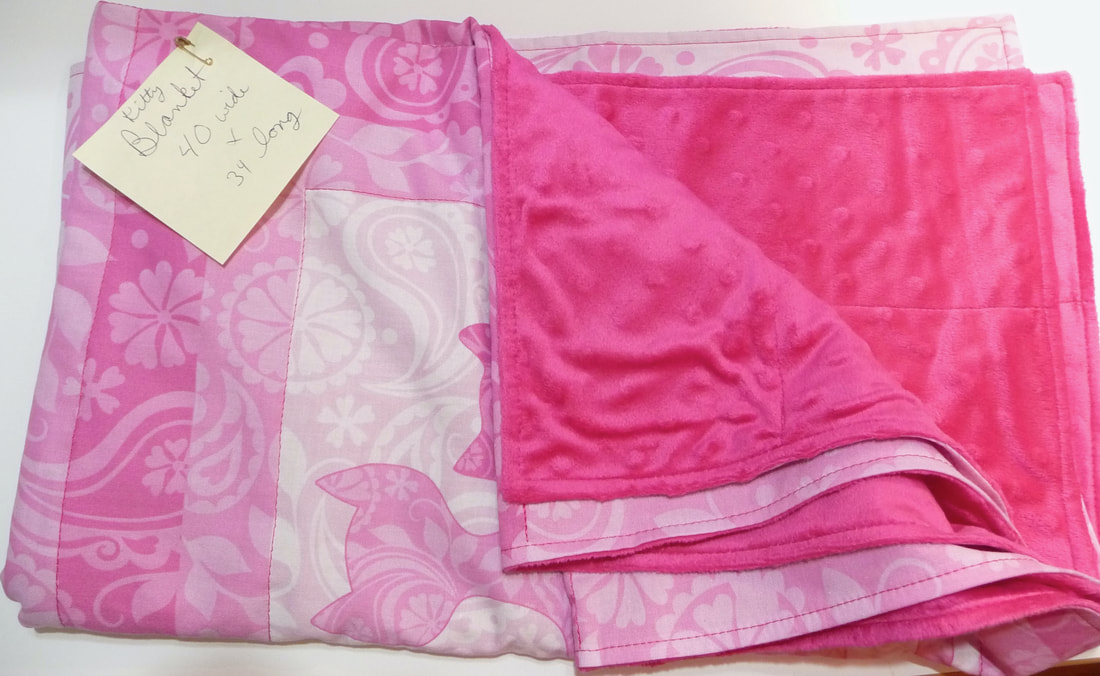
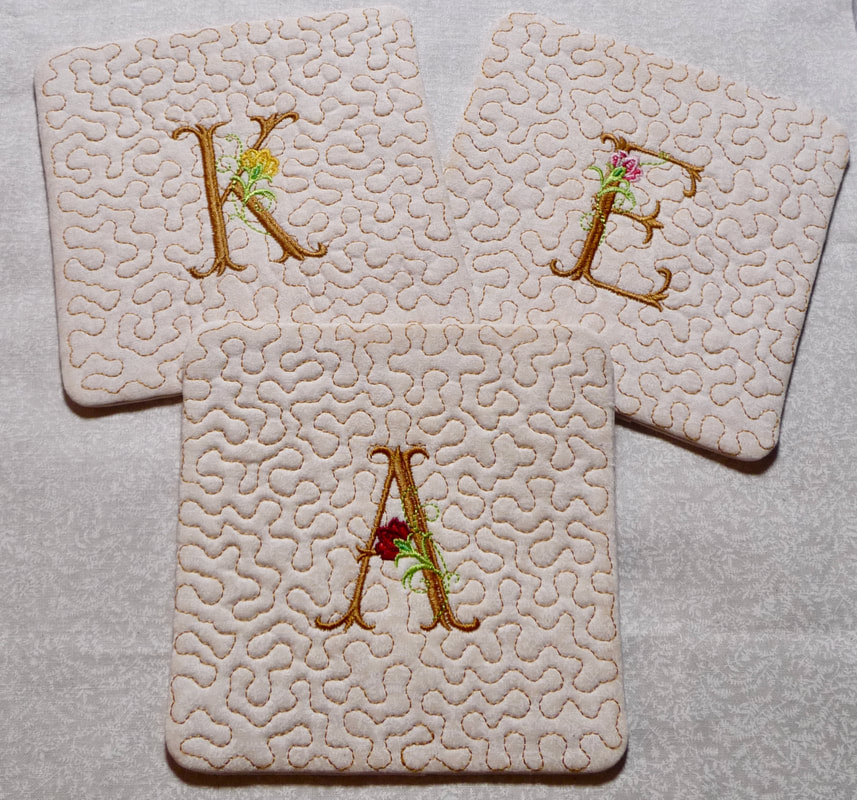
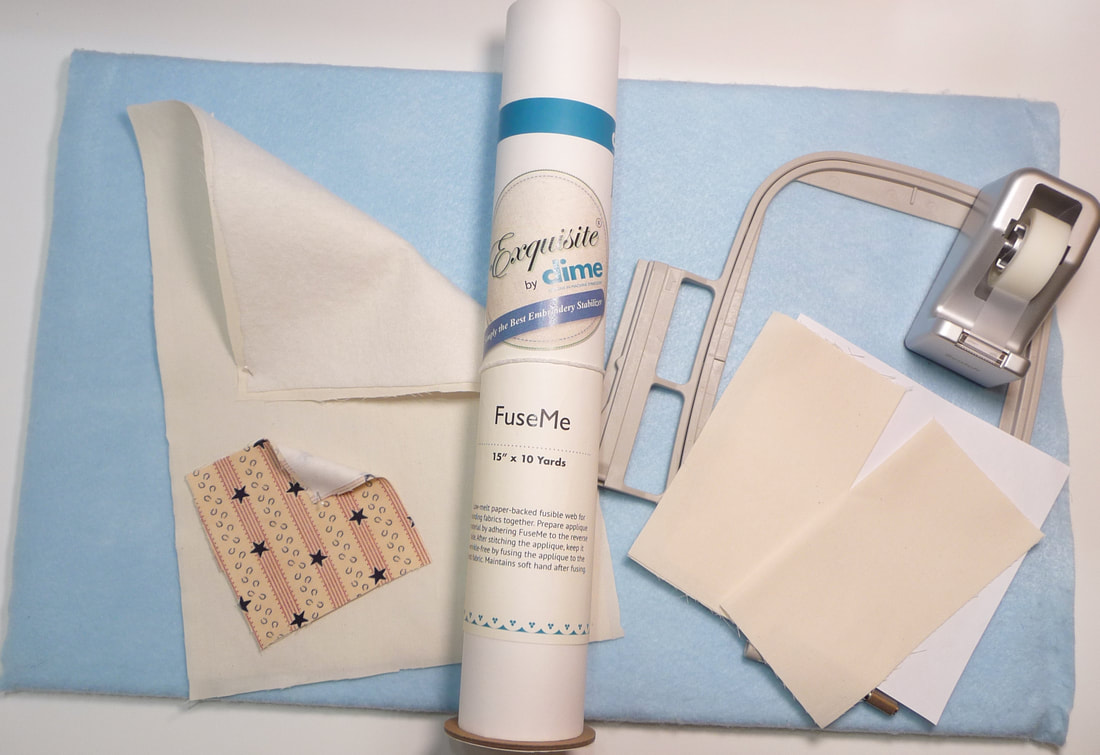
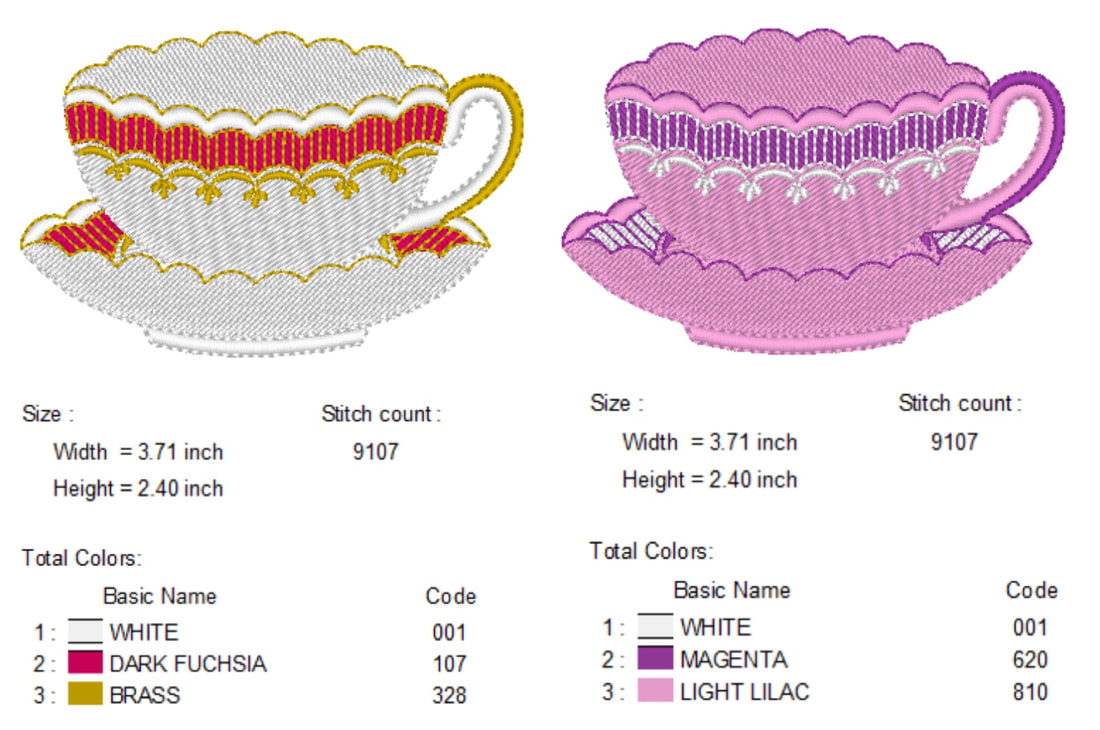
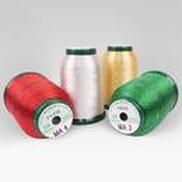
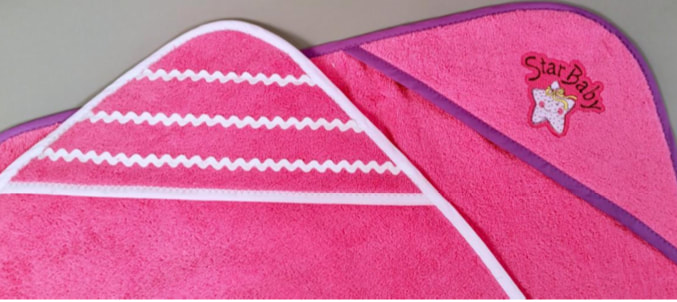
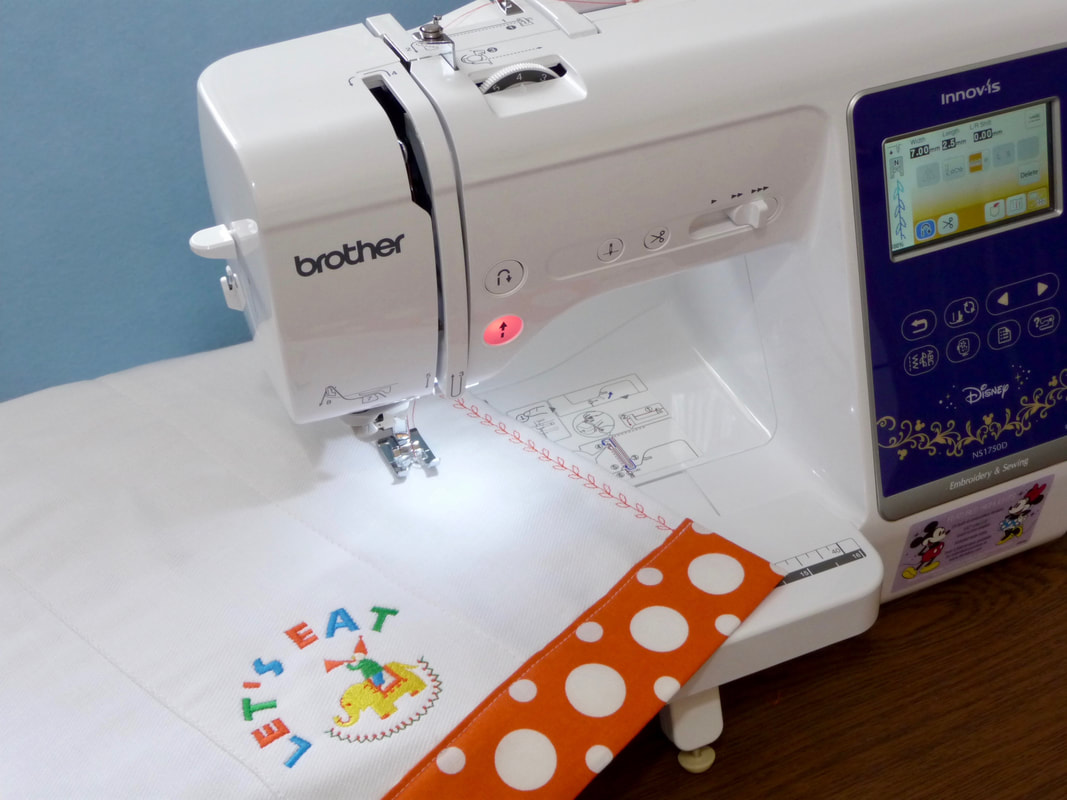
Blankie #1 is made of waffle weave cotton knit. This is the same kind of fabric that used to be common for long underwear. Somewhere in my past, I came across this pretty purplish/pink yardage. I thought it would be a soft and cozy blanket, but it did prove to be a little difficult to handle as it's very stretchy. I stabilized the embroidered area with medium weight cut-away attached with adhesive spray, and embroidered this cute applique from who knows where. Yes, that part was done many moons ago but came out quite nice. I had two identically sized pieces of the fabric all cut and layered together so I simply sewed right sides together leaving an opening, turned, pressed, and topstitched along the edge with a two step zig zag stitch. I knew the fabric would be hard to keep flat. The zigzag actually made it wave a bit on purpose and gave it a cute and durable finish, with opening closed up with the topstitching. Lining the entire piece gave the blanket extra body and covered up all the "uglies" from the backside of the embroidery.
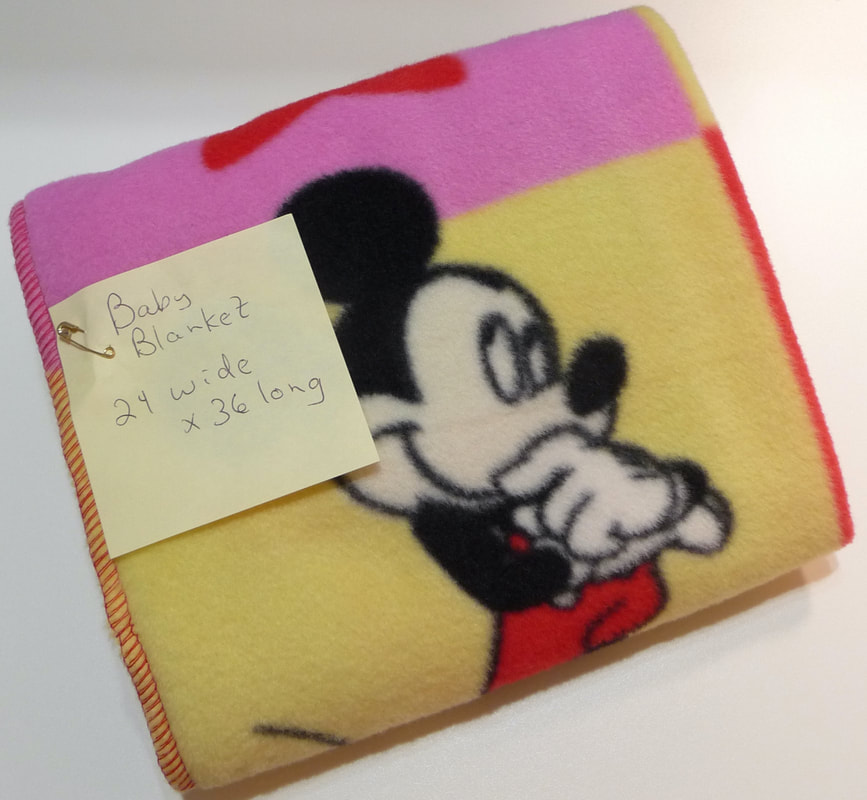
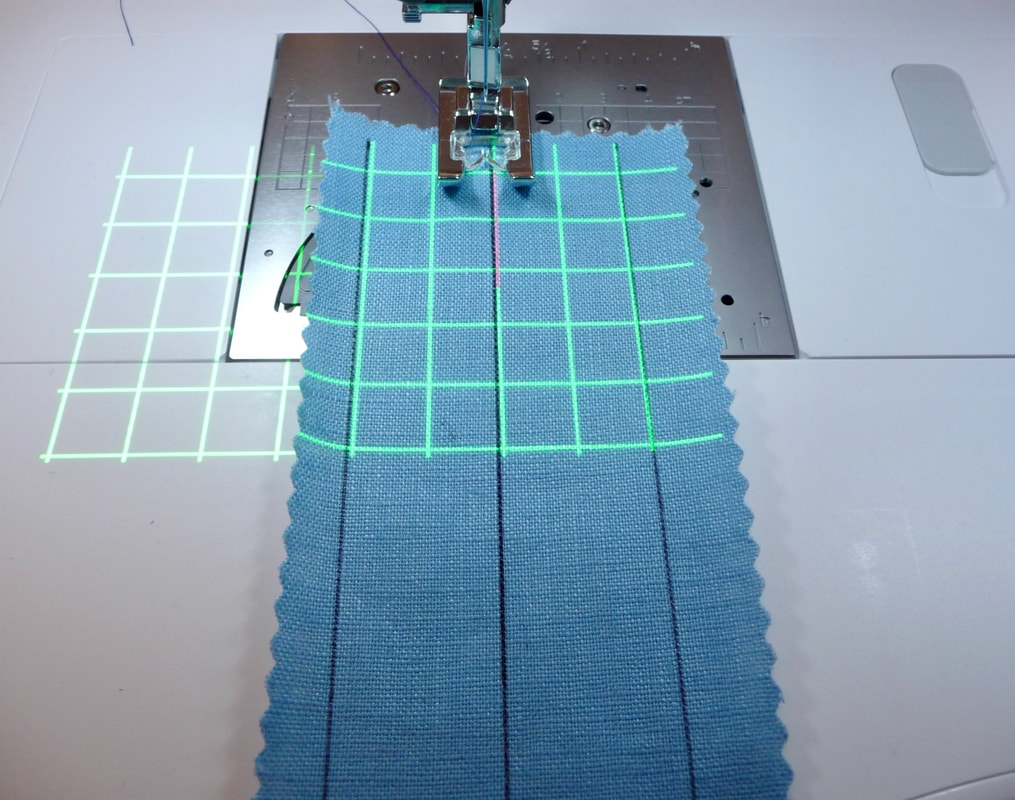
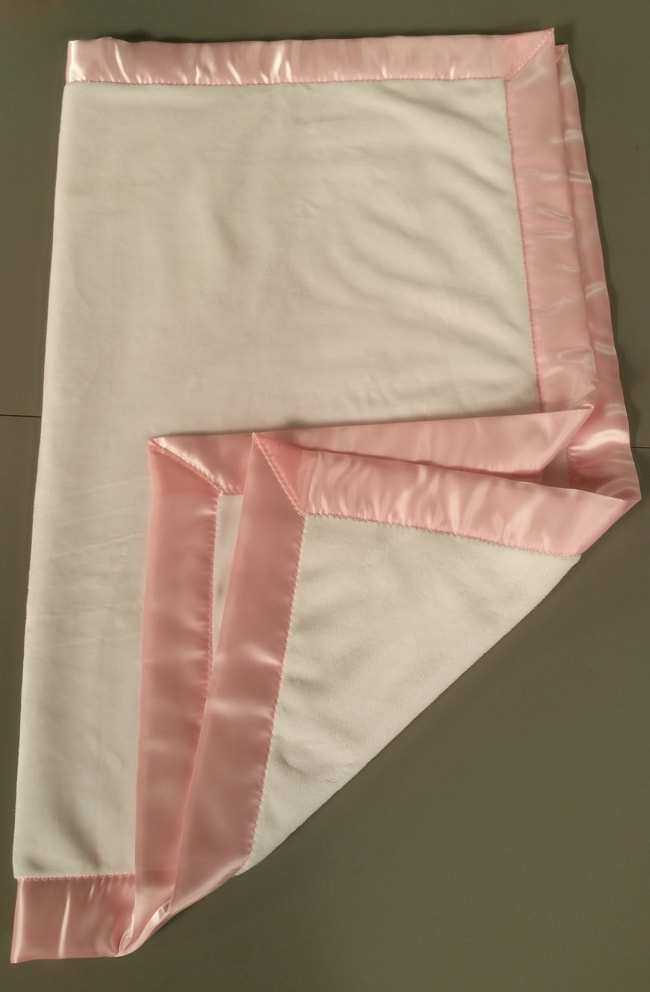
Blankie #2 was a result of my desire to pair a cotton fabric panel with a backing cut from Minky. I remember wanting to try quilting the layers using the Brother Digital Dual Feed foot as it seemed perfect for the task. Indeed, it was! I sewed, turned, and topstitched the two pieces like I did for the previous blanket, this time, using the Dual Feed foot to control the unusual combination of fabrics. Then I quilted it, using a 3.5 straight stitch, stitching down the horizontal and vertical centers and then stitching more lines around the pre-printed blocks. The result was nice smooth Minky backing with virtually no ripples.
My third and final blankie was just a small pice of unfinished fleece. But oh my! What a cute print! To get this one done in a flash I threaded my serger for a three thread balanced stitch and zipped all around the edge, finishing in less than five minutes! By the way, if you're looking for more fleece finishing ideas I have a Five Ways to Finish Fleece tip sheet HERE.
I'm so happy to see these finished and ready to go to a good home! I'm even happier that a friend of mine who specializes in sewing for charity will see that they are taken to a local hospital that welcomes the donations.
Hope you enjoyed reading about the blankets. Please share your UFO stories an ideas you have for getting rid of the guilt!


 RSS Feed