It all starts with two fabric circles. Perhaps you already have a tool for marking and cutting circles. Scrounging around, I found that I have at least three that are similar or identical to the ones I've linked below. Each one has their own advantage. Check with your sewing supply store to see if they have something to offer as well. Here are a few possible tools to consider:
Olfa Circle Cutter - Easy to use. Circle size is limited to about 8-inches for this tool.
Roll-N-Ruler at Menards - Another gadget that would have earned the seal of approval from my 10th grade geometry teacher, you may find this in more than one size.
Do a search for a Circle Beam Compass and you'll find multiple sources. I even found one at Home Depot. This type of tool attaches to a rod or a yardstick, allowing you to make super sized circles.
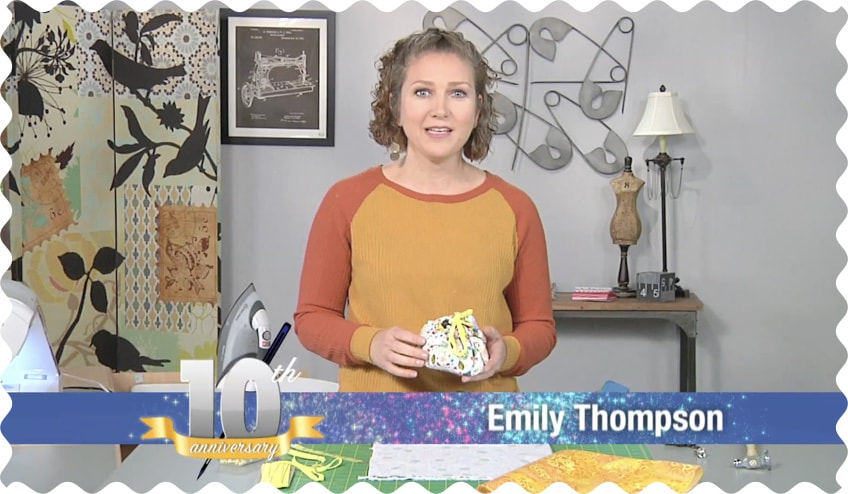
You’ll find Emily’s caryall instructions when you CLICK HERE.
Note: We're not talking about a circular sewing attachment here. That is a horse of a different color. However, I do have a post dedicated to information about using a circular sewing attachment. CLICK HERE to read my blog post on the topic and you'll find a video there as well.
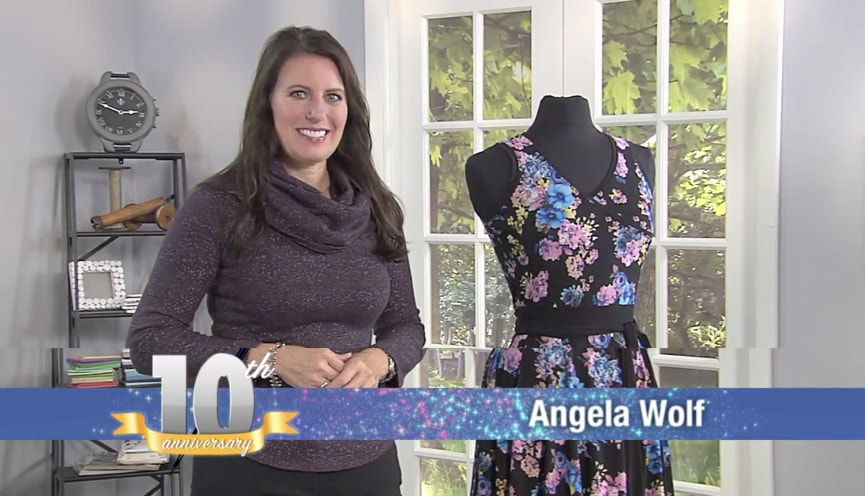
She shows how to finish both of the bodice pieces with a self-fabric binding on the sewing machine and on the Brother Cover Hem machine. You can do this with a matching or contrasting fabric. Her nifty trick for finishing the cover hem thread tails at the end of the seam is one you’ll use again and again.
Speaking of nifty tricks, sewing with knits can be daunting for some. If you'd like more info, I’ve got a couple tips sheets that you may enjoy. CLICK HERE for tips for Slinky Type Knits. CLICK HERE for my Knit Know How tip sheet.
Visit www.itsseweasytv.com to watch show 1906. It currently airs until Noon EST on October 30th.


 RSS Feed