Here are some practical tips:
- Find a pair of jeans with only one flat felled seam. Most jeans have a standard seam on one side of the leg. This standard seam is easily opened with a seam ripper.
- Open the seam beginning a couple inches from the hem and go all the way up to the top of the thigh, giving yourself plenty of room to spread the leg flat. Note: If your jeans are really narrow you'll need to open them all the way through to the hem, which means you'll have to re-hem them as well. Since the original hem on jeans is hard to match you'll likely be forced to re-hem both legs. With this in mind you may want to opt for jeans with larger rather than smaller legs.
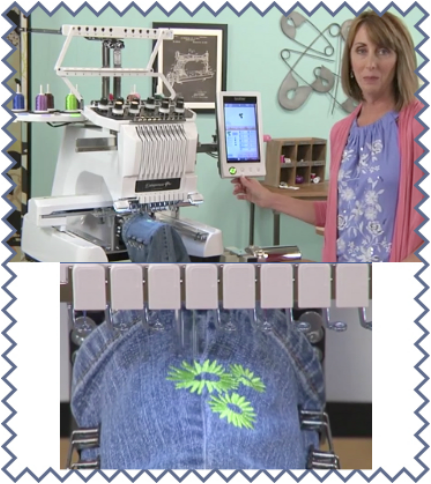
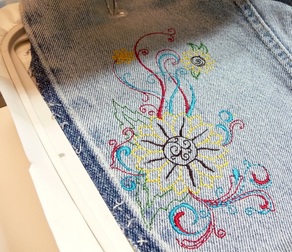
- Next, select your design. Hoop your first section of the leg. Using a template helps greatly with positioning.
- If you have difficulty hooping the fabric, use a piece of sticky stabilizer, either wash away or tear away, to hold the fabric in place. Regular hooping can be tricky depending on the leg size and the location of the opposite, thick seam. Sticky stabilizer makes this easy. I prefer wash away because it is completely removable. However, tear away is more economical. Stick the portion you want to embroider to the stabilizer and stitch away, starting with a fresh sticky sheet for each additional hooping. Add additional stabilizer if necessary.
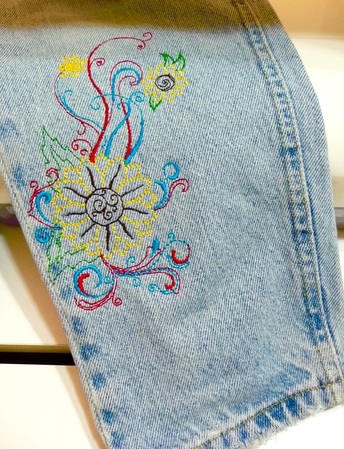
- Continue to re-hoop as necessary to add more designs. If you stitch on both the front and back leg, stitching close to the seam, it will look like one continuous design once the seam is re-sewn. Be careful each time to keep the fabric smooth so it is not caught on the underside of the hoop.
- When finished, re-sew the leg closed and finish off the seam allowance with a basic overcast stitch.

CLICK HERE for my previous, detailed review of show #813, with pattern tips and ideas for making your own peasant style "boho" blouse. CLICK HERE to watch It's Sew Easy Episode 813 until Friday September 25th.
 RSS Feed