Annie Unrein of byannie.com was a recent guest on my show titled Tea & Tutorials.

This once-a-month live show is loosely based on the idea of sipping some tea (or your beverage of choice), while learning some new sewing, embroidery, quilting, or crafting techniques.
On the show broadcast live on January 26, 2024, Annie showed how to make her Time for Tea cozy using her pattern of the same name. Since this cozy can be made so many ways by embellishing the fabric before cutting, I wanted to share some ideas for custom quilting fabric on both the embroidery and sewing side of the machine. There’s something for everyone here, no matter your machine make or model. However, as a Brother Ambassador, I use their products and machines, so you’ll see specifics from my personal toolbox of sewing machines and accessories.
CLICK HERE to watch the video replay for the the whole show. I came up with six ways to custom quilt fabric, three with embroidery and three with simple sewing methods. This Part One post covers three methods with embroidery. My follow up post will cover three methods for sewing options.
Note: Each of the samples shown here consist of a quilt sandwich made with cotton fabric on the top and bottom and byAnnie Soft & Stable in place of batting.
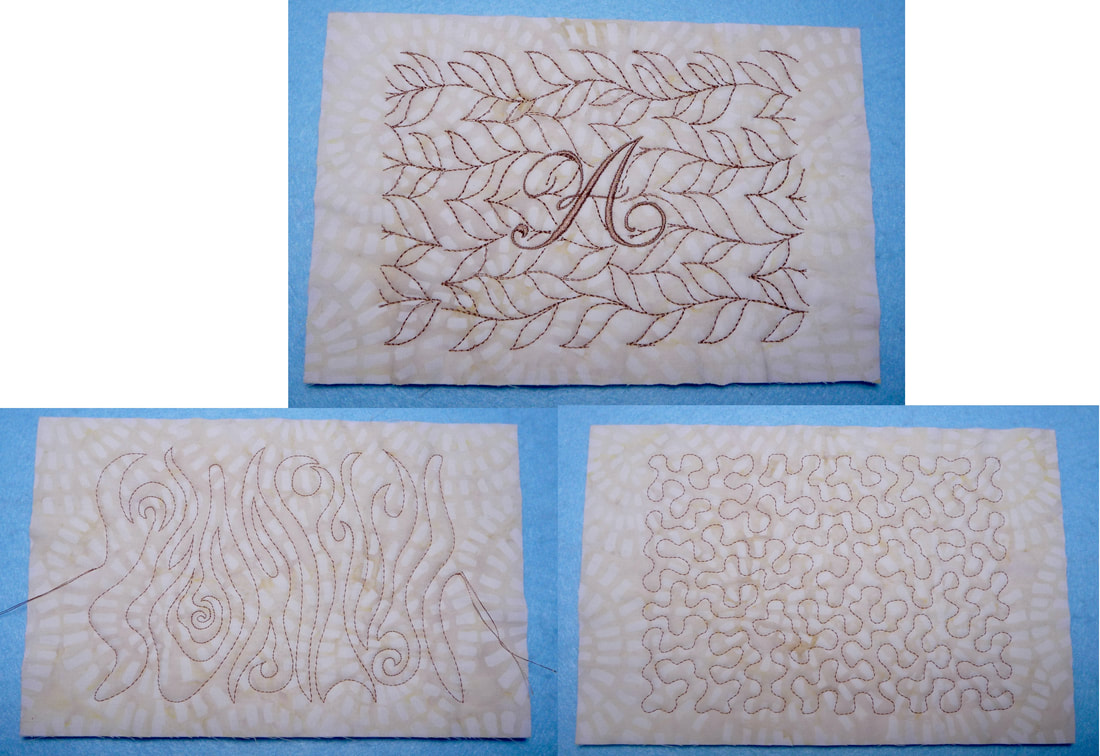
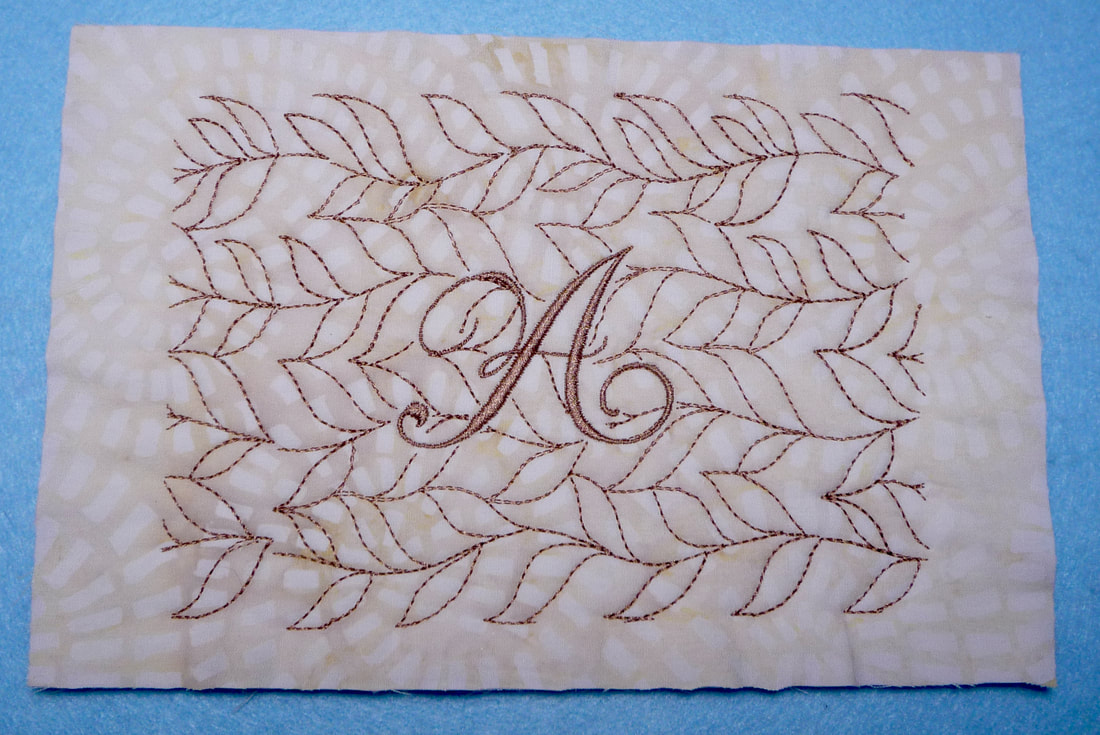
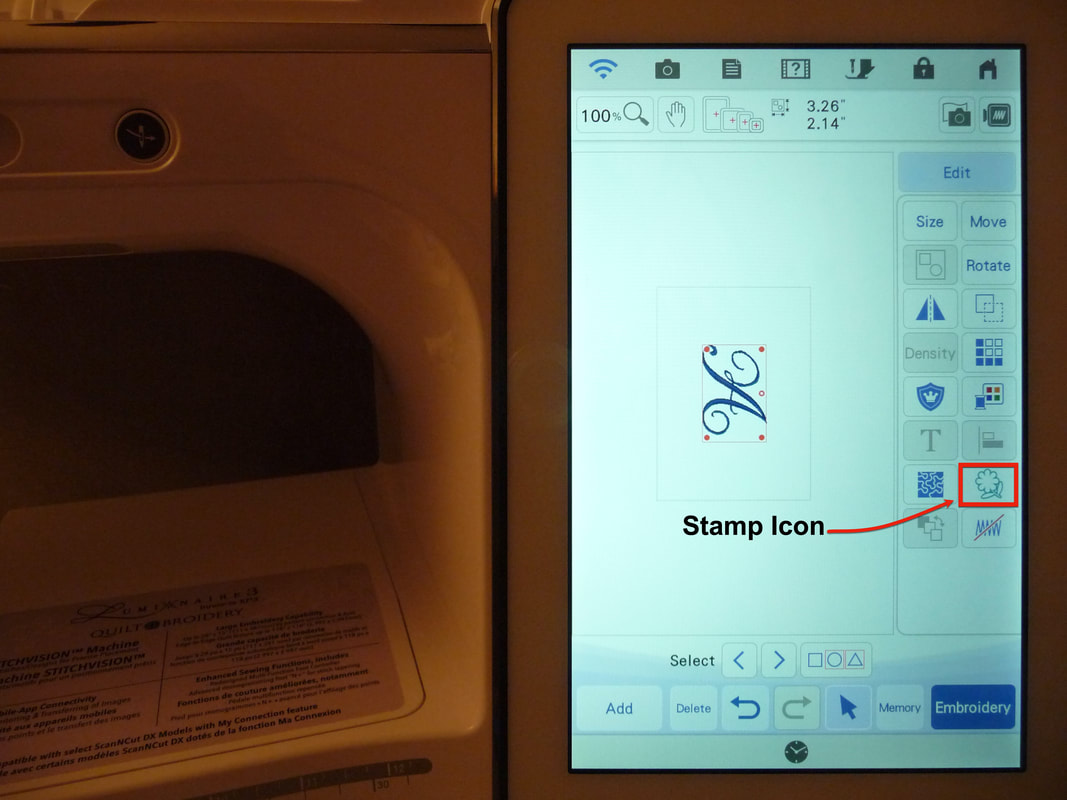
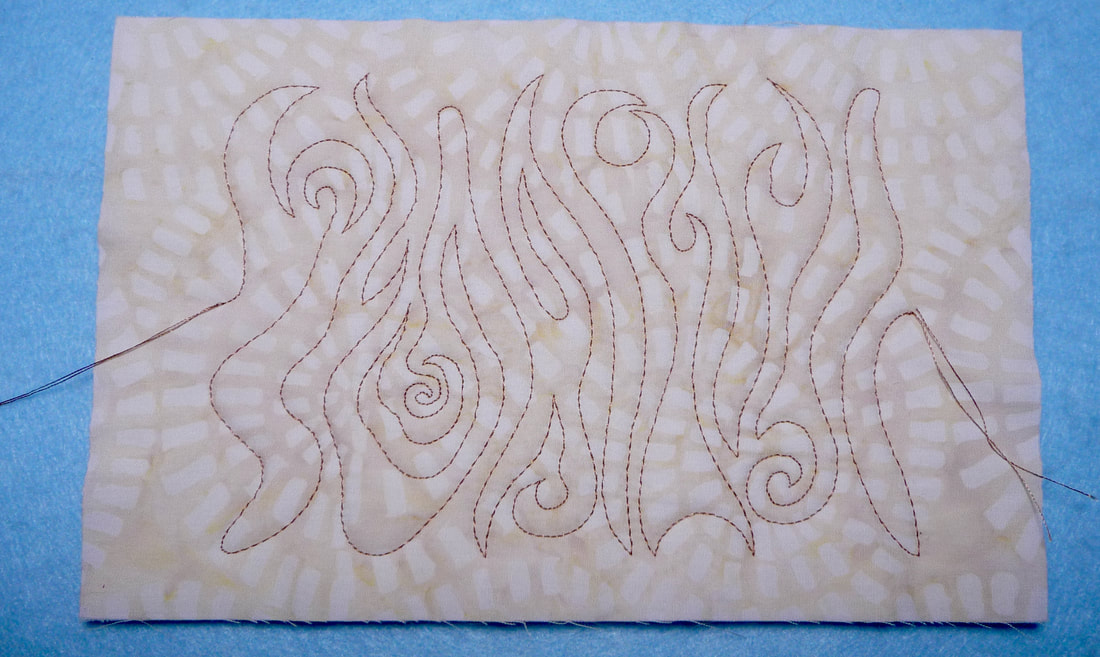
Embroidered Quilting Option #1: Use the Stamp feature along with My Design Center to quilt around an embroidery motif.
My Design Center is design creation software built-in to the machine. You may have a machine that class this feature by another name. As a Brother ambassador, I’m showing sample steps on a Brother Luminaire 3. If you have icon on your machine that matches the one below, then you do have the stamp feature.
Note that I used a 5” X 7” hoop for all my samples, but you can certainly use larger hoops to stitch larger blocks of quilting or stitch multiple hoopings to create fabric large enough to cut out your pattern pieces for a tea cozy or any other project you can dream up.
Rather than past in a multitude of pictures, I've created a ten minute video showing you how I created the custom quilting for Option #1.
Rather than past in a multitude of pictures, I've created a ten minute video showing you how I created the custom quilting for Option #1.
Embroidered Quilting Option #2: Use an edge-to-edge quilting pattern.
Featured design from Designs by JuJu
Many might be familiar with the technique called end-to-end quilting, edge-to-edge quilting or E2E for short. If you have an embroidery machine you can do this technique using a hoop size from 4” X 4” and up! I’ll just explain it briefly here but watch for more on this topic in the future.
You'll find an excellent video about edge to edge quilting by my friend Eileen Roche from Designs in Machine Embroidery HERE.
Embroidery designs specifically made for edge-to-edge quilting have a beginning and ending point designed to match up when you do continuous embroidery by moving the hoop and stitching one section at a time. By properly linking the designs together, the resulting quilted piece looks like it was stitched either by an extremely proficient free motion stitcher, or done with a long arm with automated stitching. If neither of those categories fit you and you have an embroidery machine, a bit of patience and a willingness to learn a new technique, then you’ll find E2E quilting on your embroidery machine a fabulous way to get a similar look.
Just a note, one difference you’ll find when quilting E2E in a hoop is the fact that the back side shows more knots due to the fact that the machine must tie off at the beginning and end of the design. Many folks are only interested in the view from the top and aren’t concerned with the backside.
However, if you want your bottom to look neater you can turn off your jump thread cutting feature and start by advancing the design to the first stitch, sending the needle down and up and pulling on the top thread tail so the bobbin thread is yanked to the topside. At this point, you can tie the threads manually or with your machine auto tie, tape threads out of the way until the design is finished, and then feed them between your fabric layer to bury then when design is complete. You can also leave thread tails at the end of your design so those can be anchored and buried as well.
E2E Quilting is a hot topic these days and a great way to quilt small, medium, and even some larger quilt projects.
Embroidered Quilting Method #3: Select a stipple fill design, either by purchasing one, creating your own in your machine, or creating one in software.
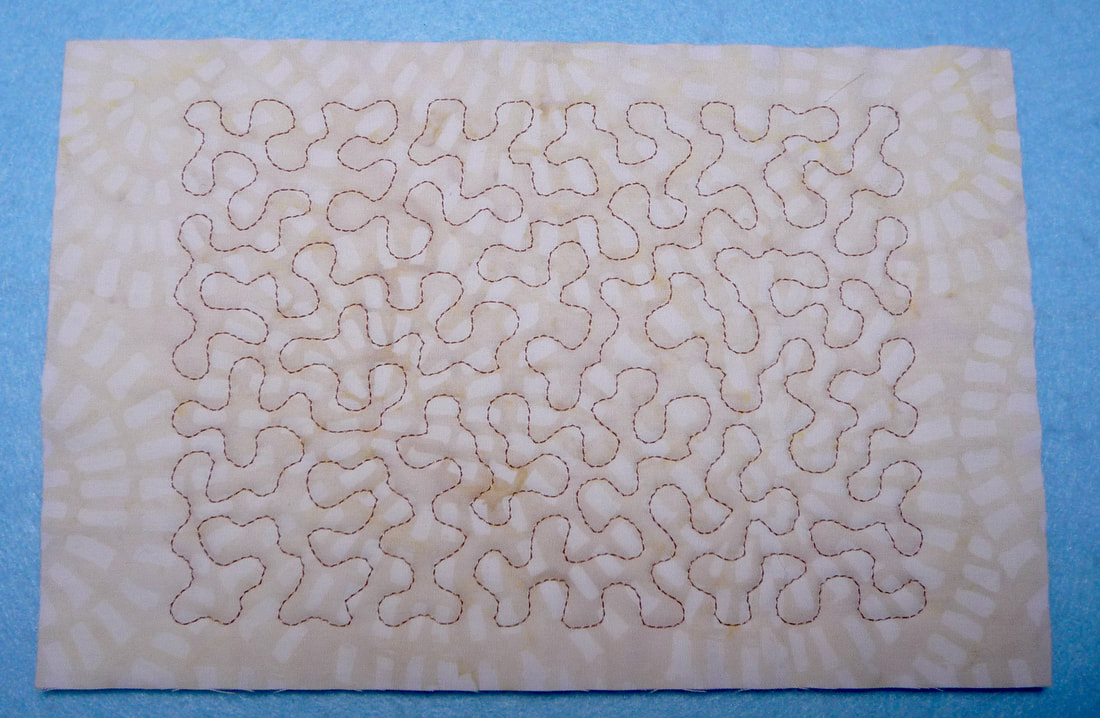
I love a stipple design that is filled in completely without any connecting point because they are easy to match up, simply stitch one block next to another, both horizontally and vertically and you won't notice when one block begins and another one ends. Designs by JuJu as well as other embroidery design companies sell stipple fill embroidery designs in a variety of sizes.
I hope you enjoyed exploring a few ways to add custom quilting on the embroidery side of your machine! Leave any comments or questions you have for me below.
I hope you enjoyed exploring a few ways to add custom quilting on the embroidery side of your machine! Leave any comments or questions you have for me below.

 RSS Feed