eHave you started to sort? In my Step One blog post I presented my streamlined method for clearing your creative clutter by creating a simple system and sorting everything you have to deal with into categories and containers. You can read Step One HERE.
Step Two is sorting & dealing with the DELETE container.
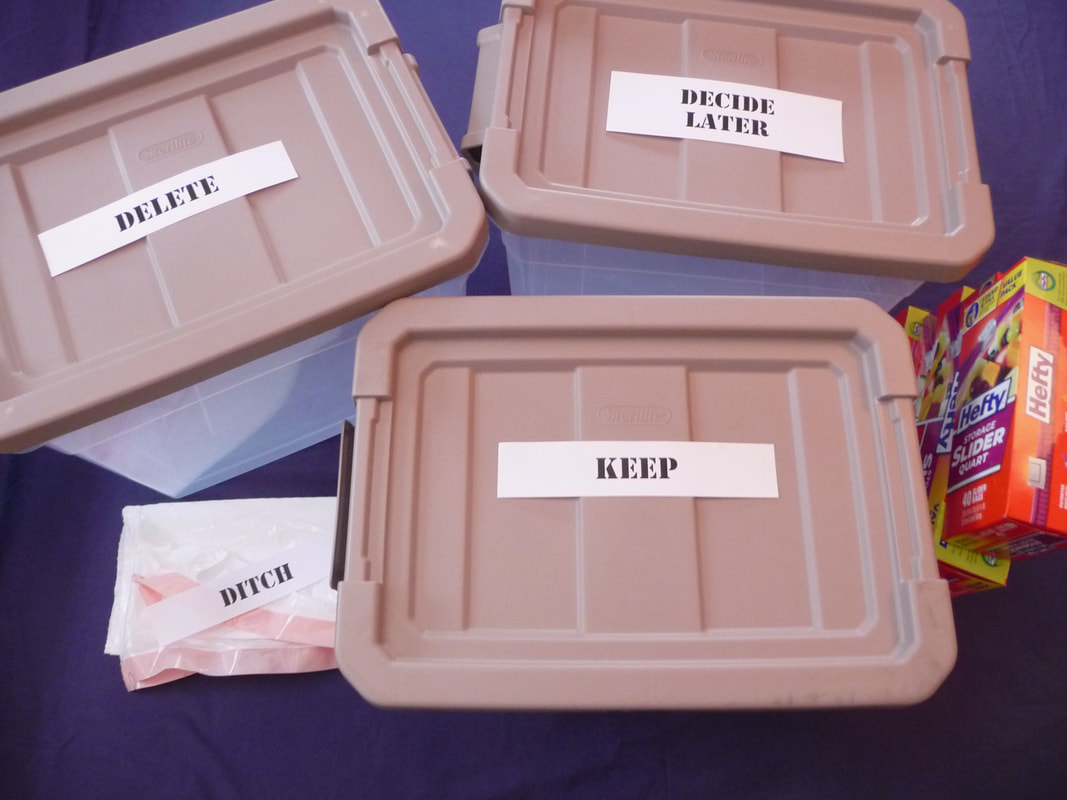
By way of review, You'll need containers for three main categories: KEEP, DELETE, DECIDE LATER & DITCH.
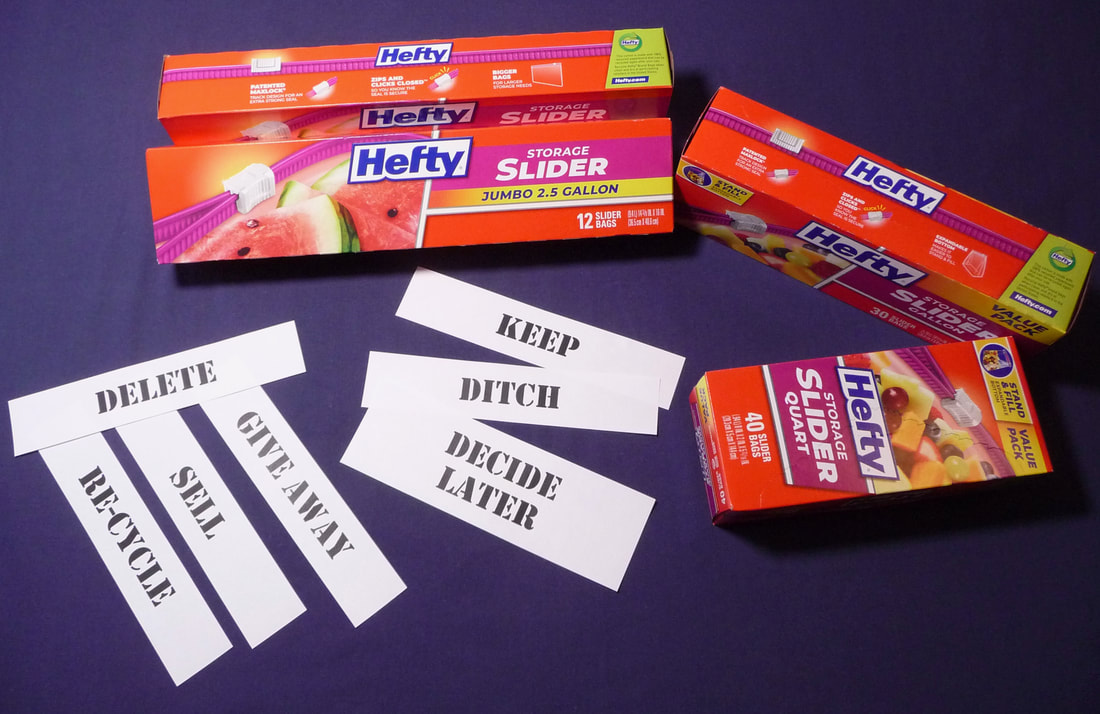
I talked about three additional subcategories for Delete items, Give Away, Sell, & Re-cycle. You'll find resources for this category at the end of this post. In the comments section I would also love to hear your suggestions for everything you need to delete. At this point, I'm prioritizing the DELETE items.
In part one I suggested a dedicated space to sort and store as you go along. If you have the time, energy and inclination to do all your sorting at once, great! I have too many weekly deadlines and commitments to shut down my sewing space for any length of time so it's a start and stop process for me. I promise to keep sharing progress along with tips for making your sewing space a happy place. We may or may not be sorting at the same pace but rest assured, I'll continue to share ideas for storage and organization.
For now, let's explore the process of sorting a little further. Items in the KEEP and DECIDE LATER containers will need a future home. Therefore, as you are compiling these items, you'll want to consider where and how you'll store them.
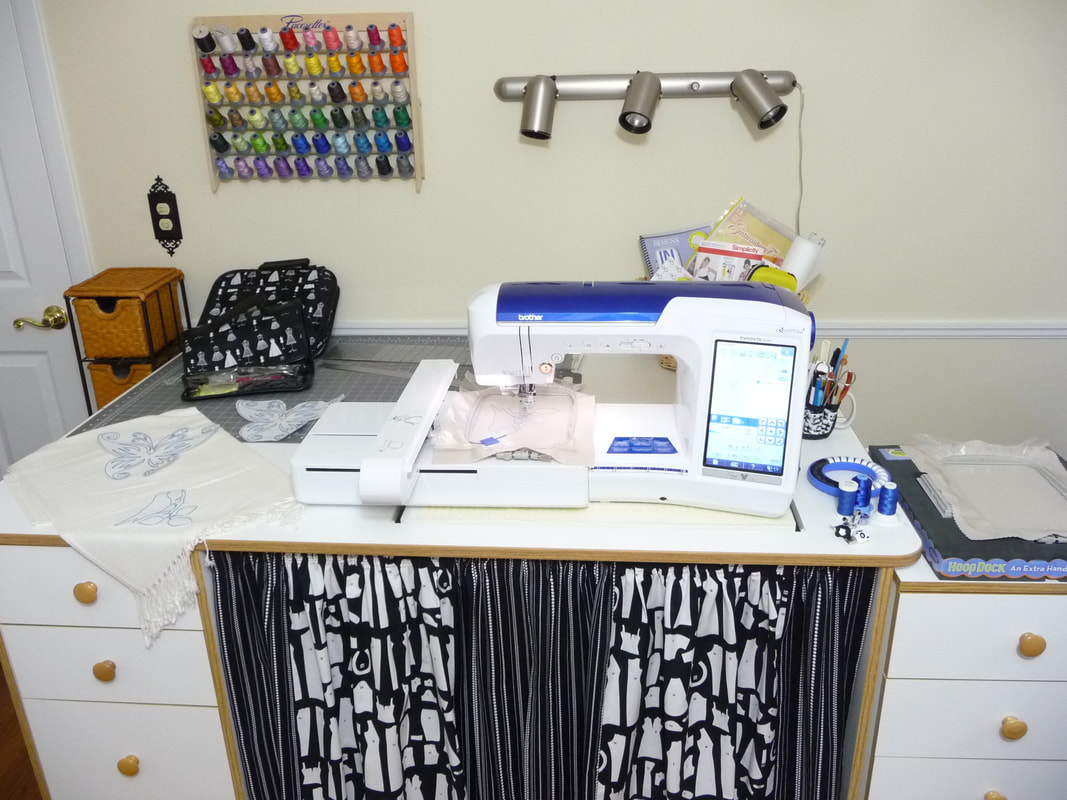
If you're fortunate enough to have a space where all your creative possessions, materials, tools, & supplies can be compiled in one place you are fortunate indeed! Many of us, me included, will have to split things up, with a designated main creative space, and a dedicated storage area for organizing whatever else you have. My main space is a spare bedroom. It is by no means large, but I'm maximizing the use of the closet with a closet organizer and a few other items to make the most of the space. Basement storage will be for additional inventory and most of my fabric stash. I also have tons of samples from past projects and various pieces I use for teaching materials that I must keep. Trust me, the life of a sewing educator is one of accumulation! I am paring down this "keep" category too, being realistic about what I may need for the future. Unless you are in the same boat as me you won't have to deal with this category.
Back to sorting . . . As you sort, you simply must consider the future home for everything you're desiring to keep. You have to ask yourself, where will it go and will it fit? This is widely known as "the container concept" or "boundary method." Summarized like this, if it does't fit, you must get rid of it, OR get rid of something else so there is room for it to fit.
No judgement here, but many of us have more than we can ever use so DELETE will have to be a part of the process. I promise the philosophical and psychological aspect of this series will be minimal as my main goal is just to get it done. However, unless you're able to increase your available space, you will likely have to take on the mantra "keep the best and get rid of the rest."
Now, what to do with whatever you need to delete, defined in the first post as the following: Delete: Give away or get rid of by re-cycling or re-selling.
Let's start with possibilities for re-selling items. A popular Facebook group run by Jaime Ruckle is called SewItsForSale. It's a private group you'll need to join for access. Since it's full of sewing enthusiasts you are reaching what's called a target market. I encourage you to check it out HERE. A quick search for Selling Sewing Supplies on Facebook brought up several more options. Do a search for yourself and see what you find.
A new to me commission based resource for selling sewing and craft items is called DESTASHIFY. You can read their FAQ's HERE. I've heard good reports on this site and I just set up an account to sell off some really good stuff. Note that you can also Donate items and the process looks pretty easy. Watch for an update in future posts.
By the way, both SewItsForSale and Destashify can be a resource for purchasing items as well. I know!!! This is supposed to be all about decluttering but hey, you know what they say . . . De-stash to re-stash LOL!
Facebook marketplace is another re-sale option. Then there's Next Door, a local neighborhood re-selling marketplace. Good old ebay has been around for a while and may be another good option for you. When it comes to selling on ebay I would first search for similar items that have sold in the past. This will give you an idea of whether or not your item has a good chance for re-sale.
Last, but not least, if you have a group of like minded de-cluttering sewing friends, you may want to consider putting together your own Fabric & More Flea market. Find a place where your can invite others to set up and rent tables for a reasonable fee, establish some rules, set a date, and advertise to everyone you can think of, including local quilt and sewing guilds. Creative types always love a bargain so if it is promoted properly you could have some fun and sell some stuff too! I'm planning one of my own with a friend this year so I'll let you know how it all goes.
Admitedly, re-selling can be a hassle and takes time, effort, and the ability to pack and ship. Selling has it's place, but I really love the idea of gifting and lean more towards the idea of giving away as much as possible. The obvious first choice is friends who will appreciate your no longer needed items. After that, look to worthy places/charities that will take what you have and earn needed funds for operation or sell for low cost to creatives looking for bargains. It gives me great joy giving joy to someone else, albeit a stranger. If you have a sewing machine to dispose of, see if your local dealer may re-distribute machines to those in need. The Sewing Machine Project is a reputable organization, collecting both sewing machines and supplies. Learn more about their work HERE.
Churches, schools, senior centers, services for disabled and challenged youth are possible places to contact to see if they take donations. Call or visit local thrift stores to see if they can use your unwanted items. I have more than one in my local area that benefits good causes and also serves my local communities with goods at reasonable prices.
Last but not least, a simple internet search of where to donate arts & crafts supplies brought me to a full page of donation locations in my locality. Here is a link to an example at Cuyahoga Recycles: bit.ly/3VEOLQT
You may find options with a search of your community's solid waste management or re-cycle facilities. It takes a little effort but asking and searching for donation locations will yield results and you may find some that will pick up instead of having to drop off.
Step Two is sorting & dealing with the DELETE container.
By way of review, You'll need containers for three main categories: KEEP, DELETE, DECIDE LATER & DITCH.
I talked about three additional subcategories for Delete items, Give Away, Sell, & Re-cycle. You'll find resources for this category at the end of this post. In the comments section I would also love to hear your suggestions for everything you need to delete. At this point, I'm prioritizing the DELETE items.
In part one I suggested a dedicated space to sort and store as you go along. If you have the time, energy and inclination to do all your sorting at once, great! I have too many weekly deadlines and commitments to shut down my sewing space for any length of time so it's a start and stop process for me. I promise to keep sharing progress along with tips for making your sewing space a happy place. We may or may not be sorting at the same pace but rest assured, I'll continue to share ideas for storage and organization.
For now, let's explore the process of sorting a little further. Items in the KEEP and DECIDE LATER containers will need a future home. Therefore, as you are compiling these items, you'll want to consider where and how you'll store them.
If you're fortunate enough to have a space where all your creative possessions, materials, tools, & supplies can be compiled in one place you are fortunate indeed! Many of us, me included, will have to split things up, with a designated main creative space, and a dedicated storage area for organizing whatever else you have. My main space is a spare bedroom. It is by no means large, but I'm maximizing the use of the closet with a closet organizer and a few other items to make the most of the space. Basement storage will be for additional inventory and most of my fabric stash. I also have tons of samples from past projects and various pieces I use for teaching materials that I must keep. Trust me, the life of a sewing educator is one of accumulation! I am paring down this "keep" category too, being realistic about what I may need for the future. Unless you are in the same boat as me you won't have to deal with this category.
Back to sorting . . . As you sort, you simply must consider the future home for everything you're desiring to keep. You have to ask yourself, where will it go and will it fit? This is widely known as "the container concept" or "boundary method." Summarized like this, if it does't fit, you must get rid of it, OR get rid of something else so there is room for it to fit.
No judgement here, but many of us have more than we can ever use so DELETE will have to be a part of the process. I promise the philosophical and psychological aspect of this series will be minimal as my main goal is just to get it done. However, unless you're able to increase your available space, you will likely have to take on the mantra "keep the best and get rid of the rest."
Now, what to do with whatever you need to delete, defined in the first post as the following: Delete: Give away or get rid of by re-cycling or re-selling.
Let's start with possibilities for re-selling items. A popular Facebook group run by Jaime Ruckle is called SewItsForSale. It's a private group you'll need to join for access. Since it's full of sewing enthusiasts you are reaching what's called a target market. I encourage you to check it out HERE. A quick search for Selling Sewing Supplies on Facebook brought up several more options. Do a search for yourself and see what you find.
A new to me commission based resource for selling sewing and craft items is called DESTASHIFY. You can read their FAQ's HERE. I've heard good reports on this site and I just set up an account to sell off some really good stuff. Note that you can also Donate items and the process looks pretty easy. Watch for an update in future posts.
By the way, both SewItsForSale and Destashify can be a resource for purchasing items as well. I know!!! This is supposed to be all about decluttering but hey, you know what they say . . . De-stash to re-stash LOL!
Facebook marketplace is another re-sale option. Then there's Next Door, a local neighborhood re-selling marketplace. Good old ebay has been around for a while and may be another good option for you. When it comes to selling on ebay I would first search for similar items that have sold in the past. This will give you an idea of whether or not your item has a good chance for re-sale.
Last, but not least, if you have a group of like minded de-cluttering sewing friends, you may want to consider putting together your own Fabric & More Flea market. Find a place where your can invite others to set up and rent tables for a reasonable fee, establish some rules, set a date, and advertise to everyone you can think of, including local quilt and sewing guilds. Creative types always love a bargain so if it is promoted properly you could have some fun and sell some stuff too! I'm planning one of my own with a friend this year so I'll let you know how it all goes.
Admitedly, re-selling can be a hassle and takes time, effort, and the ability to pack and ship. Selling has it's place, but I really love the idea of gifting and lean more towards the idea of giving away as much as possible. The obvious first choice is friends who will appreciate your no longer needed items. After that, look to worthy places/charities that will take what you have and earn needed funds for operation or sell for low cost to creatives looking for bargains. It gives me great joy giving joy to someone else, albeit a stranger. If you have a sewing machine to dispose of, see if your local dealer may re-distribute machines to those in need. The Sewing Machine Project is a reputable organization, collecting both sewing machines and supplies. Learn more about their work HERE.
Churches, schools, senior centers, services for disabled and challenged youth are possible places to contact to see if they take donations. Call or visit local thrift stores to see if they can use your unwanted items. I have more than one in my local area that benefits good causes and also serves my local communities with goods at reasonable prices.
Last but not least, a simple internet search of where to donate arts & crafts supplies brought me to a full page of donation locations in my locality. Here is a link to an example at Cuyahoga Recycles: bit.ly/3VEOLQT
You may find options with a search of your community's solid waste management or re-cycle facilities. It takes a little effort but asking and searching for donation locations will yield results and you may find some that will pick up instead of having to drop off.
Fabric that is only suitable for recycling can go to places specifically suited to collect textiles. My local Goodwill takes bags of fabric scraps for recycling. I know some folks who collect scraps and use them for stuffing pet beds for local pet shelters.
Click Here to read an interesting article from online tech magazine Wired.com, on the whole subject of selling, donating, and re-cycling.
Whew! Long post with lots to consider. Deleting is hard but just remember, making more space for "keepers" and streamlining your sewing space will pay off with more room for your creativity to flow and flourish! Be sure to celebrate your progress!
Please share your own tips and ideas in the comments below!
All opinions expressed are my own. Do your own due diligence before taking action on anything you read here.


 RSS Feed