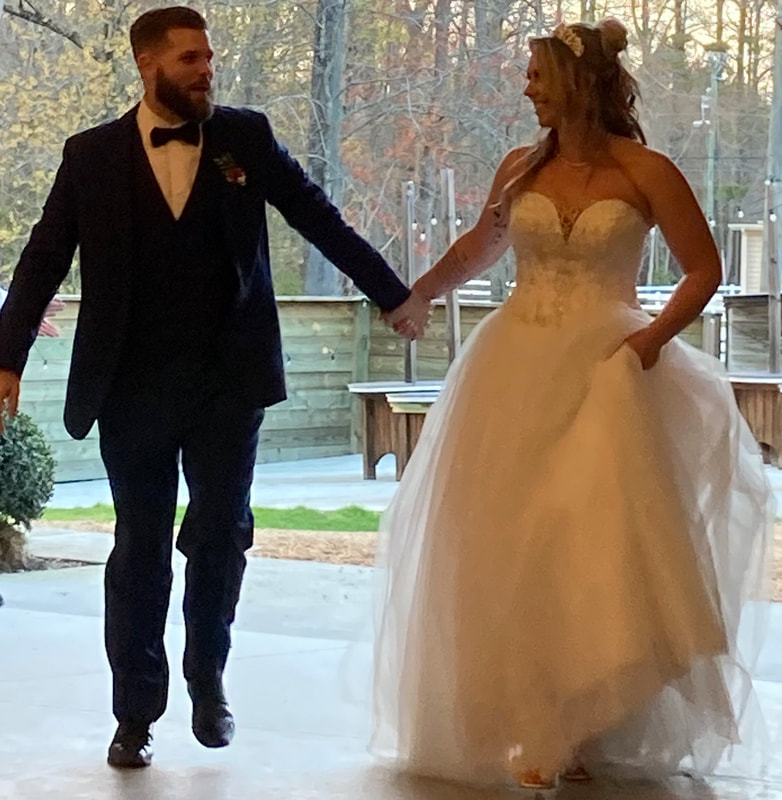
I volunteered somewhat last minute to be the official "bustler." Originally, I thought they just needed me to figure out how to drape the dress and make it hang nice. Indeed, the draping part is quite an art in an of itself. Turns out, there were no loops or "bustling buttons" in place when I arrived 2 days before the wedding. While the family was busy with last minute preparations, I scoured the sewing room for something to make this work. I should mention that the sewing room is well stocked due to the fact that both Deb and her hubby Don sew, embroider, and craft the most amazing things. However, it was not full of much in the way of dressmaking supplies.
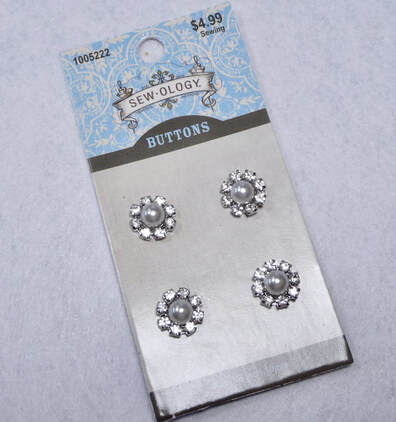
I searched the drawers and cubbies and found coarse crafting yarn but no silken cord or pearl like buttons like I happen to have at home in my own stash. Believing that necessity is the mother, father, sister, brother, and first cousin of invention, I ended up making cording from thread, sewing loops to the lining and then the netting layers on the dress, stabilizing the four layers of fine netting with little circles of embroidery stabilizer. Deb was tasked with hunting for some sparkling buttons to add to the back bodice to hook the loops onto. She came home with some stunning button options from good ole Hobby Lobby.
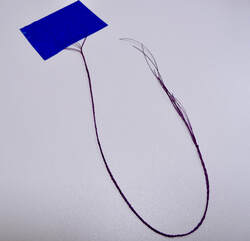
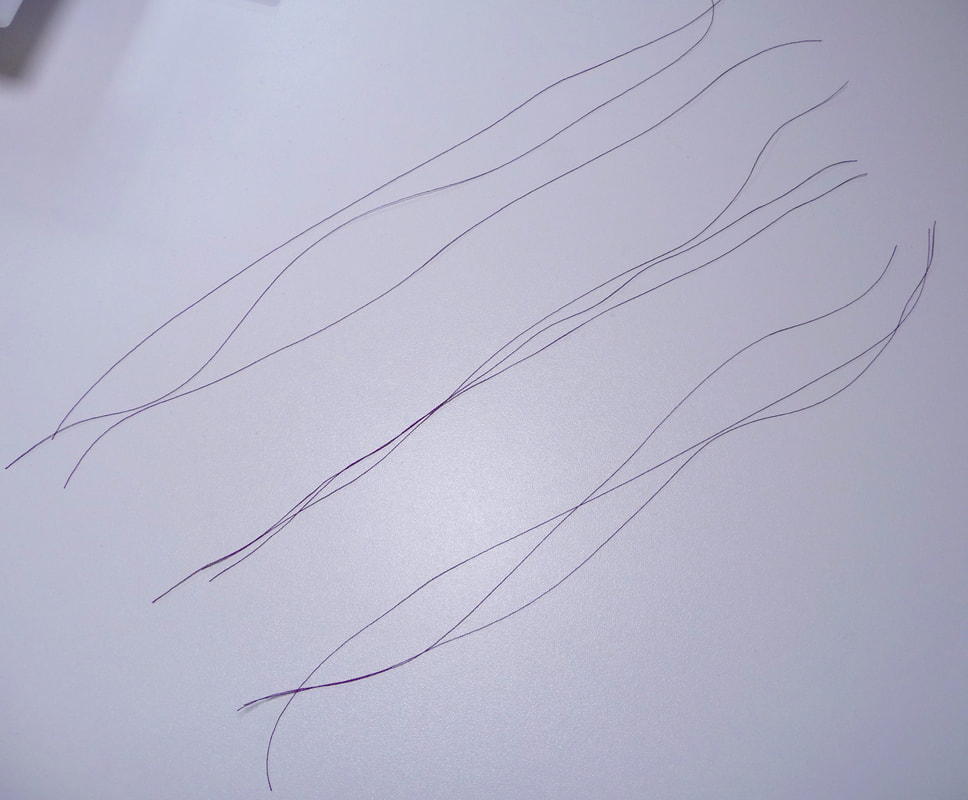
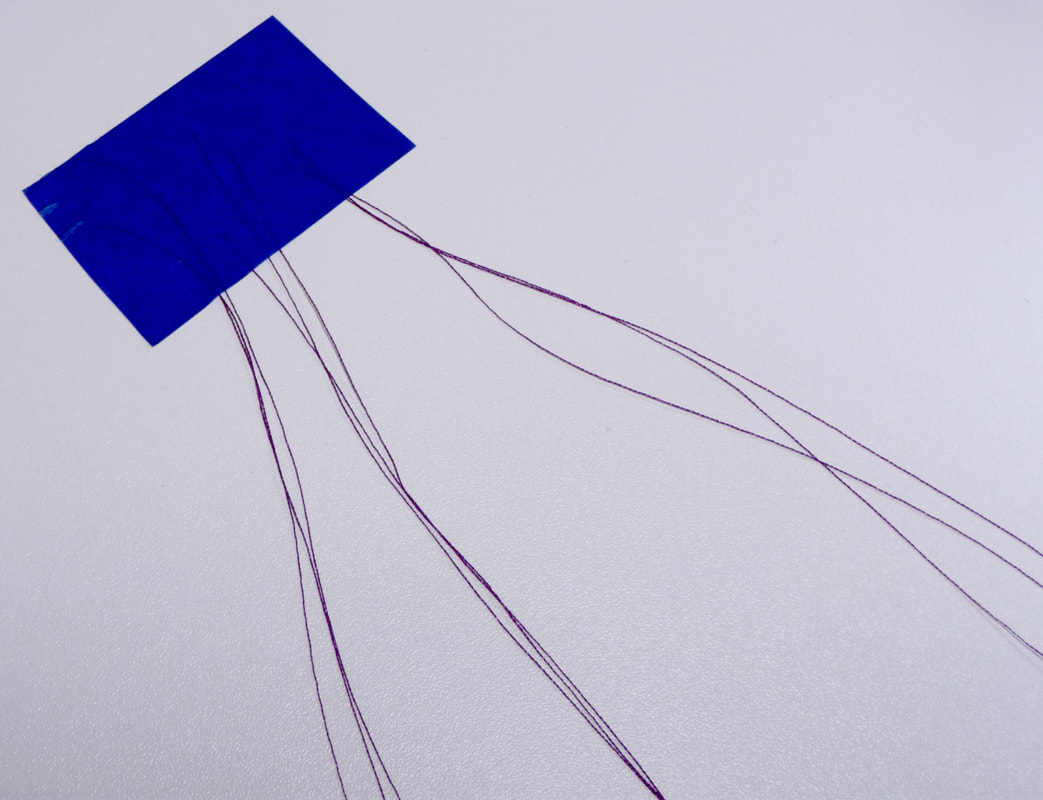
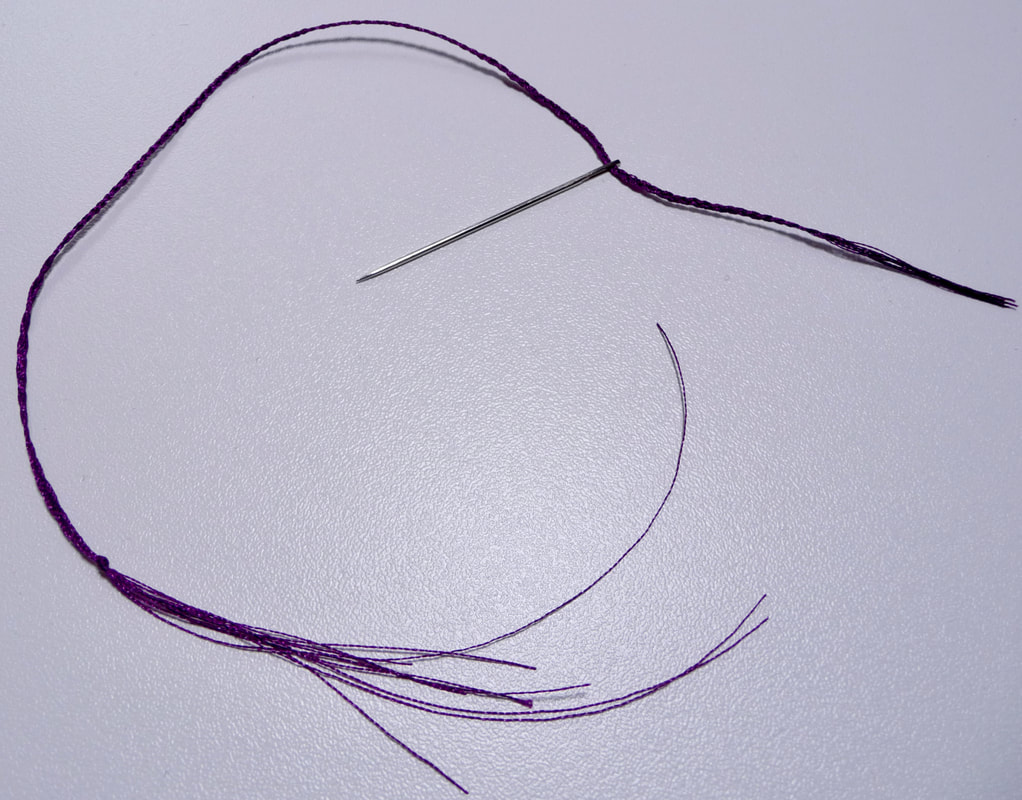
Braiding nine cords together was the trick to making a strong, silky, thin cord with lots of strength. The idea of creating cording from nothing more than thread can work for other applications such as belt loops, loops for buttons on a garment, and even a thread chain to connect lining to the face garment such as a lined skirt or coat. Take a look at the simple steps I devised to make cording below.
P.S. While braiding the strands, the groom's beloved grandmother June reminded me of Ecclesiastes 4:12 where it says that a cord of three strands is not easily broken. How true!!!


 RSS Feed