I invite you to watch the show to see and hear some behind the scenes stories from the Set of It's Sew Easy TV, along with tips for planning, prepping, and achieving perfect placement for your own embroidery design projects!
|
Recently, I had the opportunity to be a guest on Eileen Roche's weekly live show. We had a great time chatting about machine embroidery, a favorite topic for both of us! I invite you to watch the show to see and hear some behind the scenes stories from the Set of It's Sew Easy TV, along with tips for planning, prepping, and achieving perfect placement for your own embroidery design projects! Enjoy the show!
3 Comments
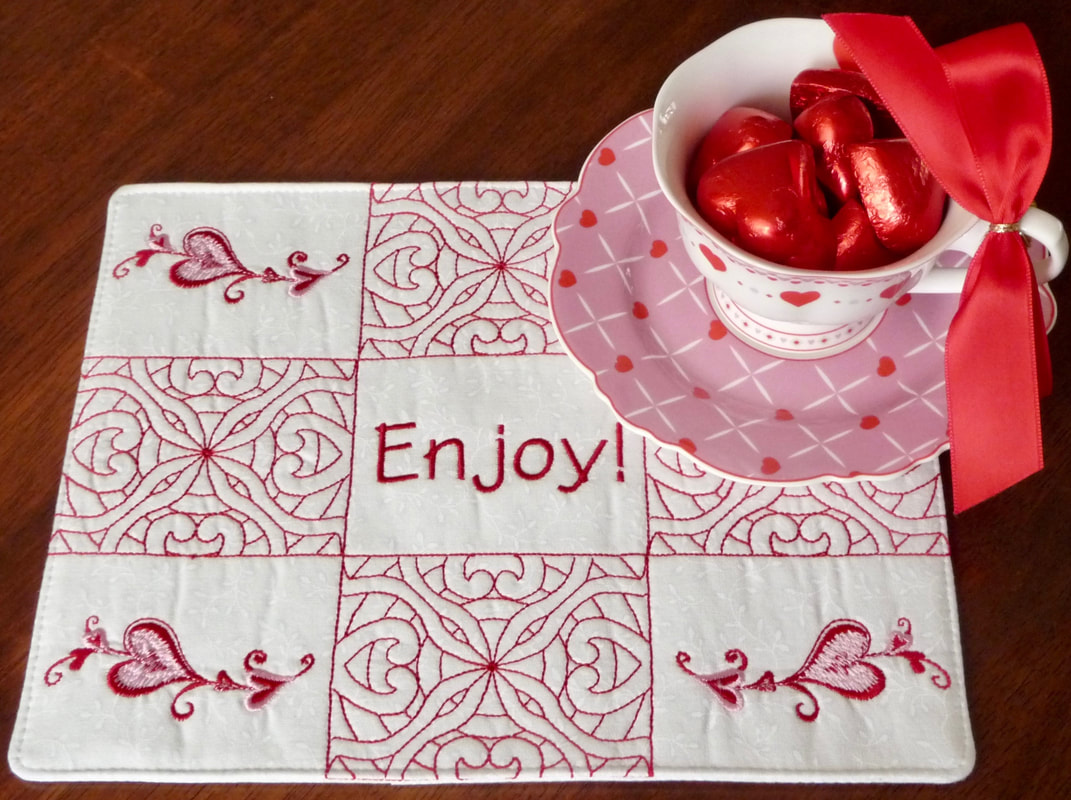
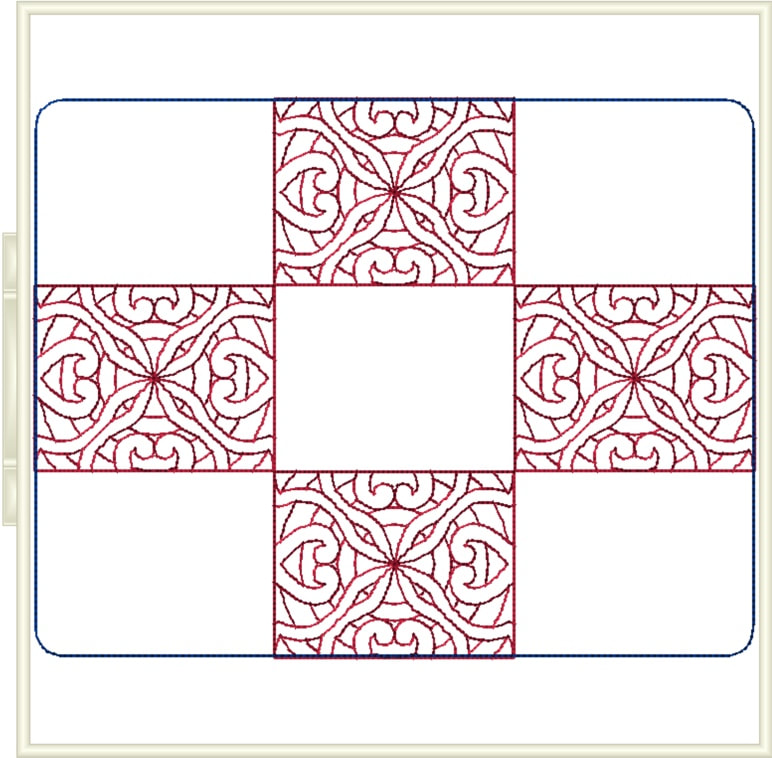
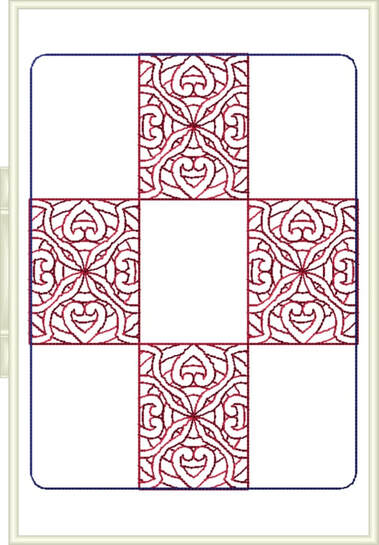
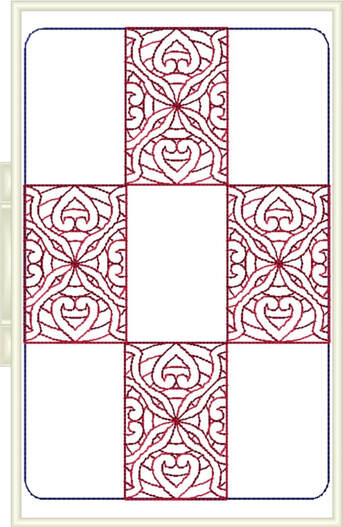
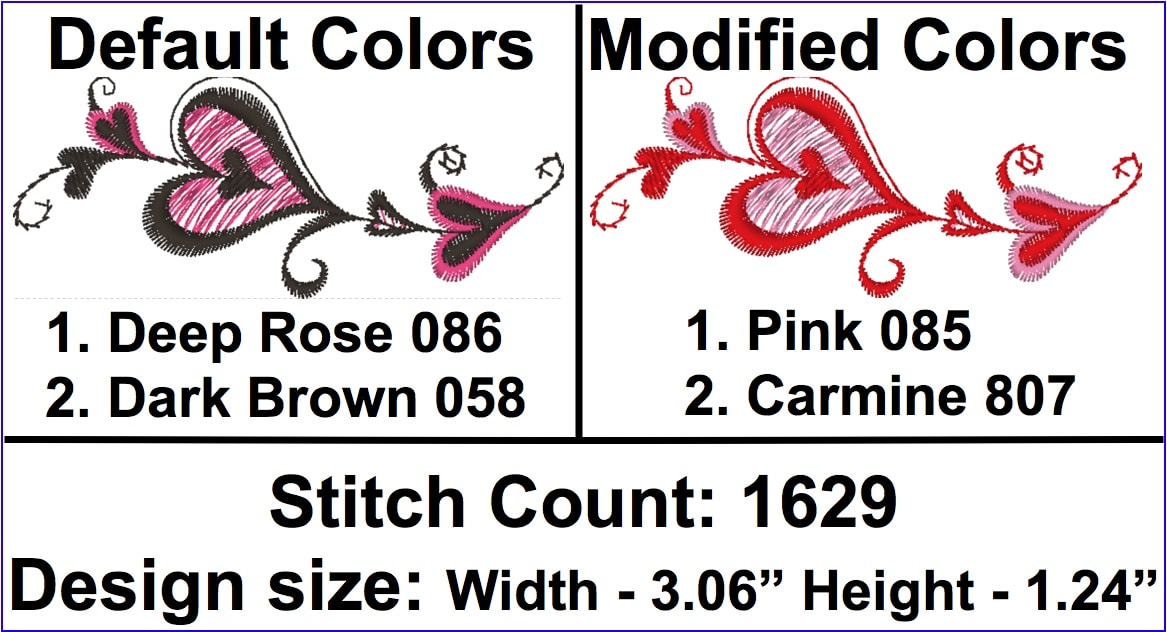
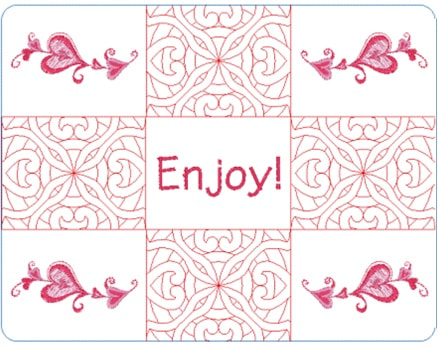
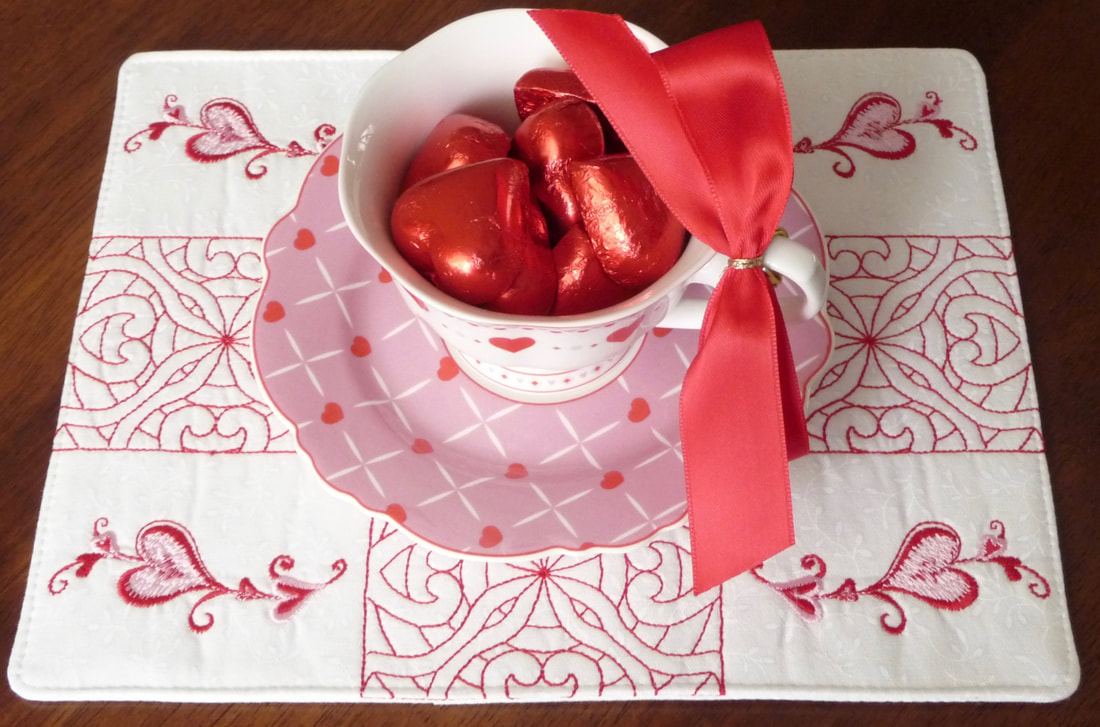
Conversations with Industry Experts and fellow Sewing and Embroidery Enthusiasts just like YOU! Sew tell me is back! Formerly presented in written format, the show now comes to you via a Live YouTube show, with the replay on my YouTube channel. My debut guest for this new show is none other than my friend Reen Wilcoxson. Specializing in machine embroidery designs created for stitching entirely in the embroidery hoop, her designs stitch out so that little to no finishing is required at the sewing machine. This makes her designs ideal for both newbie embroidery enthusiasts and seasoned stitchers alike! embroiderygarden.com website is a treasure trove full of downloadable designs for machine embroidery enthusiasts! Reen and I worked together at a supersized embroidery event in Louisiana several years ago and made fast friends.  Here we are on the set of It's Sew Easy TV where Reen presented some of her in-the hoop projects to the TV show audience for show 1704. I'd like to invite you to watch the one hour show where I had the chance ask Reen about her sewing life both past and present. Highlights include behind the scenes stories plus tips and tricks to help you enjoy embroidering in your own sewing space. Please feel free to leave your comments about the video below. You’re welcome to leave your questions for Reen too! She promised to answer any that roll in. Here is the video, enjoy! I designed this snack mat as an In-the-Hoop embroidery project. Project features a free scrolling heart design download courtesy of Brother sewing machine company, along with the free multi-sized designs I digitized in the Brother PE Design 11 program. You'll find links to files and step-by-step instructions below. Are you ready? Lets go sew!  You can read about my first version of the snack mat, produced for the Brother blog as a Brother Ambassador. View instructions and download the scrolling heart design shown by clicking on the image below to visit the blog. Now, let's get started with steps for creating my In-the-Hoop Snack Mat. Step 1. Download the free design files from Let’s Go Sew. Note: This mat comes in three sizes in the Brother .pes format. You’ll need to use conversion software for other formats. Be sure to check each file to see if it's compatible with your hoop size. No software? Designs in Machine Embroidery has a free program you can download. CLICK HERE if you are interested in more information on their Embroidery Tool Shed program. Important: Depending on hoop size files may stitch in a vertical layout. * * * * * * * * * * * * * * * * * * * * * * Approximate finished size for size A: 10" wide X 8" long. Size A files for 10 5/8-inch X 10 5/8-inch or 10 5/8-inch X 16-inch hoop: LGS_Snack Mat_SizeA.pes LGS_Snack Mat Outline_SizeA.pes
* * * * * * * * * * * * * * * * * * * * * * Approximate finished size for size B: 9 1/2" wide X 7" long. Size B files for 8-inch X 12-inch hoop: LGS_Snack Mat_SizeB.pes LGS_Snack Mat Outline_SizeB.pes
* * * * * * * * * * * * * * * * * * * * * * Approximate finished size for size C: 9 1/4" wide X 6" long. Size C files for 6-inch X 10-inch hoop: LGS_Snack Mat_SizeC.pes LGS_Snack Mat Outline_SizeC.pes
Step 2. Cut a piece of solid or tone on tone print fabric to fully fit in your hoop. Cut a matching piece of 987 Pellon Fusible craft fleece and fuse to wrong side of fabric. Step 3. Cut two additional pieces of fabric for creating the envelope style back closure. Fold each piece in half crosswise and press. See fabric sizes for each snack mat file below:
Step 4. Download and transfer both snack mat files sized for your hoop, along with the free Brother February 2021 embroidery design shown below. Click on image to download file from blog.brothersews.com. Step 5. Create a combination design as follows:
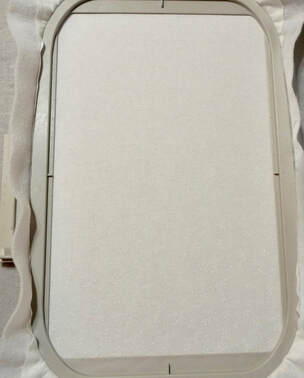
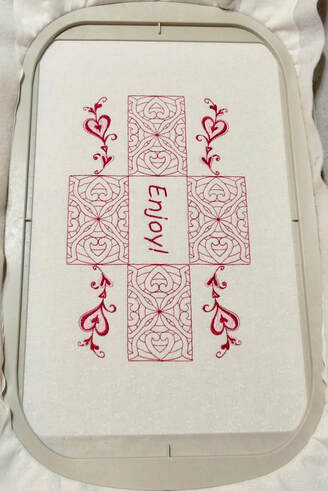
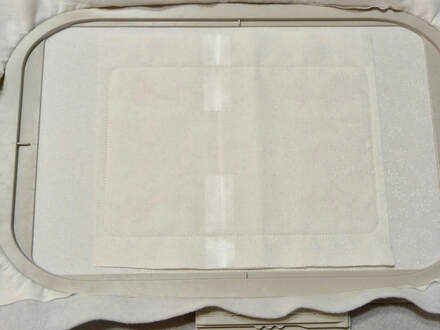
Step 6. Hoop fabric backed with fleece with right side facing up. Embroider completed design for front side of snack mat, stopping before final rectangular outline. Tip: For best results stitch fancy fill sections at 600 stitches per minute or less when possible. Step 7. Center folded pieces over the embroidered front, overlapping by 1-inch in the middle. Note: Excess covers the design, leaving room for seam allowance. Use low tack, removable tape to secure folded edges. It’s important to keep folded edges flat so embroidery foot doesn’t catch while stitching. Stitch final outline. Tip: 3M Transpore tape is my preferred low tack tape. It's easy to find, you can stitch right through it if necessary, it's reusable, and removable. Just remember to take it off the fabric as soon as you're finished stitching. Step 8. Time to finish! Carefully peel away tape. Remove fabric from hoop. Trim seam allowance and clip corners to reduce bulk. Turn right side out through back opening. Press and then topstitch close to the edge. You are finished! Enjoy!
|
Author:Joanne Banko Archives
March 2024
*As a believer in full disclosure, I'd like you to know that Blog posts may contain affiliate links for products and services I know and trust. Purchasing items through a link marked * results in a small commission for me, with no extra charges for you.
Categories |
||||||||||||||||||||||||||||||||||||
 RSS Feed