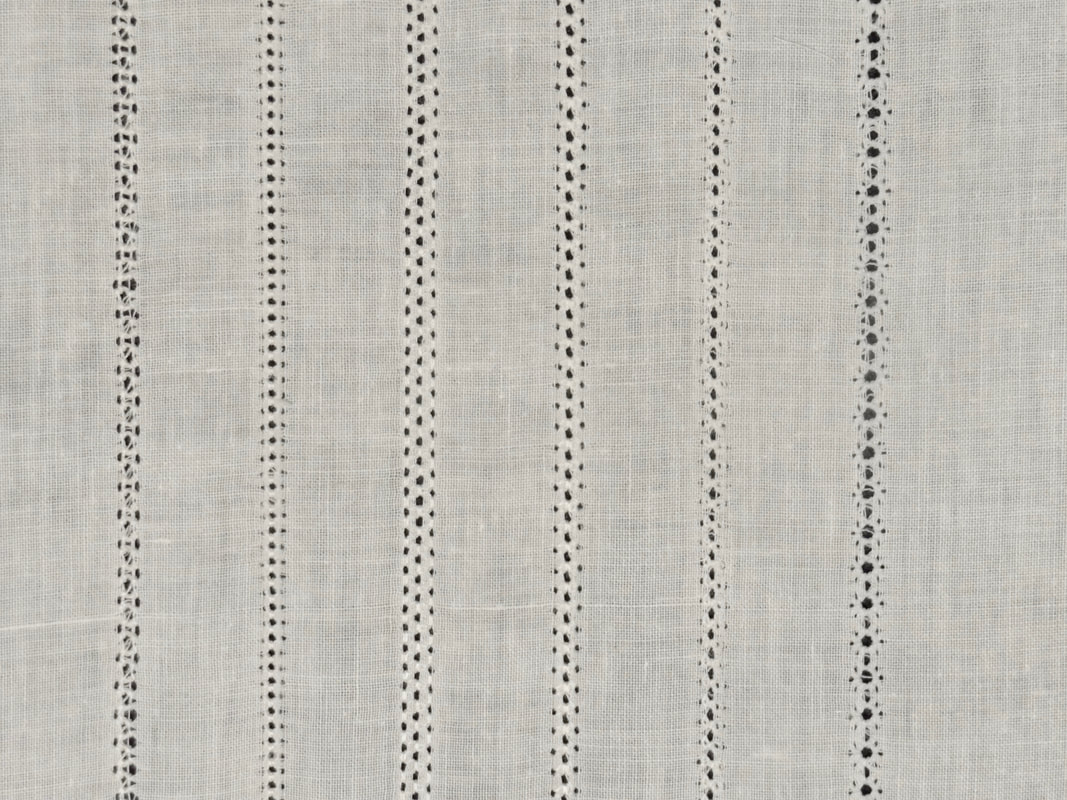
In this tutorial I’d like to introduce you to the art of hemstitching with various stitches included in the hemstitching category on my machine. The images and stitches you see here are from the Brother Luminaire, but if you look closely at the stitches, you'll likely find identical or similar stitches on your own machine.
Hemstitched items have been around for many years. Formerly created with tedious handwork, in the late 1800’s a machine was developed to produce hemstitching in a fraction of the time it took to create by hand.
Somewhere along the line a specialty needle called a wing needle was developed for modern, household machines. Combined with special decorative stitches suited for use with a wing needle, sewing enthusiasts can now create hemstitched effects as easily as sewing a straight stitch! In this tutorial you’ll learn more about creating these delicate, delightful stitches yourself. Are you ready? Let’s go sew!
Somewhere along the line a specialty needle called a wing needle was developed for modern, household machines. Combined with special decorative stitches suited for use with a wing needle, sewing enthusiasts can now create hemstitched effects as easily as sewing a straight stitch! In this tutorial you’ll learn more about creating these delicate, delightful stitches yourself. Are you ready? Let’s go sew!
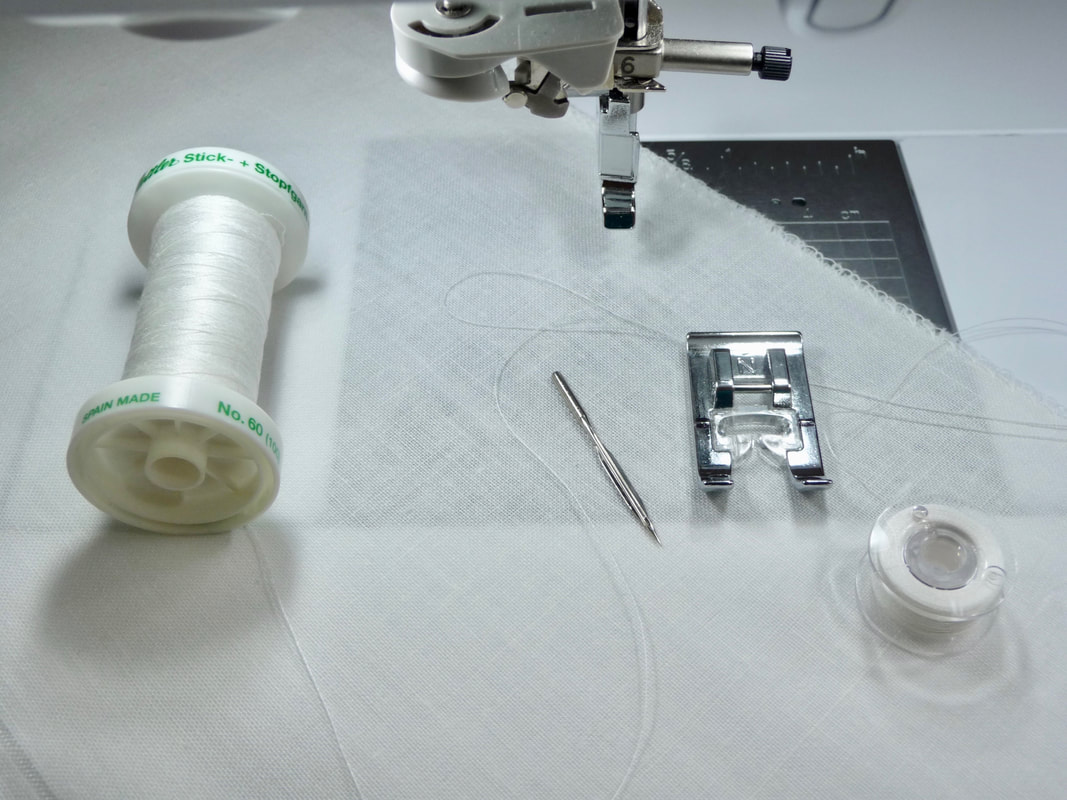
You'll need some basic supplies to get started.
- Fine, smooth thread such as 60 weight silk finish cotton, 80 weight cotton, or 100 weight silk. Feel free to experiment with other threads. In general, natural fiber threads work best. You’ll want the thread weight not to exceed 60 weight. Thicker thread will not produce pretty stitches. Check the numbers on the spool and always use good quality thread.
- Optional – Fine crochet cotton or thin decorative cord, for threading through wing needle stitching.
- Large-eyed tapestry needle for threading crochet cotton through holes.
- Wash out marker for marking lines on fabric.
- Preferred fabrics include natural fiber fabrics that are not tightly woven. I have successfully hemstitched on the following: Linen, linen/ramie or linen/cotton blends, cotton batiste and cotton lawn. Feel free to try other fabrics, keeping in mind the fact that holes created by the needle are more prominent on lightweight natural fibers without a tight weave. Polyester has memory and does not produce wing needle holes.
- Adhesive backed water-soluble stabilizer, such as Brother product #SA5906
- Ordinary fabric spray starch or other wash out stiffener. Read more about temporary fabric stiffener in this post HERE.
- Wing needle, size 16 to 19.
Below are some important set-up guidelines and general rules to follow for hemstitching:
- Begin with a clean machine. Pop up the throat plate and clean out the dust bunnies. Be sure your bobbin case is seated correctly when you put the machine pack together.
- Wind a matching bobbin with your chosen thread. When threading the machine do not use the automatic needle threader. Simply thread the eye of the needle by hand. In addition, do not use the auto cut function or the scissors key.
- When sewing, be sure to stitch at a slow to medium speed so the holes have the chance to form properly. I like to pull one or two vertical threads out of the fabric to both mark my lines of stitching and give the wing needle an improved chance of spreading the fibers apart. If this is easy for you to do, go ahead and try it. If not, it’s perfectly okay to skip this step.
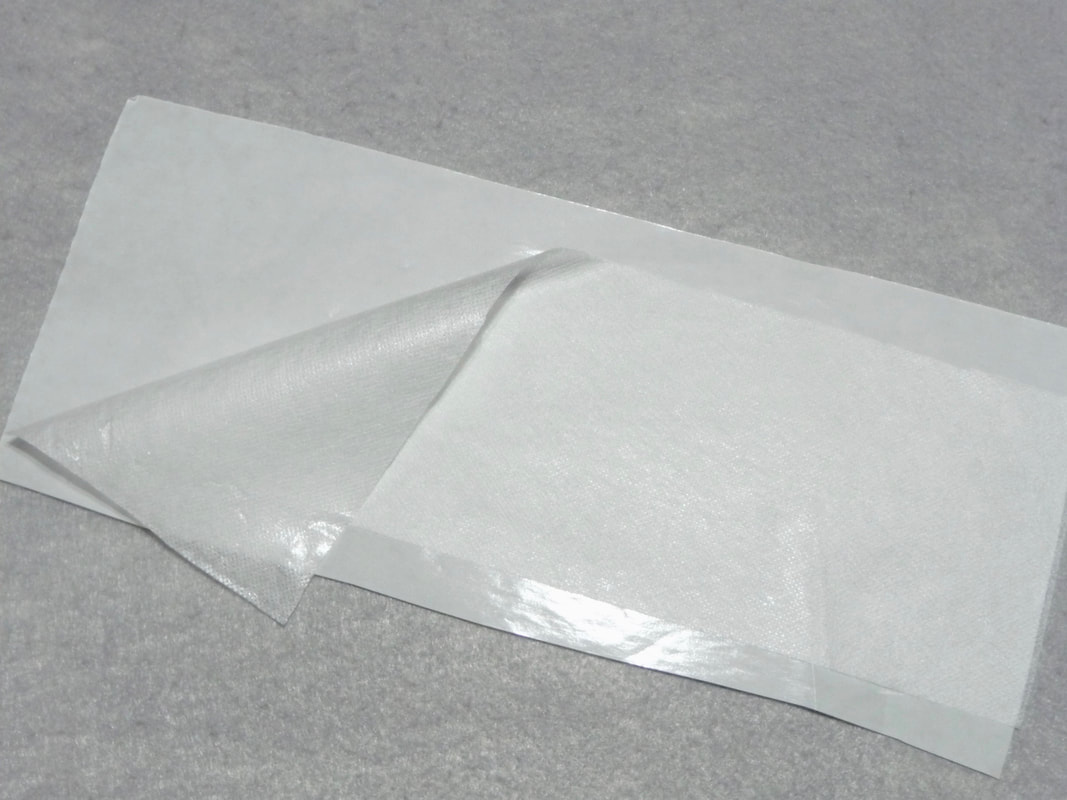
- Pre-treat fabric with spray starch to make it smooth and somewhat firm. If you choose to use strips of the water-soluble stabilizer you will not need to heavily starch your fabric. However, without this stabilizer you’ll need several applications of starch, ironing until the fabric is completely dry between each application of spray. Tip: I prefer an old-fashioned flat bottom dry iron for this process. The addition of strips of water-soluble attached to the wrong side of your fabric underneath the stitching area makes it really easy to stabilize the fabric for this type of stitching. I like to save leftover strips from embroidery to use for decorative stitching like this. Peel away the paper and apply the adhesive to the wrong side after lightly starching the fabric. See image below:
I like to mark stitching lines either by pulling thread(s) along the grain of the fabric, or using a wash out pen. Tip: If you're able to pull a few threads, you'll find that wing needle holes are more prominent in your fabric.
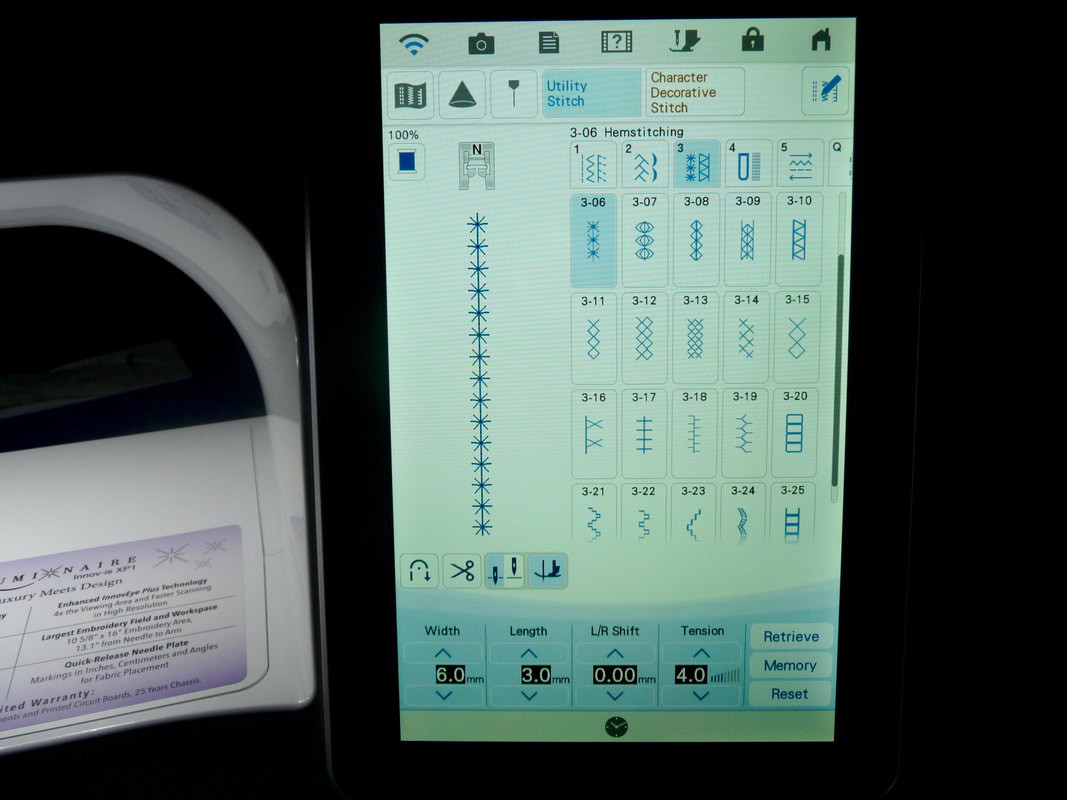
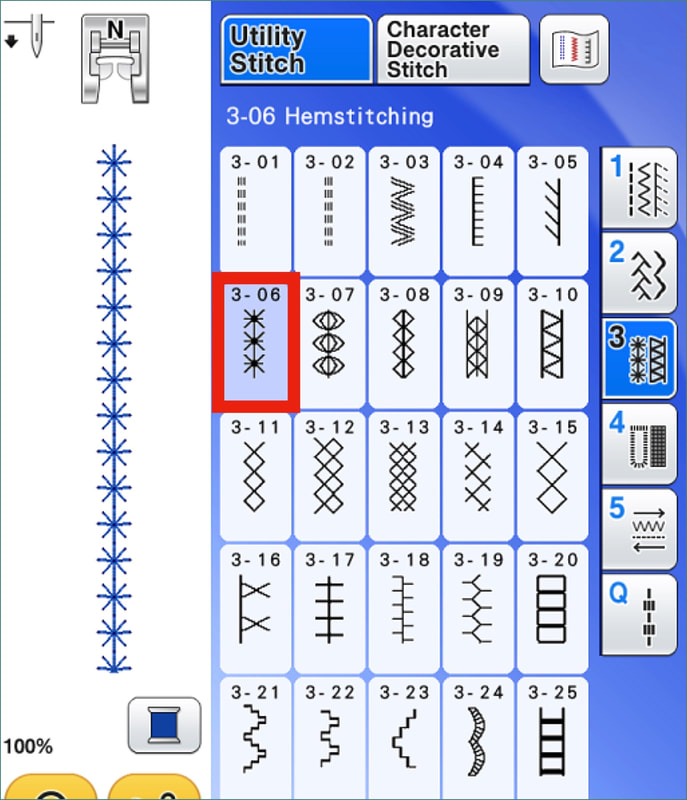
Insert needle in machine, making sure it is pushed all the way up. Select menu in your machine with included hemstitches. Hemstitches vary but they all have one thing in common, the needle enters the same spot multiple times. This is essential for forming the distinctive holes. Tip: Feel free to experiment with other stitches that have the same characteristics of hemstitches, making certain that your stitch width stays between 5-6 mm. Important! Hand walk the stitch with the flywheel before you start to sew.
Sew along the lines with various hemstitches. Tip: Stitch No.3-06, shown below, is commonly found stitch on many machines. I like to call it the star stitch. It is one of my all-time favorites for wing needle stitchery.
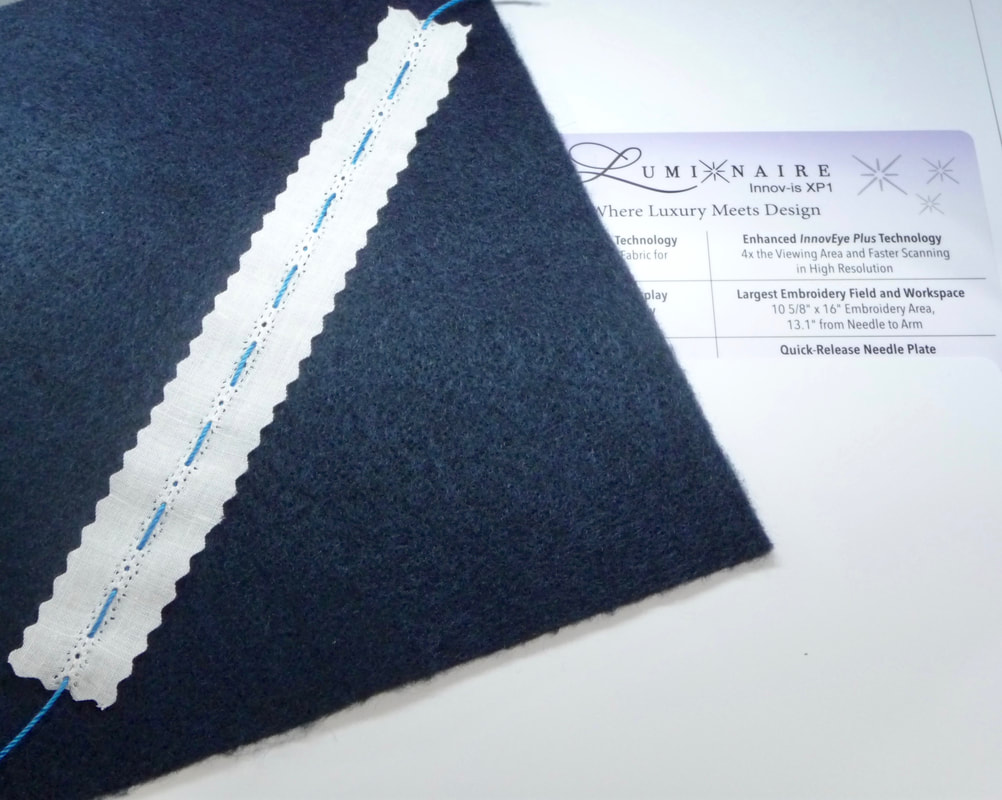
The prominent holes in the center of this stitch make it ideal for inserting cording through the stitches.
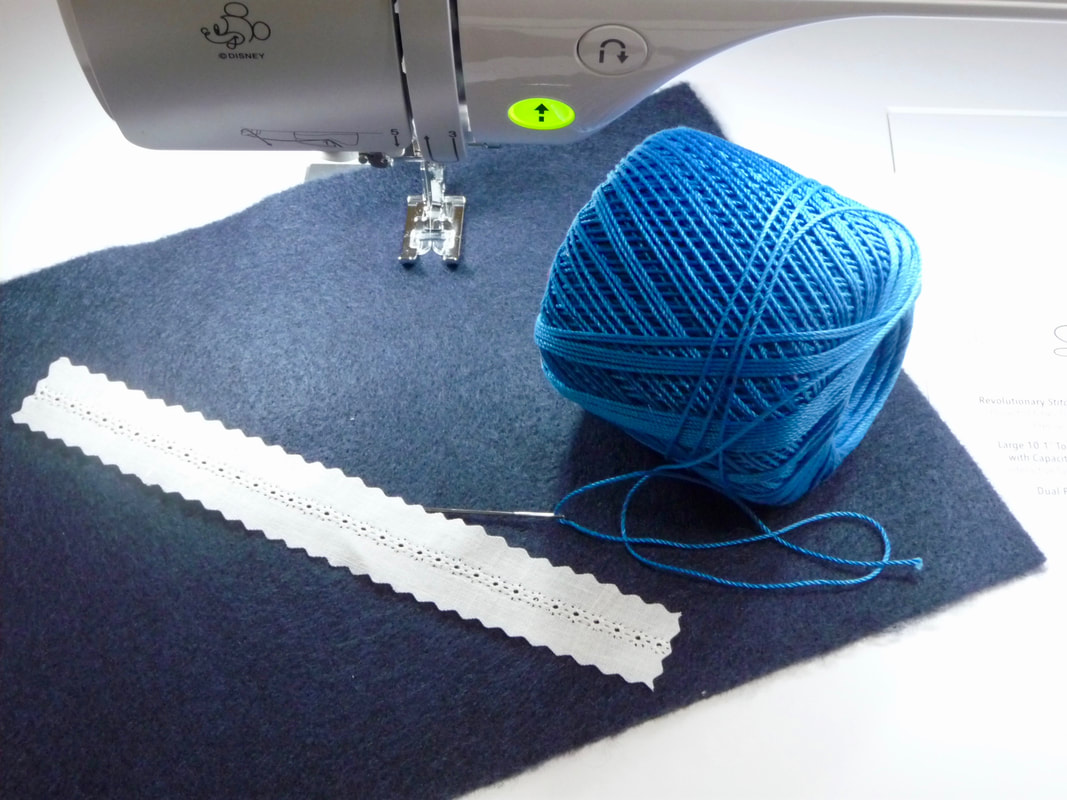
Here you see where I used a large eyed tapestry needle to weave crochet cotton into every other hole. Again, there are so many possibilities with these stitches!
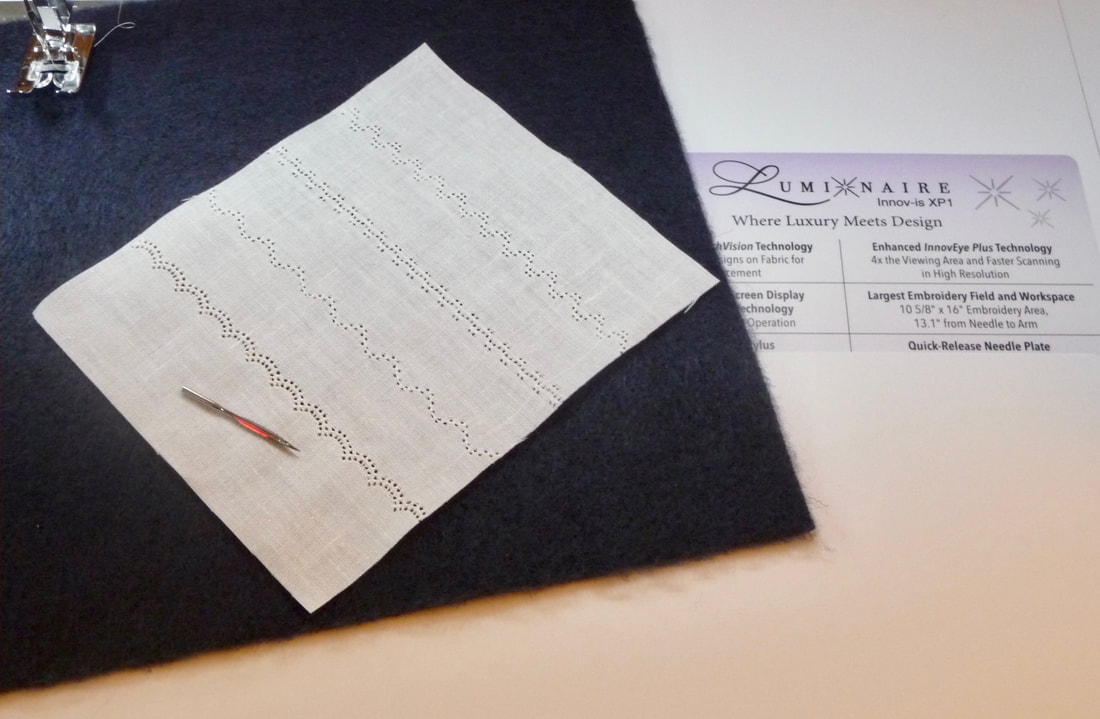
Once you are all set up for stitching, try various stitches and threads on your fabric. If you have the guideline marker capability on your Brother machine you can use it to help guide your stitching in a straight line.
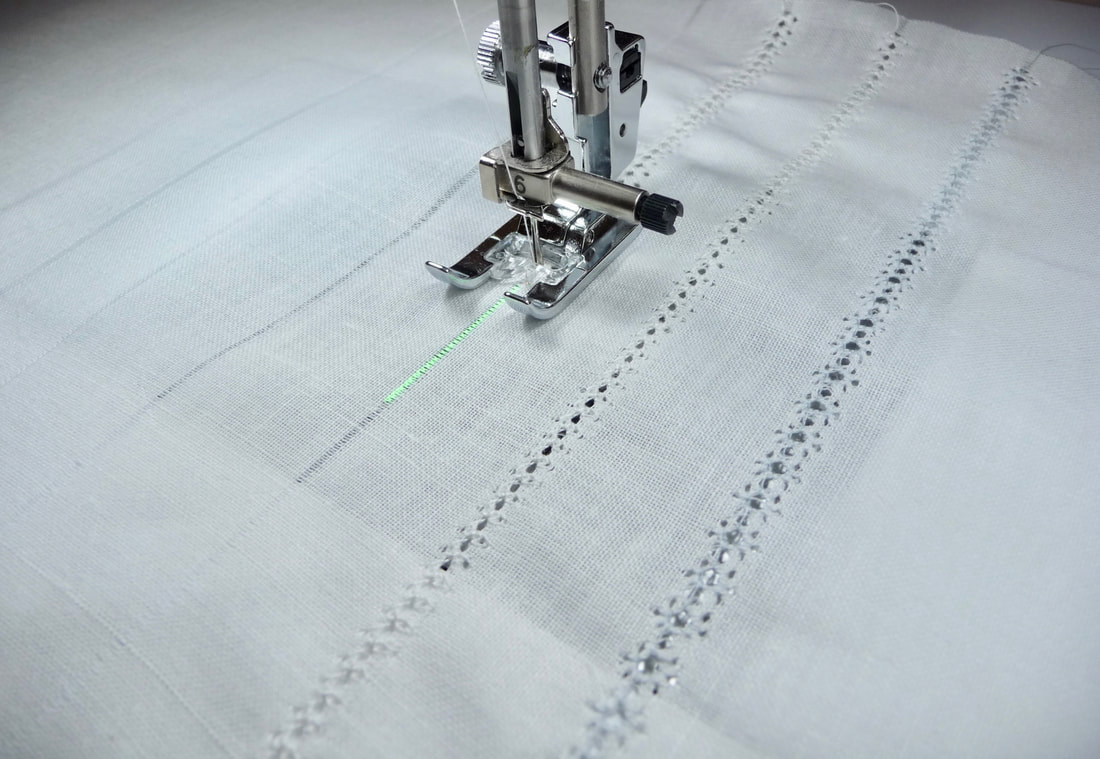
I like to experiment with different threads but the 60-weight cotton is what I tend to use most often. Stitches shown below were created with the cotton 60-weight thread.
I switched to the 100 weight silk thread for stitches No.3-21 through No.3-24, shown below.
When you’re finished with stitching wash out all markings and stabilizer, and then lightly starch your fabric for a smooth finished look. I hope this tutorial encourages you to try your hand at hemstitching!
More Options and Ideas:
More Options and Ideas:
- Traditionally, hemstitches are done on white or off-white natural fiber fabrics, using matching thread for a tone on tone look. However, don’t overlook the possibility of experimenting with alternative colors and other fabric selections. Just know that the fibers need to separate easily for the featured holes to form.
- Hemstitches are popular in the realm of heirloom sewing but once you see them stitched out it is likely you’ll find ways to use them in many other projects.
- A common way to use hemstitched fabric is to create an oversized section of fabric, also known as a “fancy band.” Once the fabric has been embellished you can lay a pattern on top and cut yokes, cuffs, hem bands, and other sections of fabric as desired.
- Hemstitched fabric makes great accents for home décor too! Pillows of any size and style, including neck roll pillows are beautiful when made with hemstitched fabric!
I'd love to entertain your questions and read your comments. Feel free to share your thoughts!
Download a printable PDF tutorial on Hemstitching below:
| happy_hemstitching.pdf |

 RSS Feed