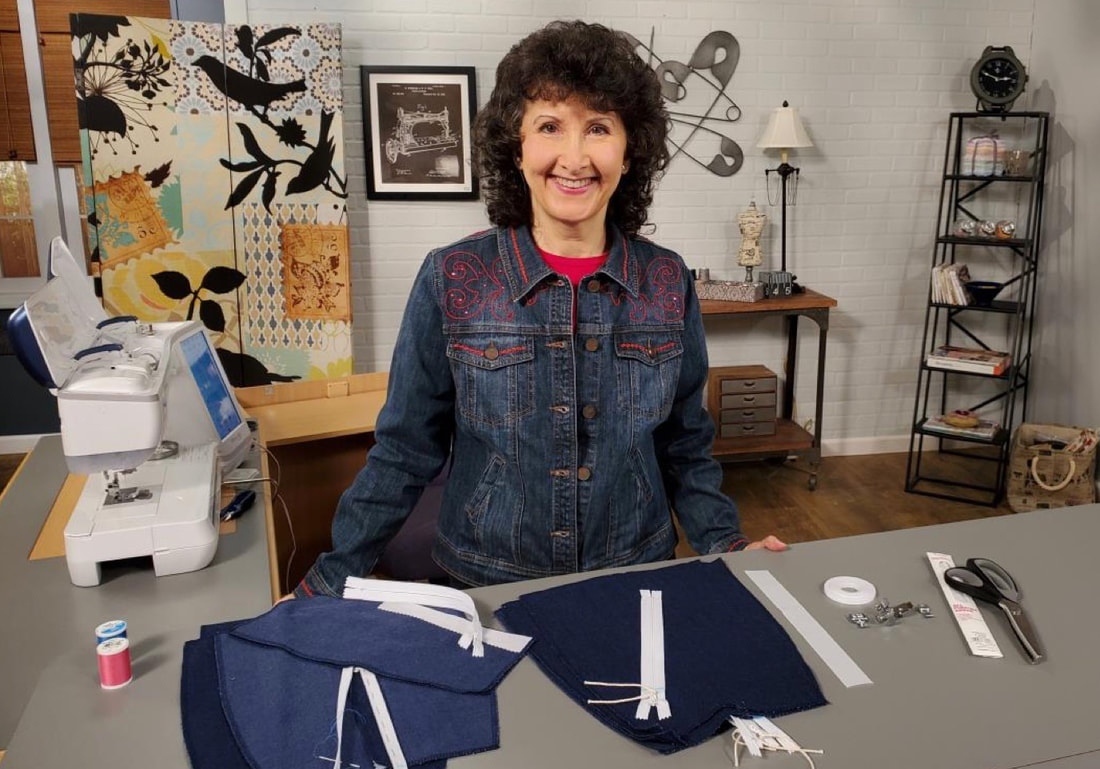
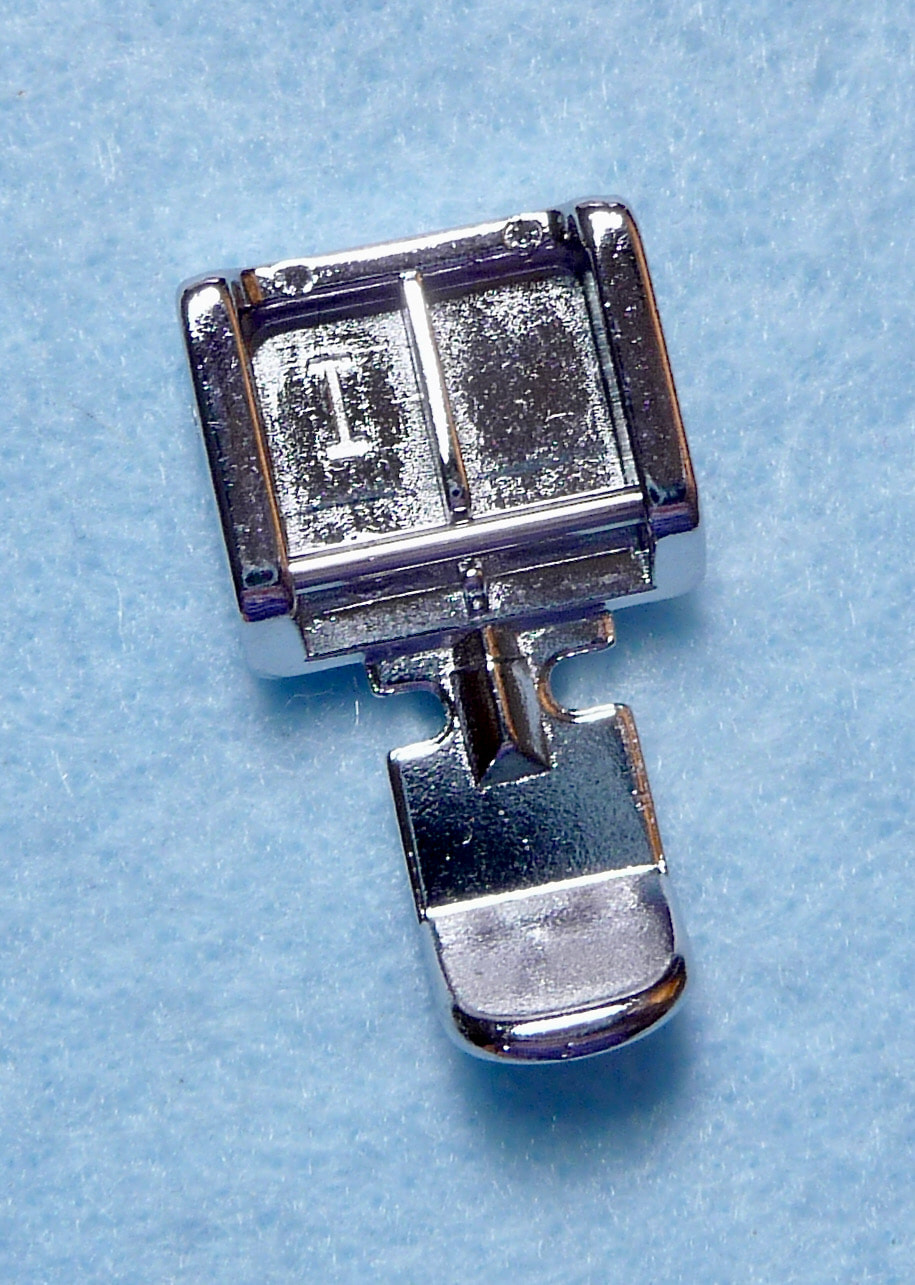
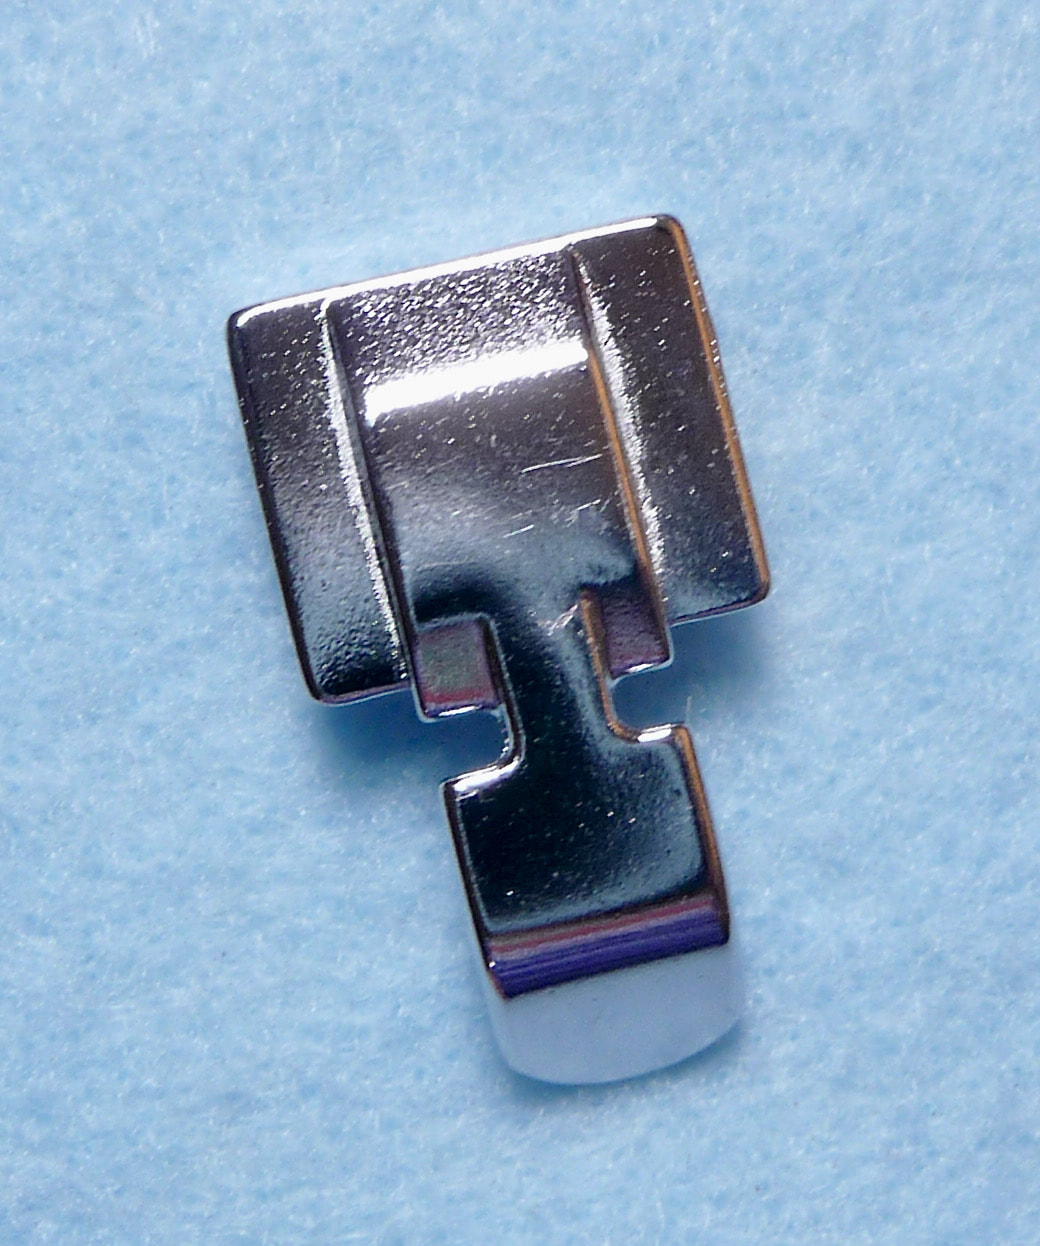
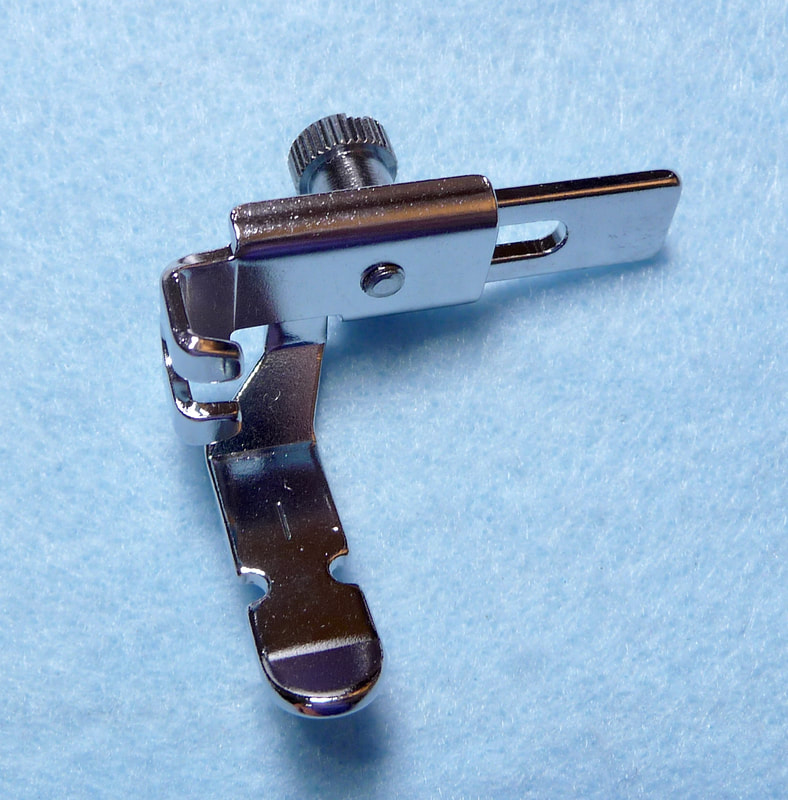
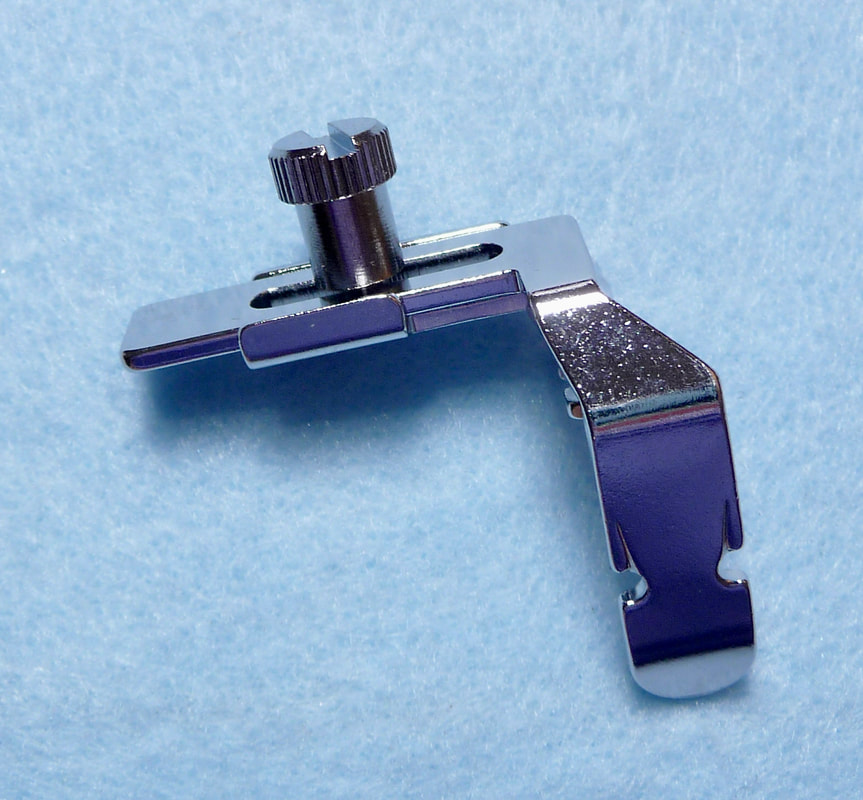
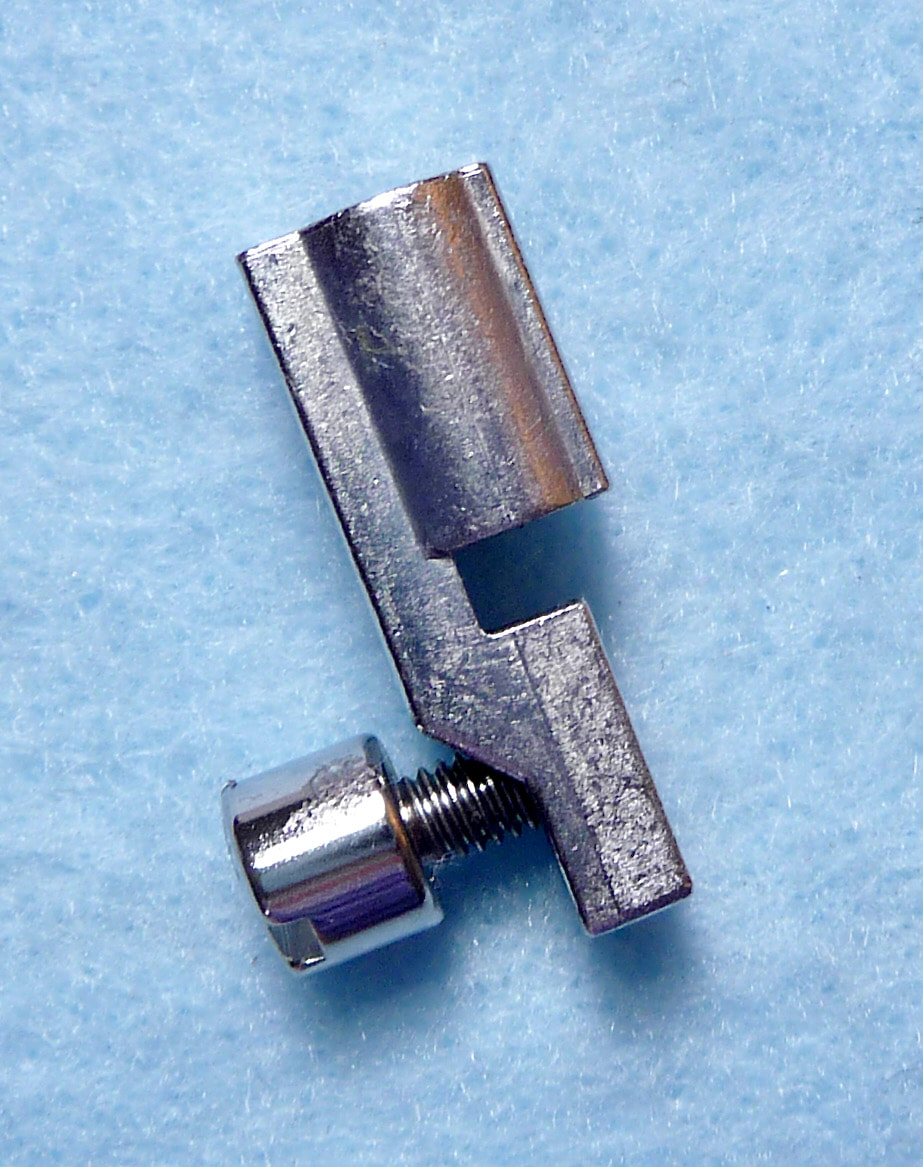
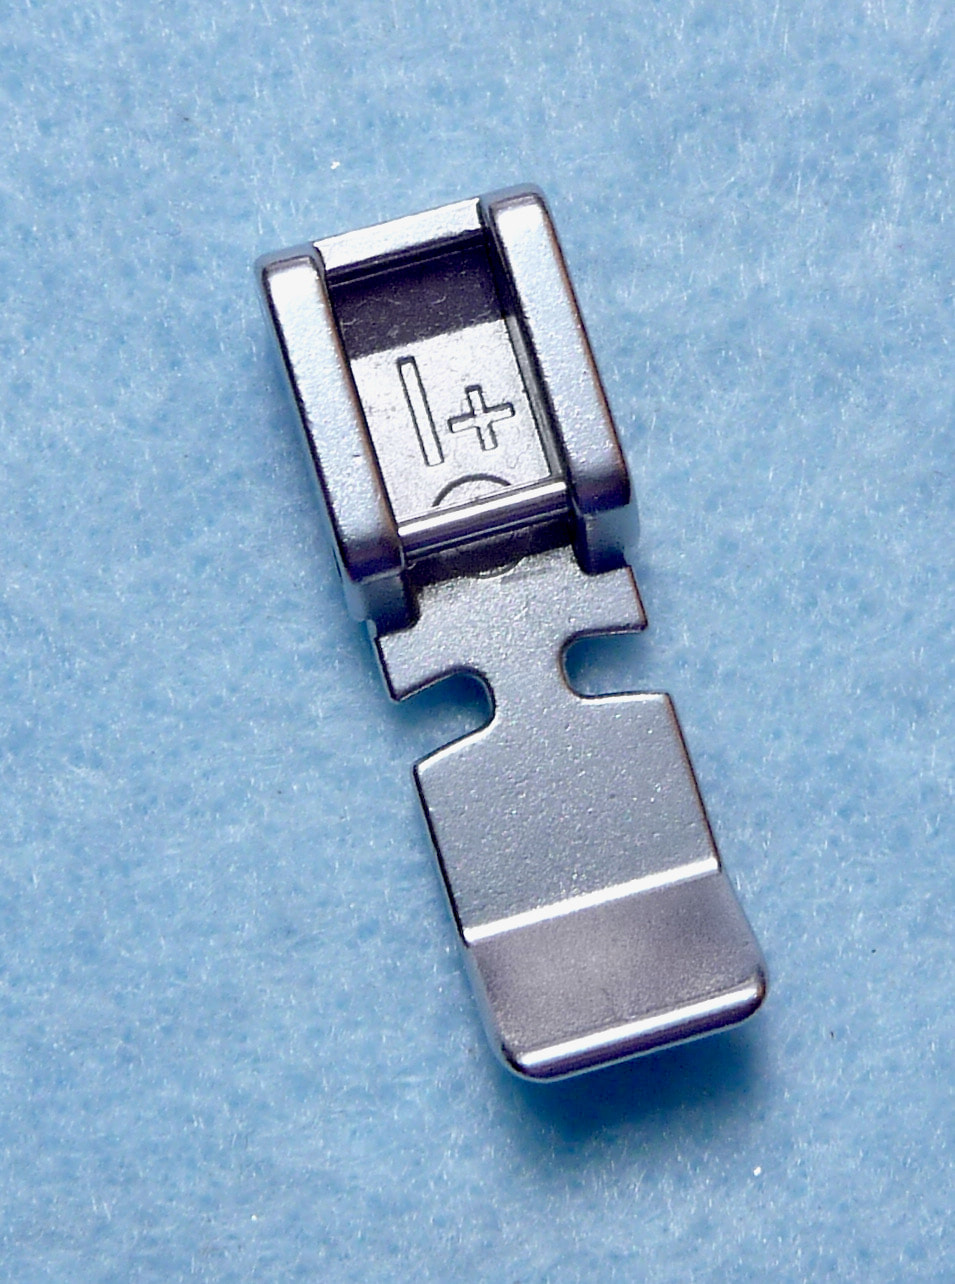
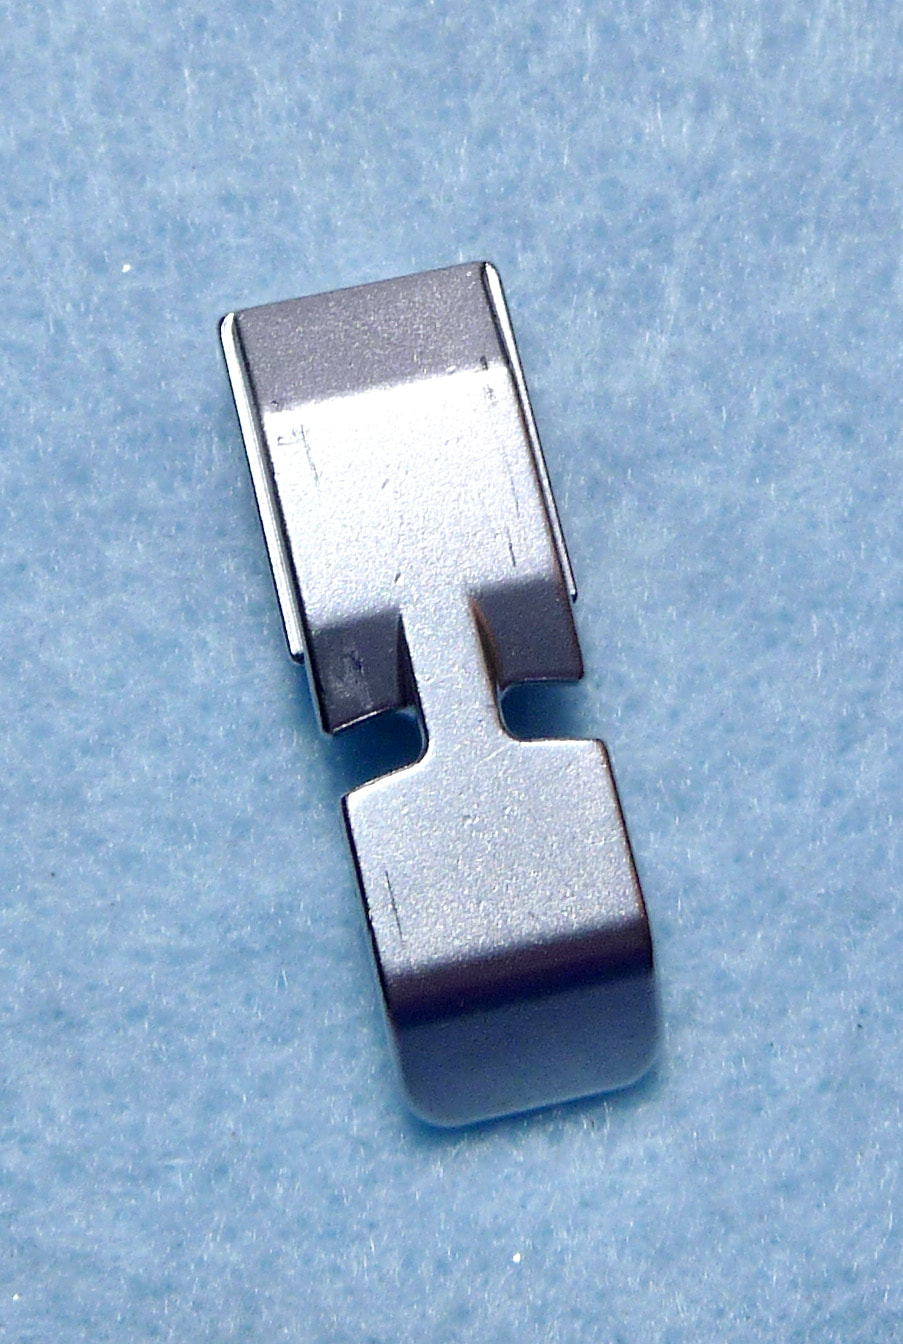
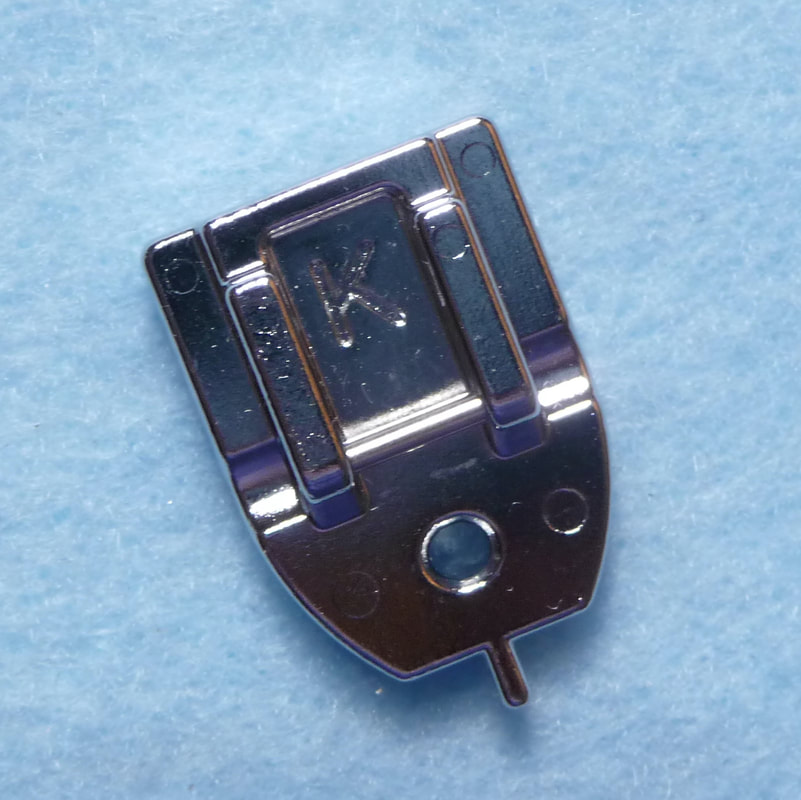
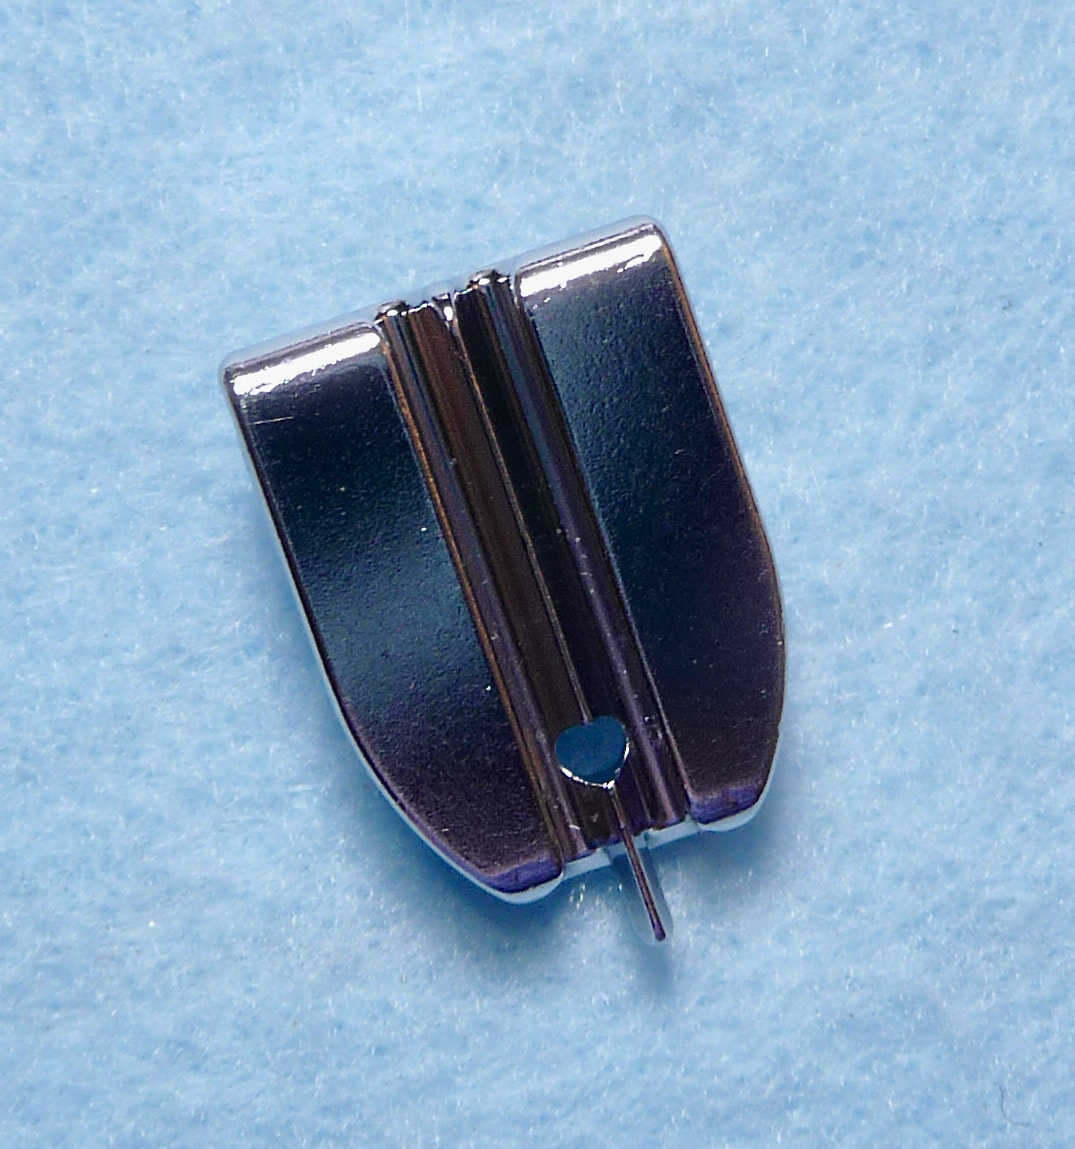
During this live show, I shared many of my top tips for successful zipper stitching and gave a detailed explanation of various zipper feet. I'm following up the show by including information on the feet here in this blog post. Keep in mind, as a Brother Ambassador I'm showing feet and referencing part numbers from that manufacturer. However, you'll find most or all of these feet available for just about every modern machine model around.
At the end of this post, you'll find links to zipper stitching videos and even more detailed information to help you zap your fear of zippers!
- In most cases, it’s best to purchase a standard zipper at least two inches longer than what the pattern calls for. Extend the top part of the zipper beyond the edge to avoid having to stitch next to the bulky zipper stop. Pin zipper above the tab to protect form zipping off zipper when cutting to final length.
- The term zipper coils and zipper teeth are used interchangeably. “Teeth” can be molded or made form metal. It’s okay to stitch over polyester coil zippers but never sew over metal zipper teeth.
- Create a new zipper stop when necessary, by stitching a bar tack over the zipper teeth.
- Always interface zipper area to keep fabric from stretching or distorting.
- Consider adding ribbon or strips of fabric with added decorative stitches to extend the width of standard zippers and make them suited for decorative application as exposed zippers.

 RSS Feed