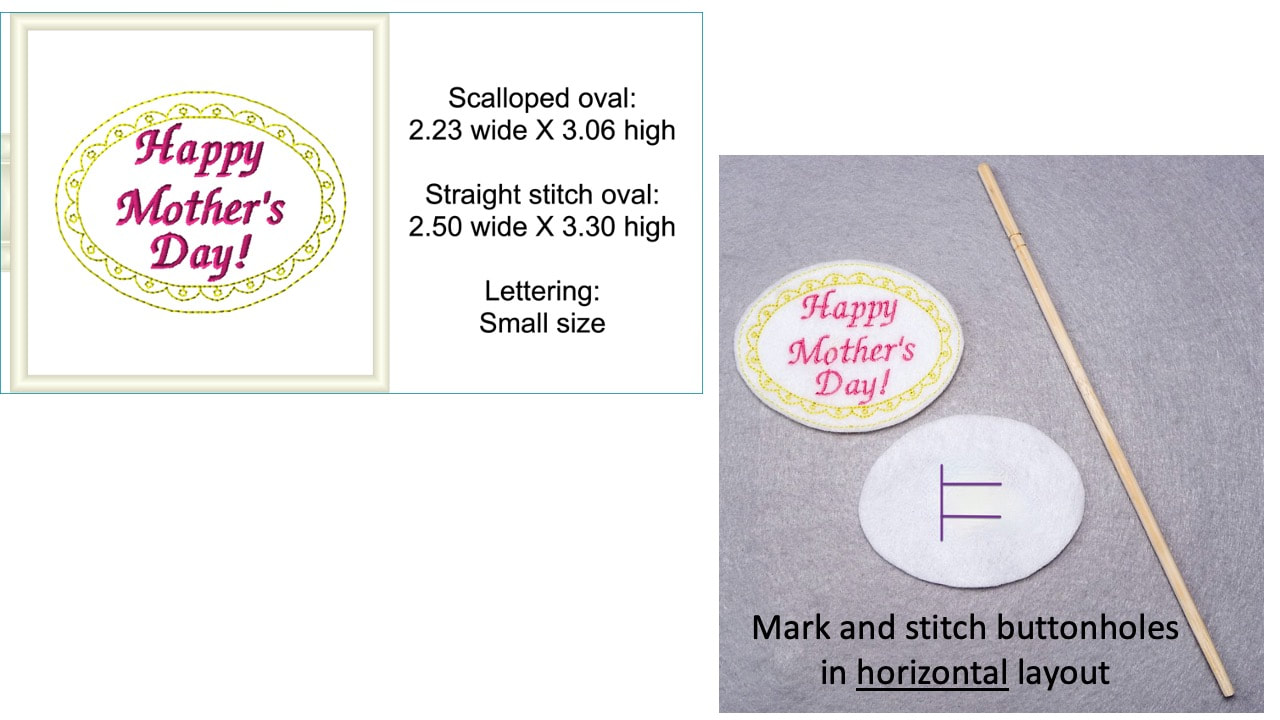
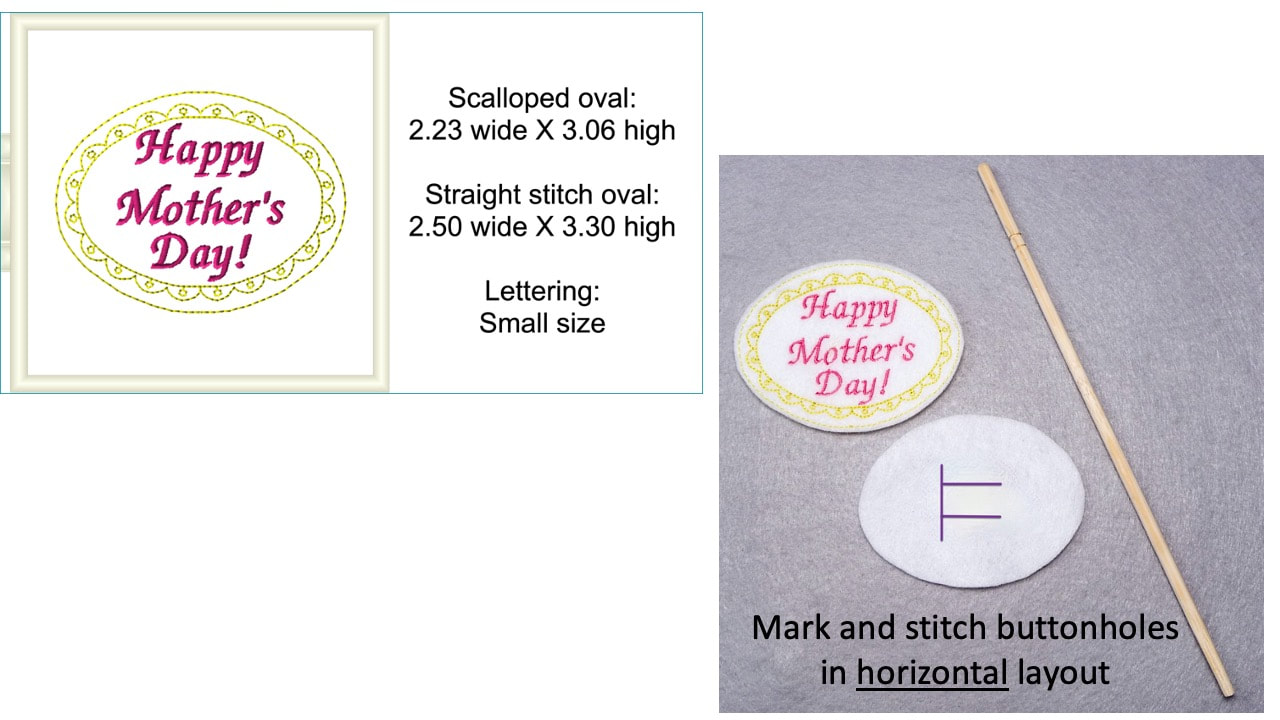
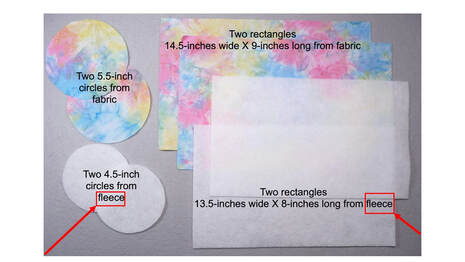
Also, you will need two fabric rectangles AND two fleece rectangles. Below, you'll see a corrected copy of Figure #7 from the original instructions.
|
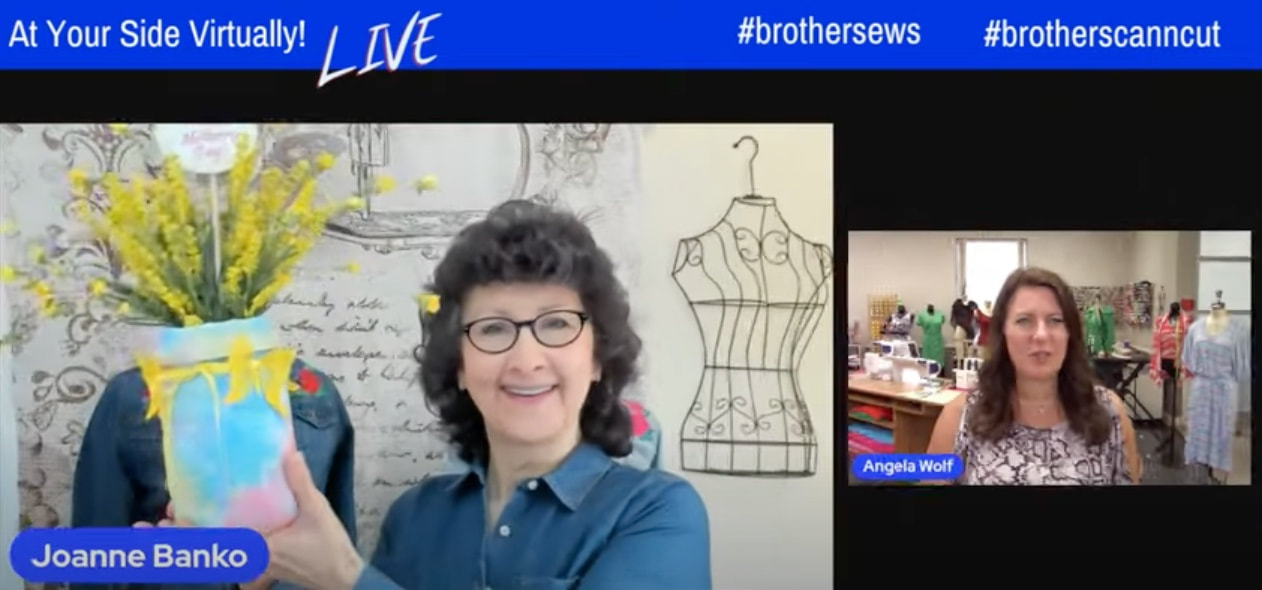
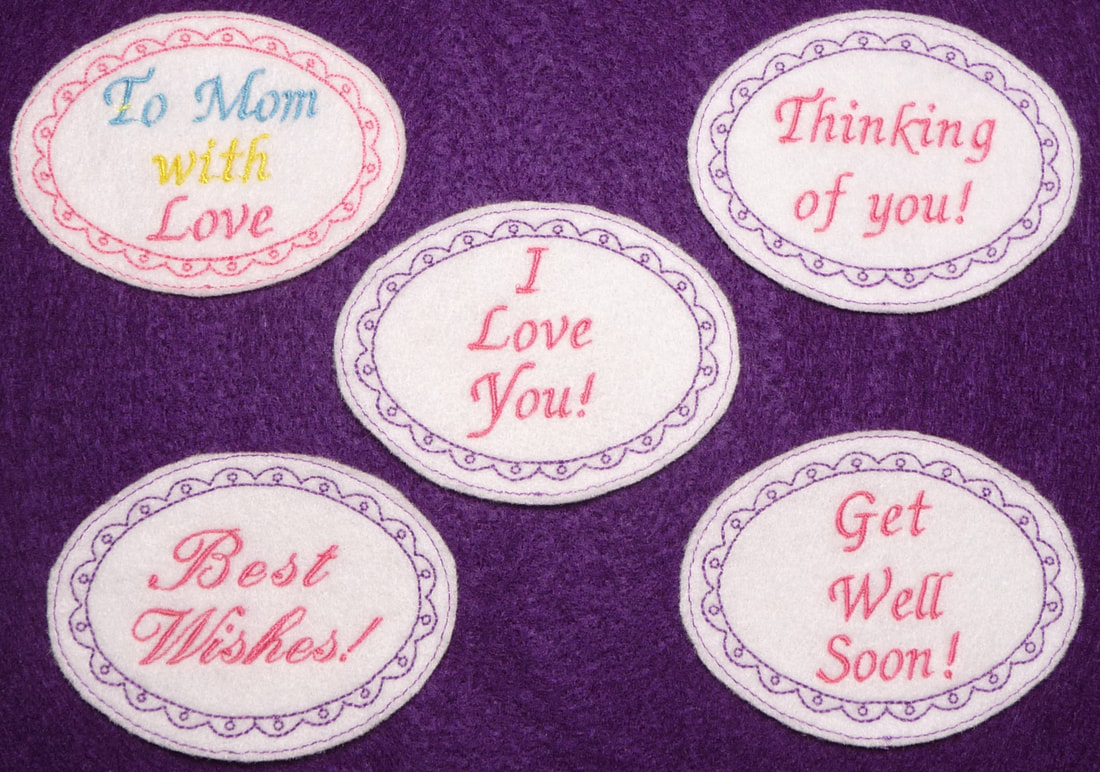
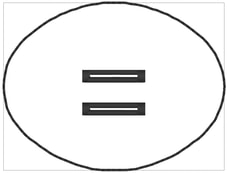
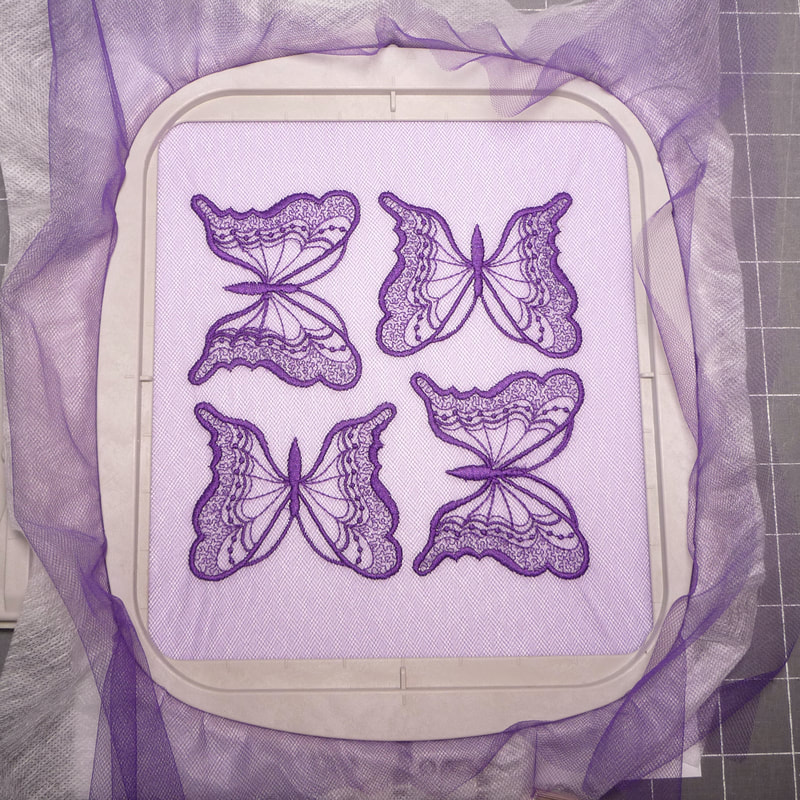
Cover up an ordinary canning jar and use it to hold a bouquet of flowers or anything else you choose! This is my most recent project created for Brother while wearing my Brother Ambassador hat. It includes a free design available for a limited time from Brother. You'll find complete instructions, plus a link to the lacy butterfly design when you CLICK HERE. In addition to producing the project and instructions, I covered the project during the Brother Sews live show. You can watch the replay video below: There are a few different ways you can use this project. Options include creating greetings for other occasions. Take a look at the samples below for more ideas: These quick to stitch greetings are embroidered on inexpensive craft felt, using frame shapes built in to Brother embroidery machines. In the instructions and the video, you'll see that I created another oval for the back. This back piece has buttonholes that serve as a way to mount the greeting by slipping it onto an ordinary chopstick. Note that the original instructions show the buttonhole markings vertically on the felt. I apologize for the error, as seen in Figure #4 in the original instructions. The images you see in the photos above show the correct layout for the buttonholes. -------------------------------------------- Embroidery is all about options! If you have the ability to add small buttonholes on the embroidery side of your machine, you can make a matching oval in Embroidery Edit mode using the same size as the one for the greeting and add the buttonholes right in the center for quick stitching of this back piece. The free butterfly design is sized to fit within a 4-inch hoop. However, if you have larger hoops sizes you can consider embroidering multiple butterflies in one hooping. By rotating and moving the butterflies, I was able to stitch a total of four in my SA448 6-inch hoop. I'll repeat the fact that you'll find complete instructions when you visit the official Brother blog. I'd like to make you aware that there are two errors in the instructions. The first is the orientation of the buttonholes as shown above. Be sure to stitch them horizontally. Also, you will need two fabric rectangles AND two fleece rectangles. Below, you'll see a corrected copy of Figure #7 from the original instructions. I hope you enjoy this project! Feel free to leave your comments or questions below. Happy sewing!
0 Comments
Leave a Reply. |
Author:Joanne Banko Archives
March 2024
*As a believer in full disclosure, I'd like you to know that Blog posts may contain affiliate links for products and services I know and trust. Purchasing items through a link marked * results in a small commission for me, with no extra charges for you.
Categories |

 RSS Feed