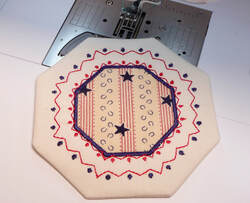
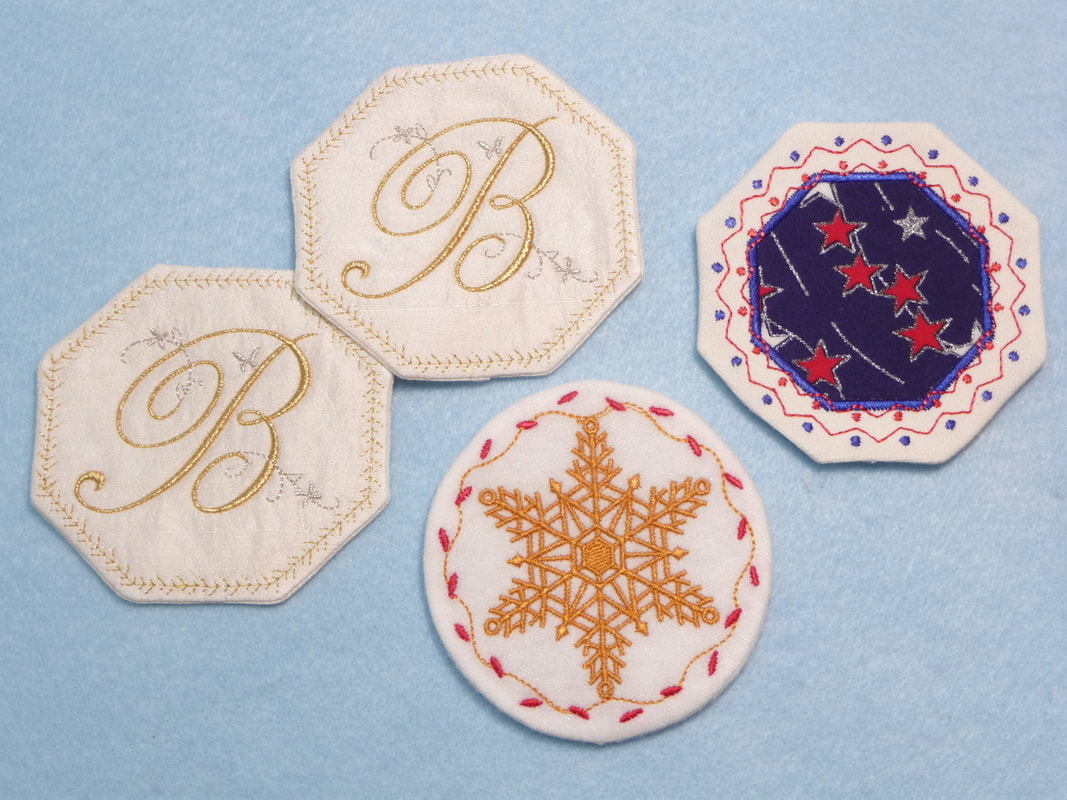
On show 1506-2, I created coasters with silk dupioni, metallic thread, and included a sheer organza gift bag. You can watch this episode HERE on my YouTube channel.
Link to video #1: Create Custom Coasters using Brother Built-in Frame Shapes
Link to video #2: Extra Tips for Re-sizing Appliqué and conserving Fabric
Let's me outline general supplies you'll need and the steps to create:
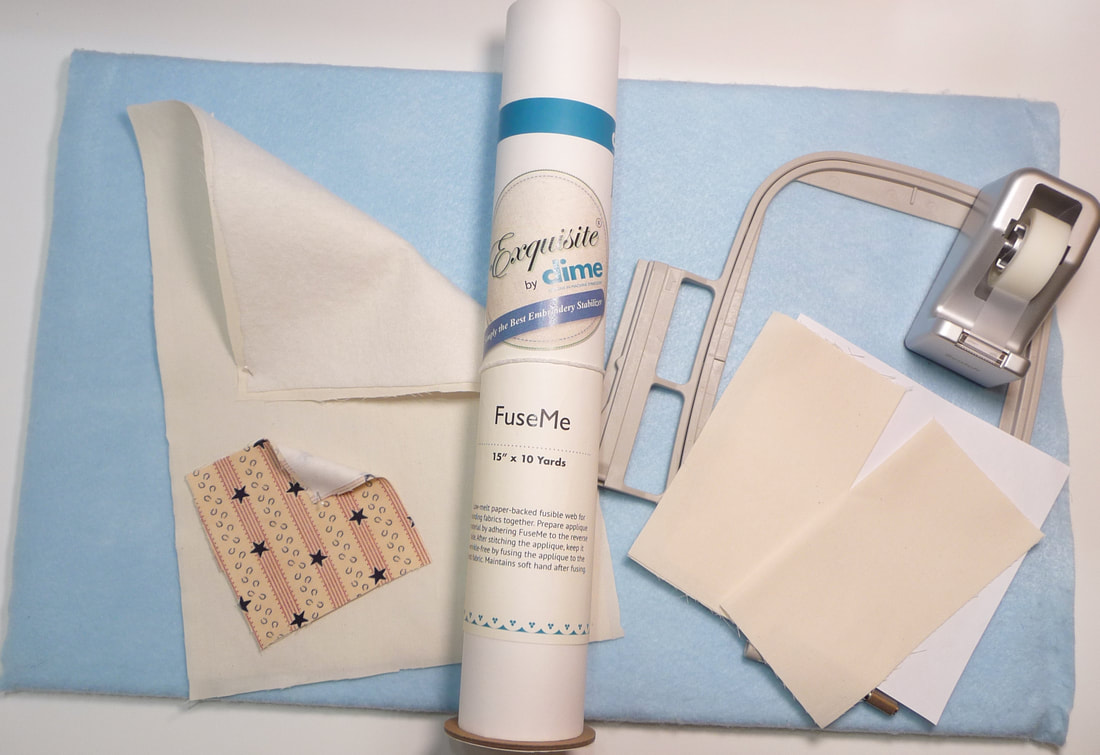
- Select fabric & batting. Quilting cottons, fancy fabrics like silk dupioni, and even ordinary craft felt will work. My preferred method is to cut coaster fabric to fit required hoop size and add a layer of cotton batting or fusible craft fleece, hooping the fabric and fleece together for the top side of the coaster. If you're creating a coaster using my method for adding an appliqué, you'll need contrasting fabric pieces, cut slightly larger than your appliqué shape. Steps for adding an appliqué shape are detailed in the video. I prefer to back my appliqué fabric with fusible web such as the Exquisite FuseMe fusible webbing by DiME. Once the coaster is all finished I give it a good press and my appliqué piece is throughly bonded to the coaster.
- Select fabric for backing the coaster. I prefer to use the same fabric on the back as I did for the top part of the coaster. Back pieces need to be cut to meet in the middle if you want to add a water resistant filler to your coaster, but they can be cut larger to overlap at the back if you wish. Felt can be cut single layer but woven fabric needs to be cut on a fold. The video shows how to create a custom pattern to determine size for back coaster pieces. Be sure to securely tape pieces in place to avoid shifting during embroidery. I used ordinary Scotch® Magic™ Tape and stitched right through the tape.
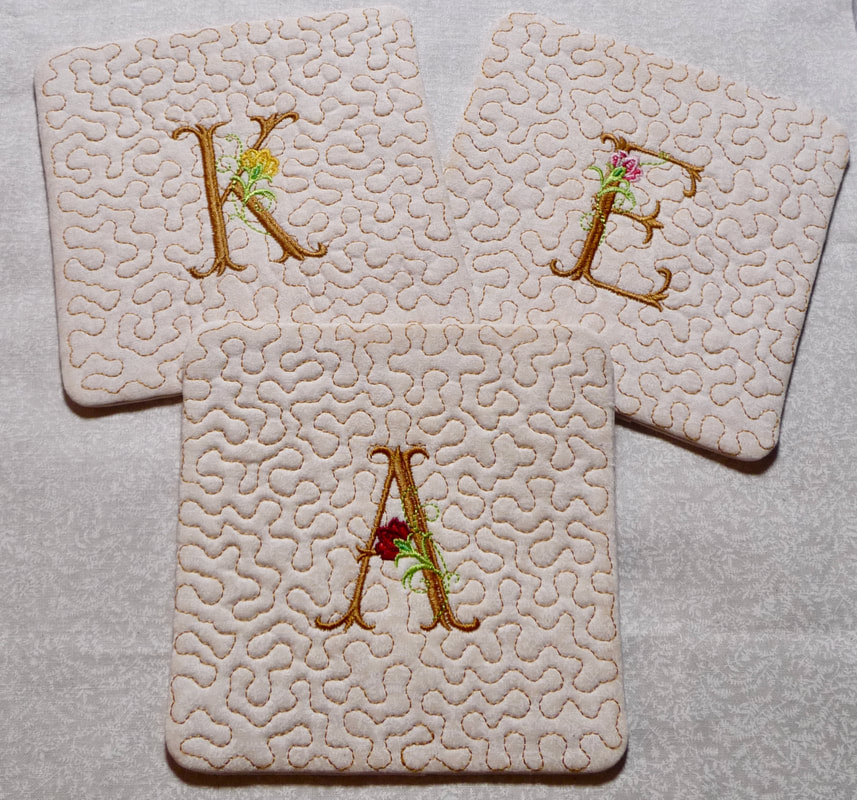
- Decorative frame shapes and lettering can easily be added to your coasters. Just remember, you'll want to stitch decorative frame patterns before adding the back pieces. In addition, for stipple fill coasters you'll add the monogram after the stippling is done on top, but before the backing is added to finish the coaster.
- Insert a piece of vinyl shelf liner or cork to make your coaster water resistant.
Follow the steps shown on the video to create custom coasters you'll be proud to use or give as gifts! Feel free to leave your comments or questions below!
 RSS Feed