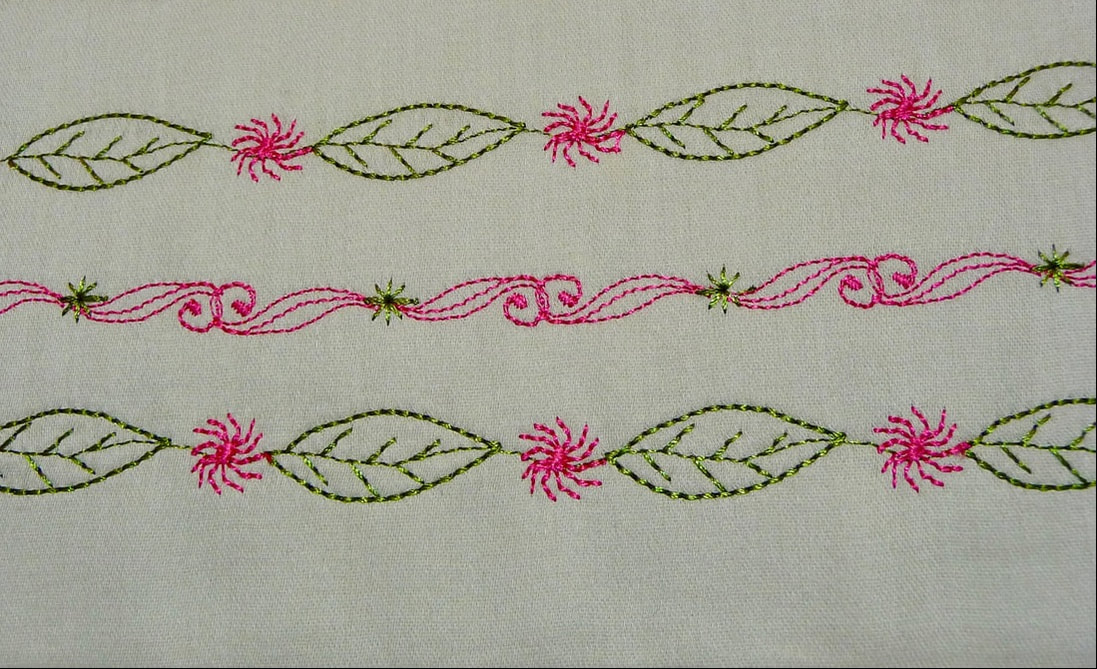
The photo above shows an example of combining decorative stitches for a technique sometimes referred to as stitch stacking. Essentially, it's simply creating a mix of decorative stitches, forming a blend of decorative elements by stitching a line of combination stitches with "purposefully planned" space left in between.
I originally showed this on It's Sew Easy TV show 1713-2. You can watch the full video on my YouTube channel HERE, and download a coordinating PDF instruction file HERE.
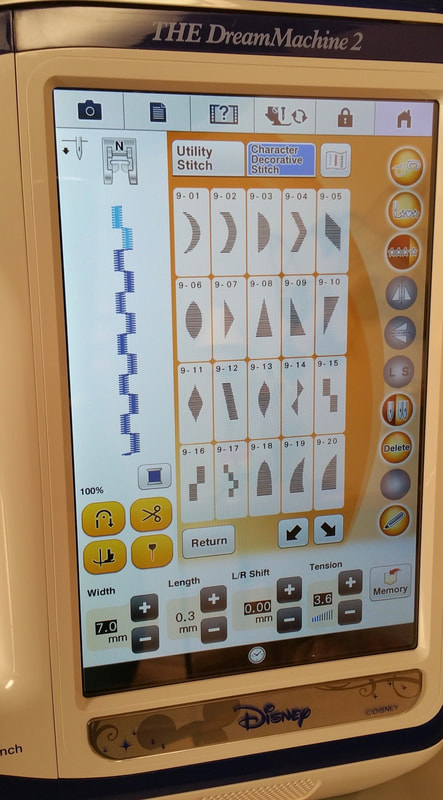
I used some special features in the Brother Dream Machine to create these particular combinations. The technique is rather straightforward as you'll see in the paragraphs below. I encourage you to explore the possibilities for this technique by experimenting with features built into your own machine.
Many computerized machines offer the opportunity to add decorative stitches together and then stitch them out either as a single element or continuously as a row. To start, program a decorative stitch followed by a series of straight stitches. Adding in the straight stitches leaves room for you to select another decorative stitch, thread with a second color, and then add single motifs on top of each area where the straight stitches were formed.
I originally showed this on It's Sew Easy TV show 1713-2. You can watch the full video on my YouTube channel HERE, and download a coordinating PDF instruction file HERE.
I used some special features in the Brother Dream Machine to create these particular combinations. The technique is rather straightforward as you'll see in the paragraphs below. I encourage you to explore the possibilities for this technique by experimenting with features built into your own machine.
Many computerized machines offer the opportunity to add decorative stitches together and then stitch them out either as a single element or continuously as a row. To start, program a decorative stitch followed by a series of straight stitches. Adding in the straight stitches leaves room for you to select another decorative stitch, thread with a second color, and then add single motifs on top of each area where the straight stitches were formed.
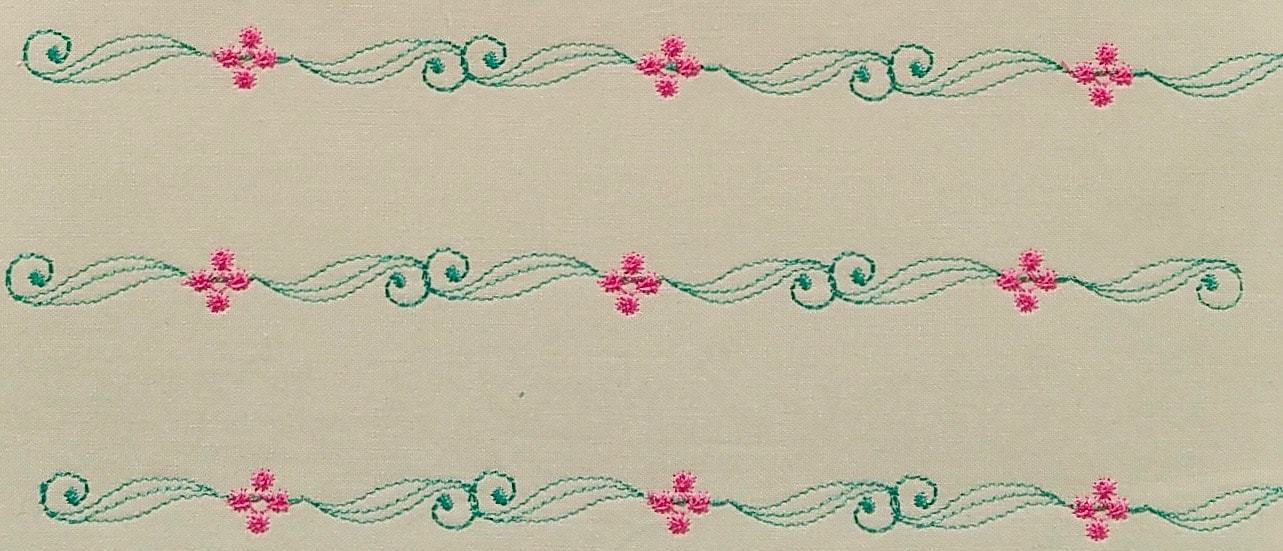
If you don't have the opportunity to add straight spacer stitches, start by sewing a row of decorative stitches and then add additional motifs in a second color on top of or next to the first row. See stiches below for an example.
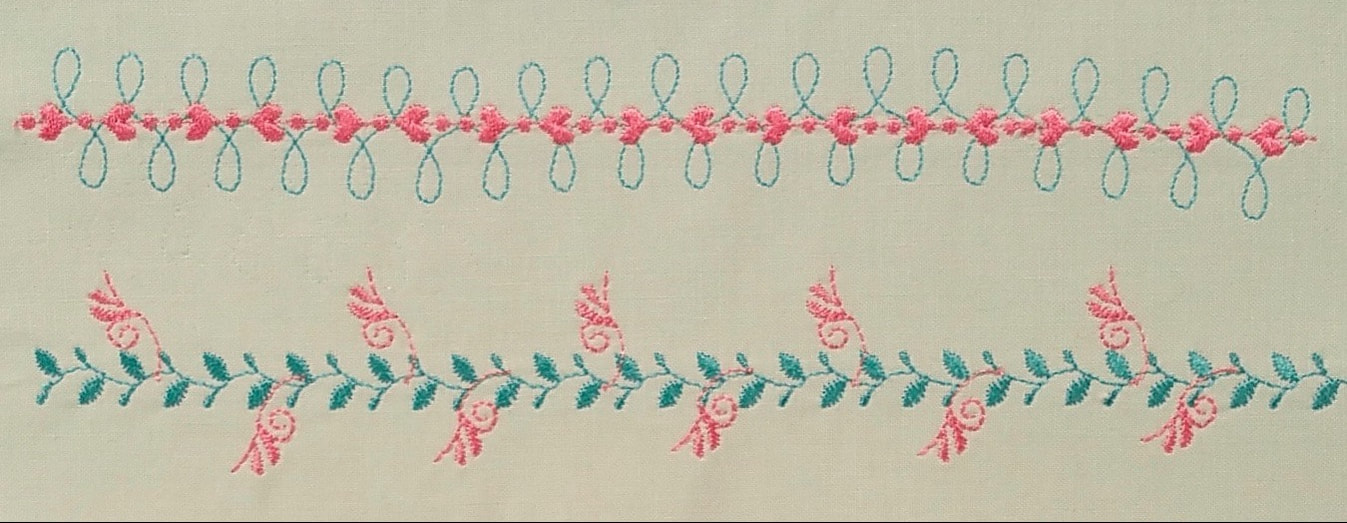
You can see that this technique gives you the opportunity for creating endless combinations of stitches. The built-in menu of decorative and the capabilites of your personal machine will vary.
Decorative stitches are found on all but the most basic of machines. If your decorative stitch menu is limited, you can still create some great looks. Take a few minutes to review the tips below and see if they help you create mini embroidery with the capabilities of your own personal machine.
Decorative stitches are found on all but the most basic of machines. If your decorative stitch menu is limited, you can still create some great looks. Take a few minutes to review the tips below and see if they help you create mini embroidery with the capabilities of your own personal machine.
Decorative Stitch Tips and Tricks
- Unless your fabric is very firm you will need to add stabilizer for properly formed decorative patterns. If the wrong side of the fabric will never be shown you can use fusible interfacing to firm up your fabric.
- Another option is to use tear-away stabilizer as a backing. Note that it's almost impossible to remove all of the tear-away stabilizer when finished. If your fabric is sheer, or semi sheer, some of this may show through. In this case you could opt for a liquid stabilizer. This makes fabric as firm as paper and is easy to wash away. CLICK HERE and check out this tutorial to learn more about liquid stabilizers.
- Thin quilt batting or thin fusible fleece can also serve as stabilizer if you would like to add a bit of loft to your fabric.
- Consider sewing multiple rows of decorative stitches to create a band of mini-sized embroidery patterns. You can choose to mix and match stitches or use repeats of the same pattern. Choose a monochromatic color scheme for an elegant look and then use thread colors that are just a few shades different than your base fabric.
- Size 11 embroidery needles and the same type of embroidery thread use for hoop embroidery is ideal for sewing decorative stitches. Wind a bobbin with the same thread you are using on top when sewing decorative stitches with an open style design.
- I usually make an exception to this rule when choosing satin style motifs like the ones shown above. For these, I like to use 60 weight white bobbin thread, the same kind I use for machine embroidery in a hoop. These patterns are usually balanced so that the tension is a bit looser on the top, allowing for the tops thread to pull slightly to the underside. Therefore, the bobbin thread never makes it's way to the top. This also means you can easily switch top thread colors without having to change the bobbin.
I hope these tips help you get more out of your machine and enjoy using decorative stitches for a mini embroidery effect! I'd love to hear your thoughts and read your comments below.

 RSS Feed