|
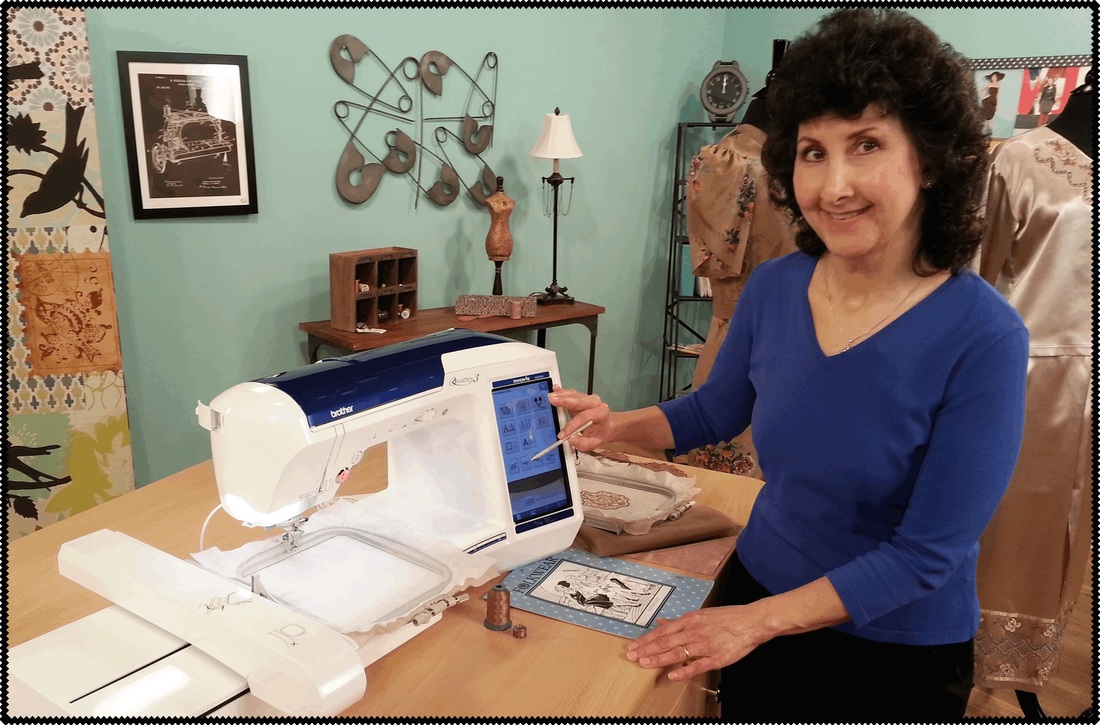
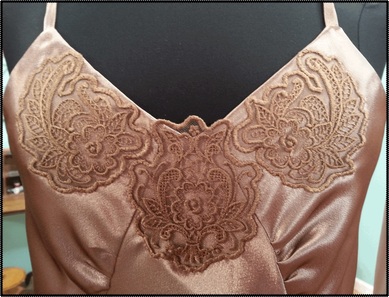
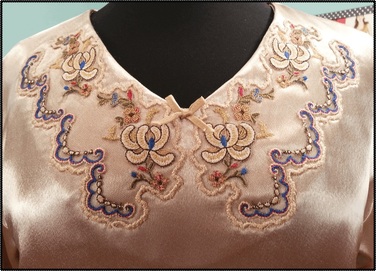
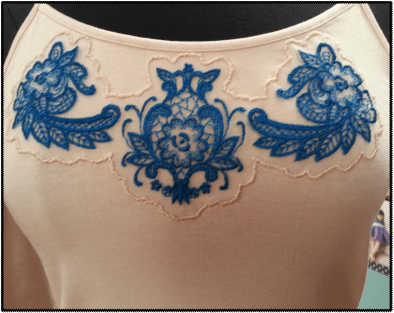
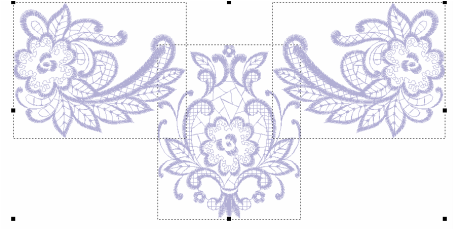
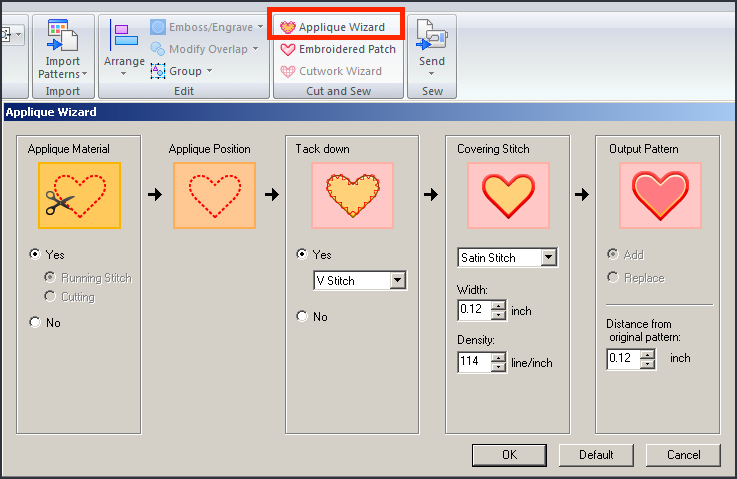
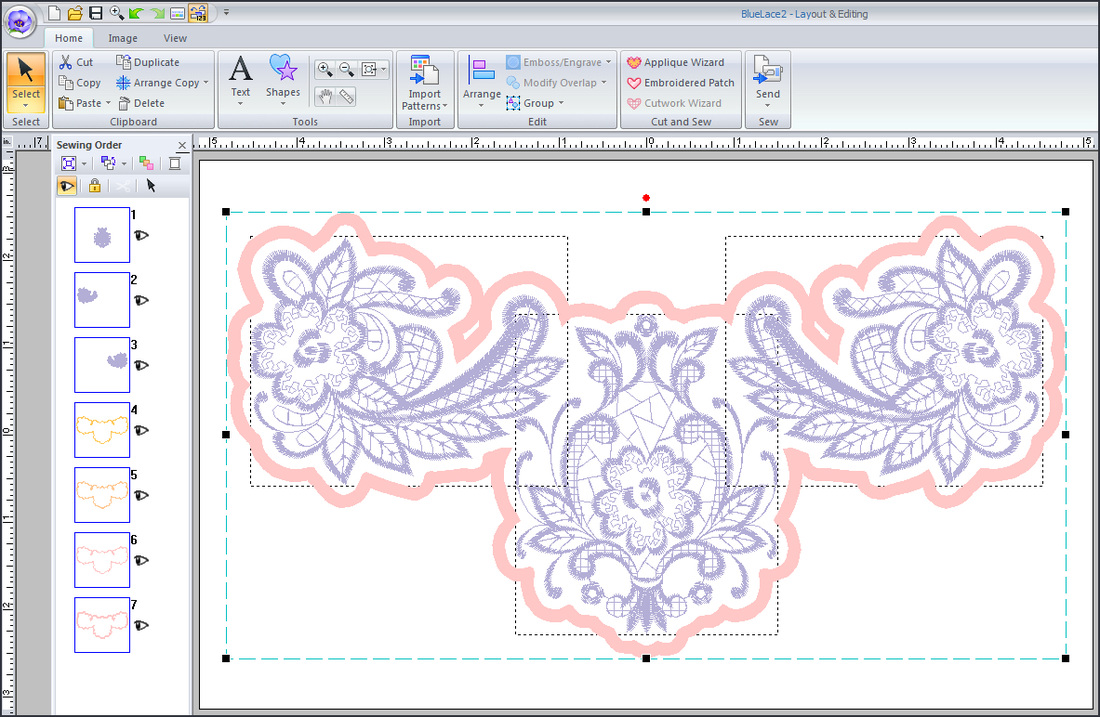
I can’t tell you how much I enjoyed preparing this segment for the It’s Sew Easy TV audience. Making your own lingerie and loungewear is so rewarding and it's a good excuse to spoil yourself with something extra pretty. So many of us live casual lifestyles these days and don't often get to dress up in garments with fancy details. Wearing something around your own home or under regular street clothes will give you that "dressed" up feeling. Browse through catalogs or visit stores that carrying pretty pajamas and high-end undergarments and you’ll see it's the details that make the difference. Simply put, details like lace transform plain lingerie to star status. The classic slip in this episode is the perfect example of star quality with shimmering yet budget priced fabric and a little bit of lace made from nothing more than thread and fine netting. By the way, the pattern comes from my friends at Folkwear.com. Read more by visiting their Facebook page. You'll see three lacy neckline treatments on the garments featured in this episode. These three neckline appliqués were created using a special feature found on select Brother embroidery models. However, it is possible to do this with software. I like to call embroidery software the great equalizer. It affords the opportunity to add advanced techniques to an embroidery model with less than top of the line capabilities. Below you'll find a brief tutorial showing you how to create the lace appliqués using the Brother PE Design 10 software program. Step 1. Open the Layout and Editing portion of PE10. Use the Import function to bring in your desired lace designs, then copy, paste, and rotate, and flip until you have a combination that is suitable for the hoop size you are using. Center the design in the hoop and make sure you have some extra room all around the edges. Note: I used the 9.5 X 14 hoop to make the maximum size lace appliqué. Step 2. Move the designs close together so they form one continuous appliqué and then click Select All. Click on the Appliqué Wizard tool from the Home tab. Use the default settings below or vary the width of the satin stitching as desired. Step 3. Save the finished design and transfer to your machine. Step 4. Embroider and attach the design using the methods described in It's Sew Easy TV episode 906 show notes and shown on the video. Enjoy! This episode is available to watch 24/7. CLICK HERE to go directly to the video. Be sure to download a copy of the show notes for episode 906. You'll find lots more information on lace making in these written instructions. You will also find a link for free design downloads directly from the Brothersews website. These free designs are the same as the ones featured in the tutorial above. I hope you enjoy making your own lace appliqués!
1 Comment
Rebecca
4/10/2016 05:45:42
I love this program look forward to it like coffee ty
Reply
Leave a Reply. |
Author:Joanne Banko Archives
March 2024
*As a believer in full disclosure, I'd like you to know that Blog posts may contain affiliate links for products and services I know and trust. Purchasing items through a link marked * results in a small commission for me, with no extra charges for you.
Categories |
|
|

 RSS Feed