Both blog posts were created as a follow-up to my recent Tea & Tutorials show featuring Annie Unrein from byannie.com. The replay is HERE on YouTube.
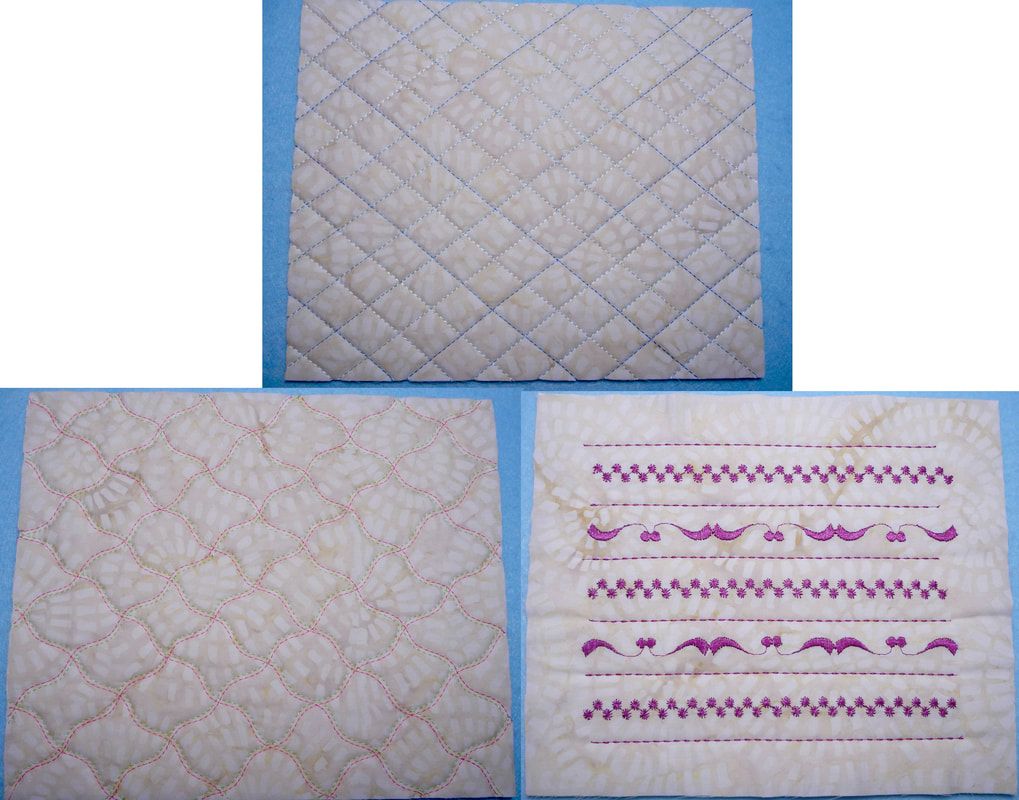
Each of the samples shown here consist of a quilt sandwich made with cotton fabric on the top and bottom and byAnnie Soft & Stable in place of batting.
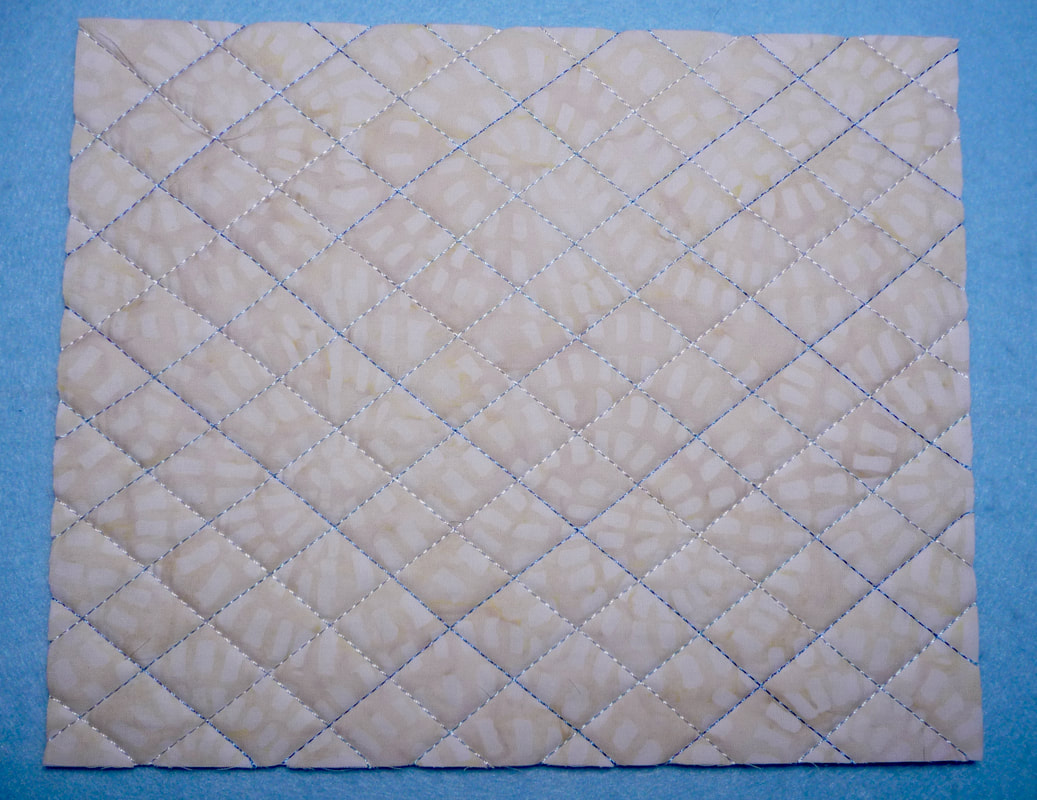
Let's start with straight line channel quilting!
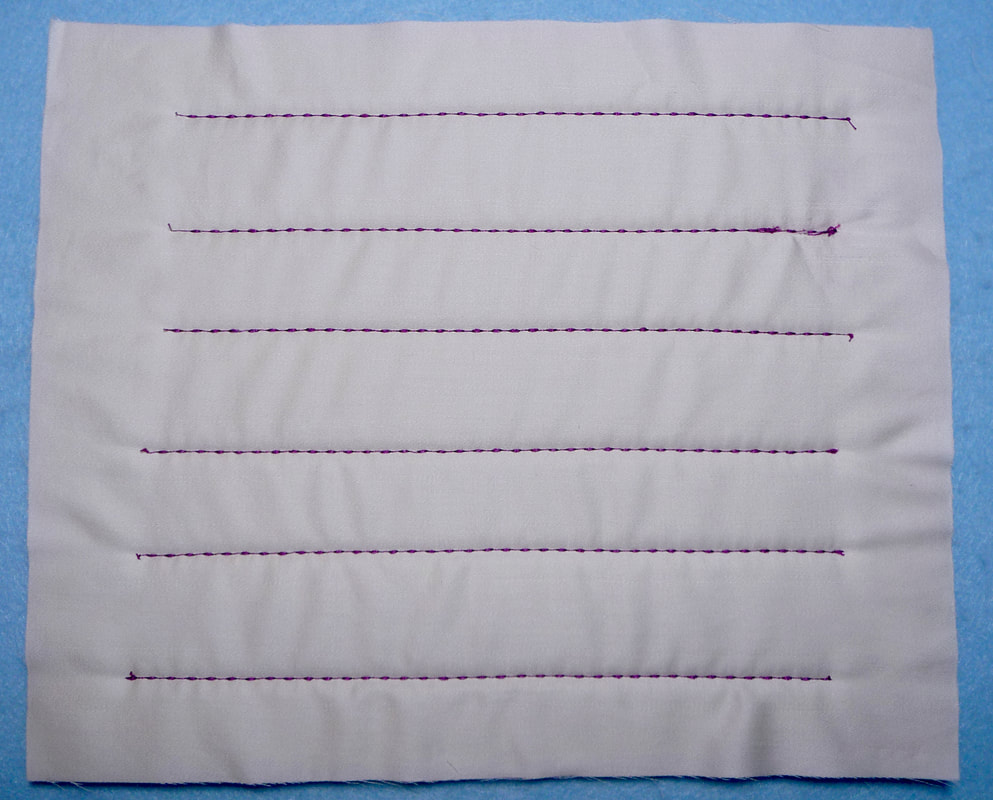
Here is my common process for channel quilting: I start by drawing an X across my fabric from corner to corner. Then, I stitch each line of stitching with a walking foot. For all remaining rows I use a quilt guide with the walking foot to stitch evenly spaced rows. You'll find a YouTube video showing this process HERE.
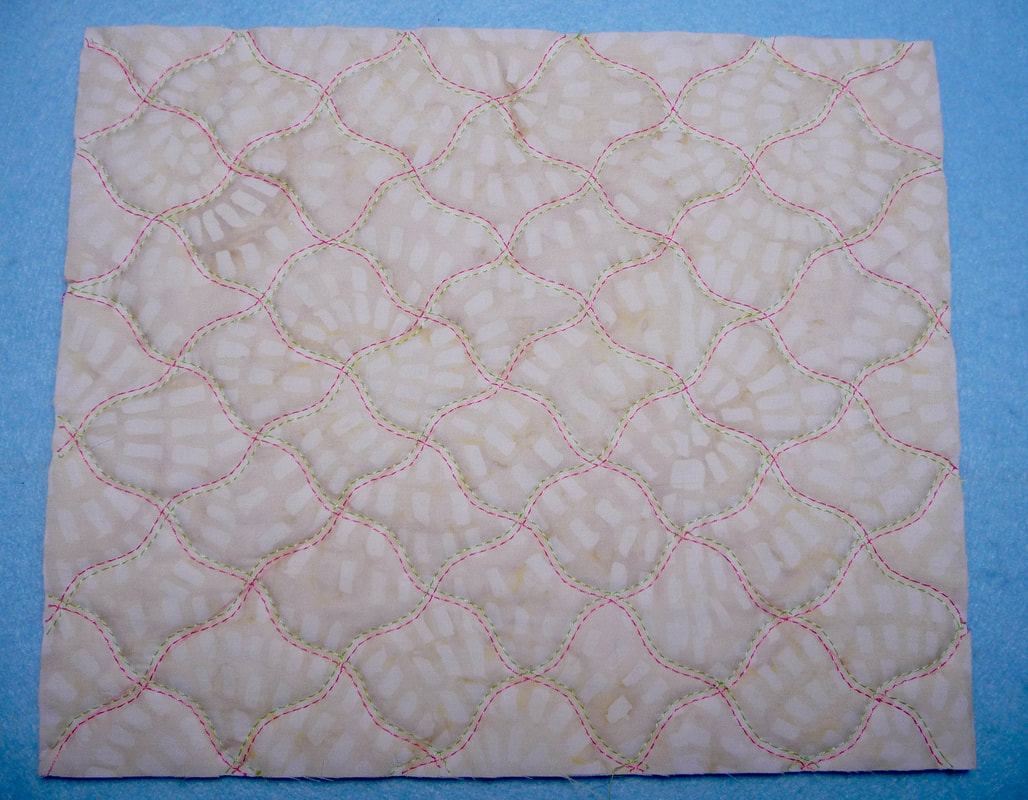
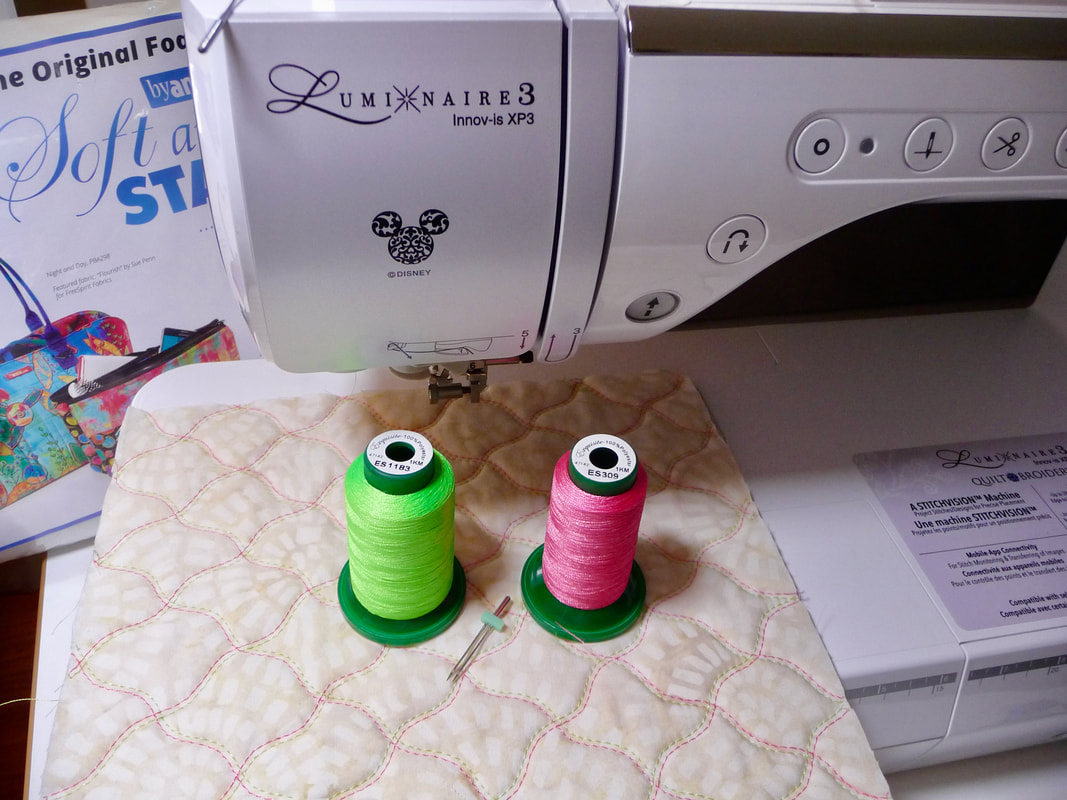
Next technique: Twin needle stitchery!
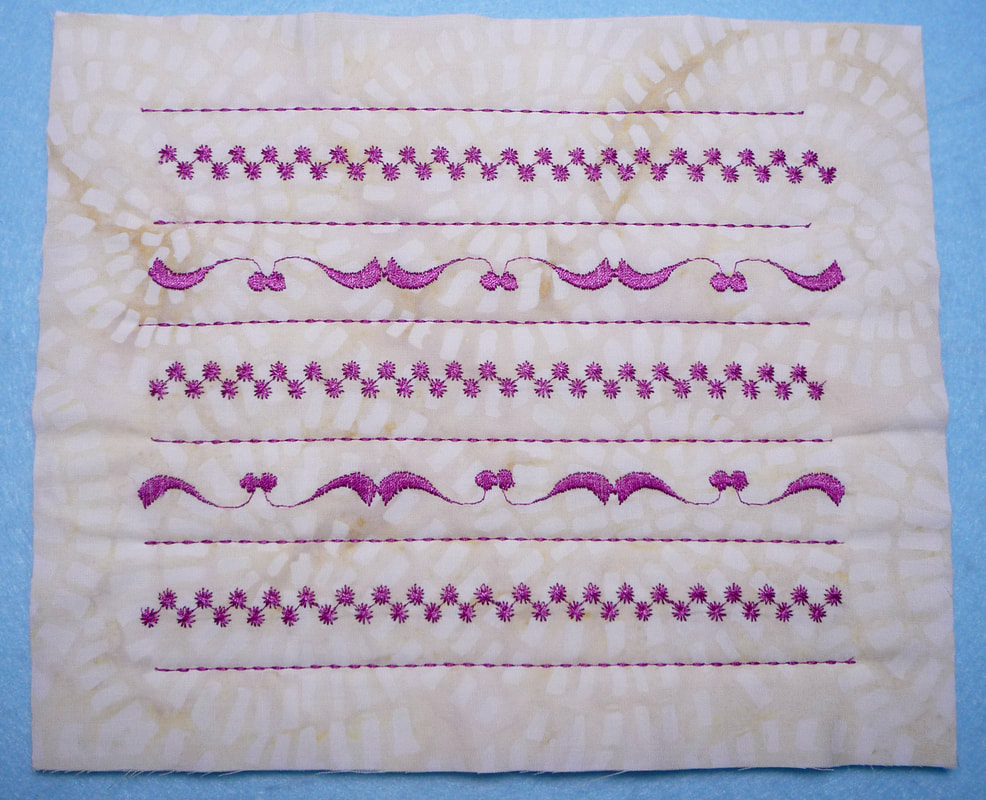
Decorative stitches combined with straight
I know lots of quilters like to feature decorative stitches in their projects too. However, decorative stitches and quilt layers don't always play nicely together. The forward, backward, and sideways nature of decorative stitches can be problematic on thicker layers, causing distortion of the patterns. What's the solution? Well, if you take a look at the next photo, you see that only my straight stitching goes through the entire quilt sandwich. Take a look at the bottom side of my sample below:
I started by stabilizing my top fabric with crisp tear-way on the back, sewed the decorative stitches on just the top fabric, removed the excess stabilizer, then added the backing and foam layers for my quilt sandwich. Finally, I used straight stitches and my walking foot to add quilting between the rows of decorative stitches.
This technique provides the best of both worlds and beautiful results!
I hope you enjoyed this blog post and the featuring custom quilting using byAnnie Soft & Stable in place of batting. You'll find the post titled Custom Quilting wtih Your Embroidery Machine HERE. Leave your comments below and let me know if you have plans to try these techniques and some of your own!

 RSS Feed