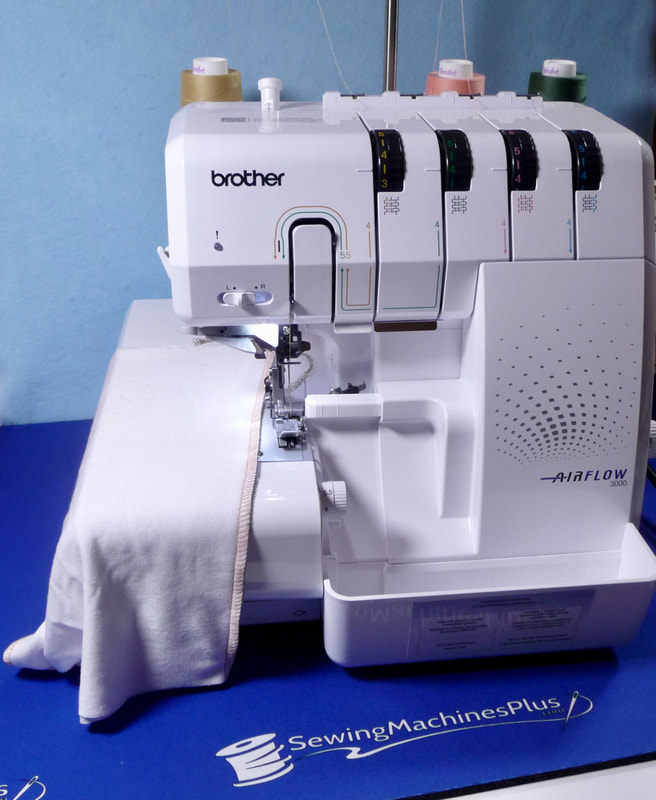
Using the Brother Airflow 3000 serger, I stitched the shirt from start to finish in less than one hour! You can too, if you're familiar with the basics on your own serger model and follow my instructions.
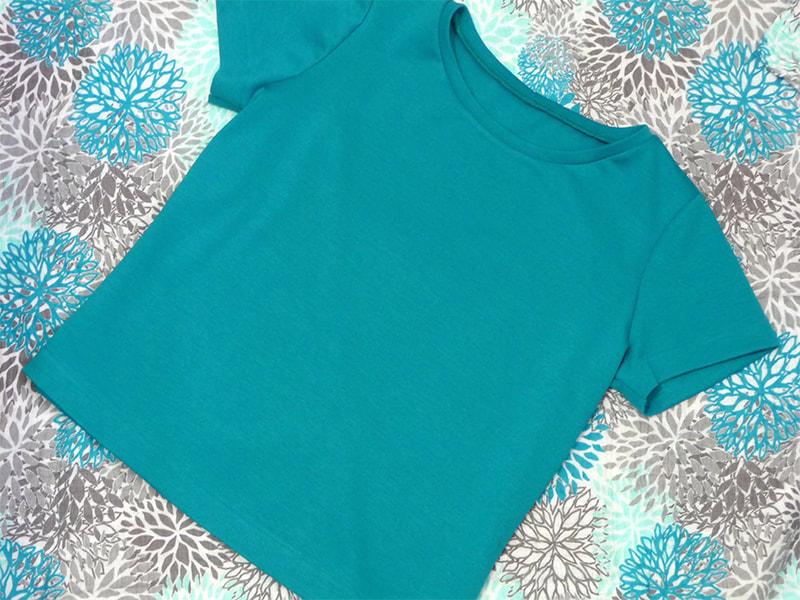
First things first, I have a complete T-Shirt tutorial archived on the Brother blog. In this tutorial you'll see detailed photos of the stitches and what they look like on the actual fabric. You'll find a link later in this post. Here's what the finished T-shirt in the tutorial looks like:
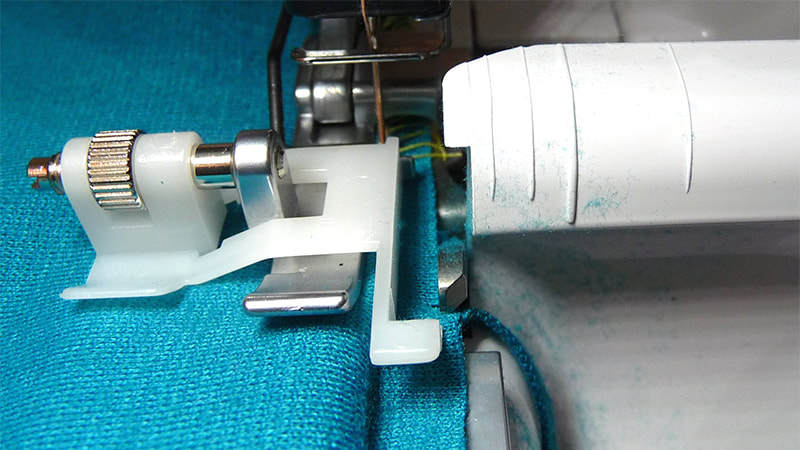
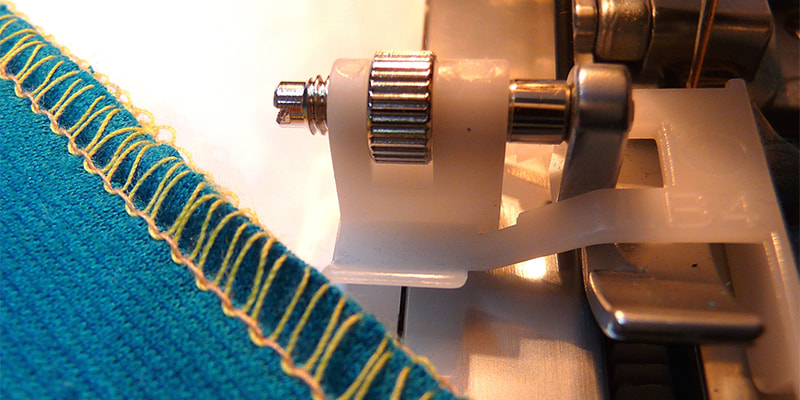
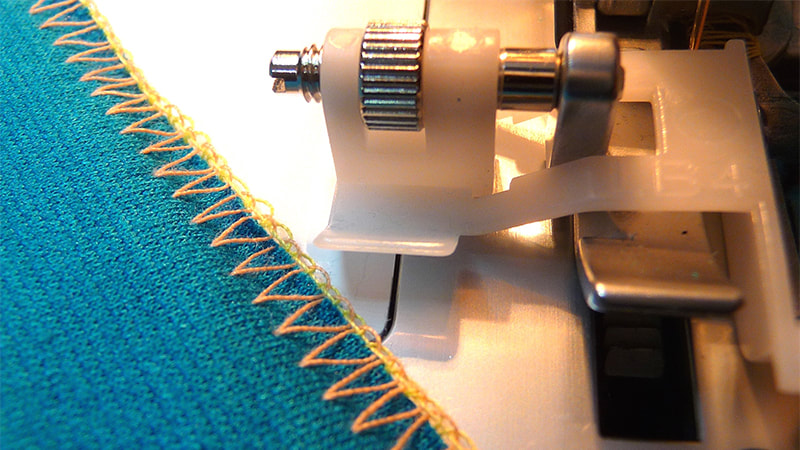
Here's what the flatlock stitch should look like on the top side of the stitch:
Links to my favorite "knit interfacings are as follows:
Pellon SK135 - Fusible lightweight tricot with crosswise stretch and no stretch lengthwise.
Pellon EK130 – Fusible, standard weight tricot. Same characteristics and use as above.
Pellon 460 - Very lightweight knit stabilizer with multi-directional stretch. (My favorite)
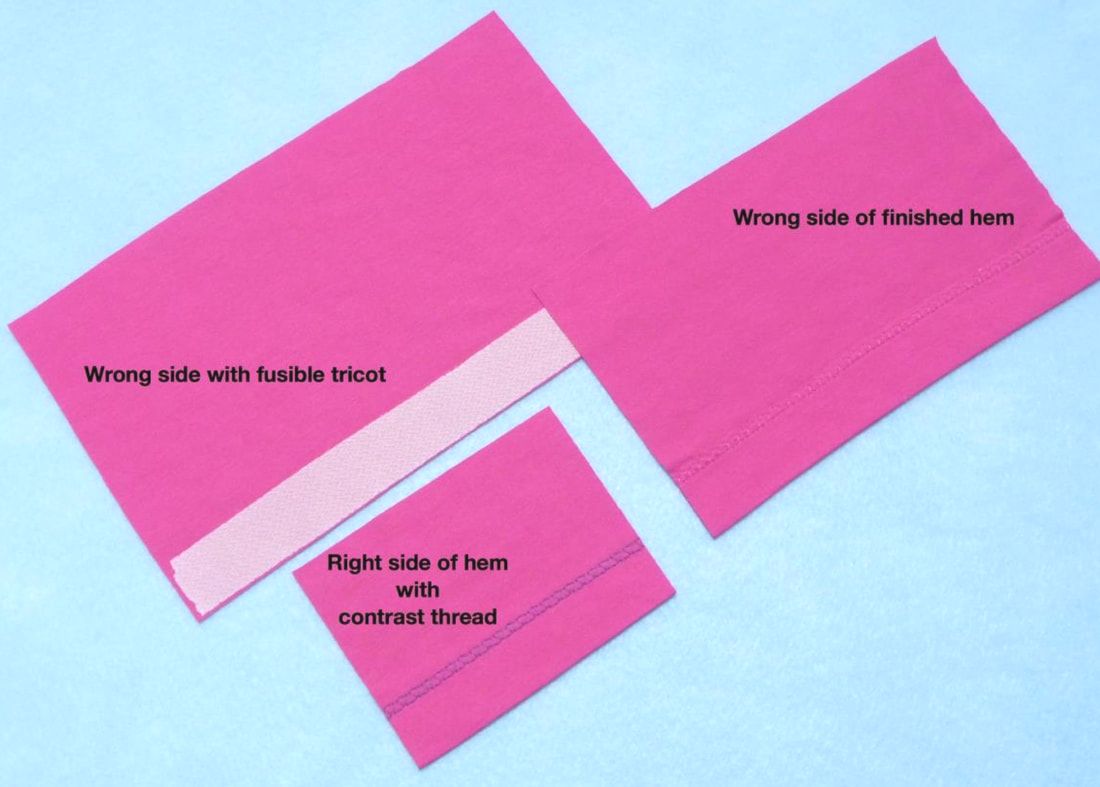
I fuse these strips to my knit hems, then turn up and press the one inch hem before hemming. This works well for hems that are topstitched with a twin needle, cover-hem machine, a stretch stitch on your machine, or the serger style blind hem.
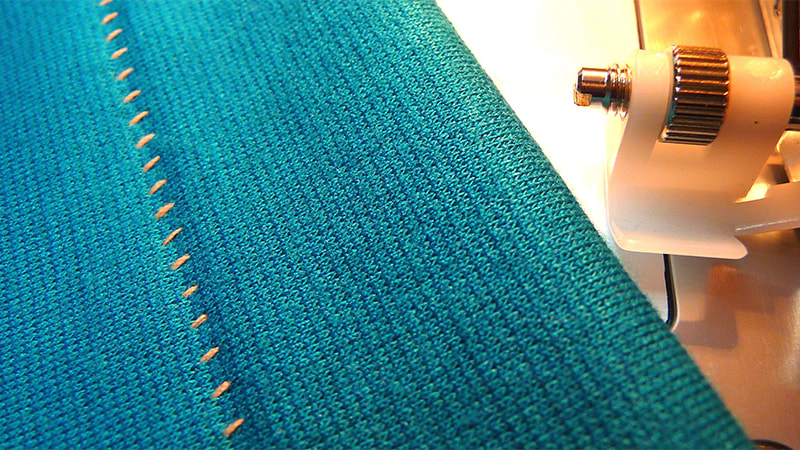
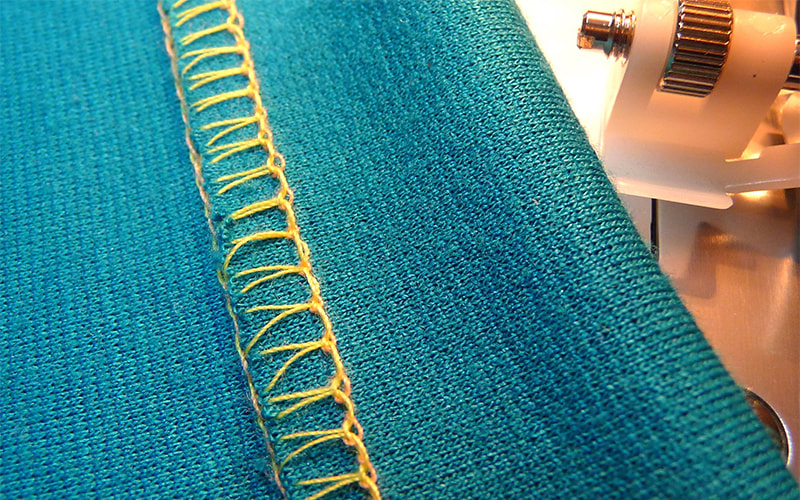
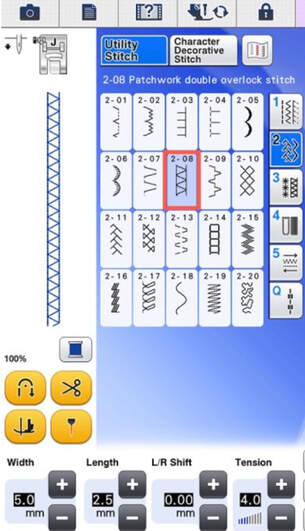
Below are pictures of an alternative T-Shirt hem with the hem stabilized with fusible tricot then stitched using a stitch on my machine that is not only pretty but has a bit of stretch. Note: Be sure to use a stretch needle size 11 for sewing knits on your sewing machine.
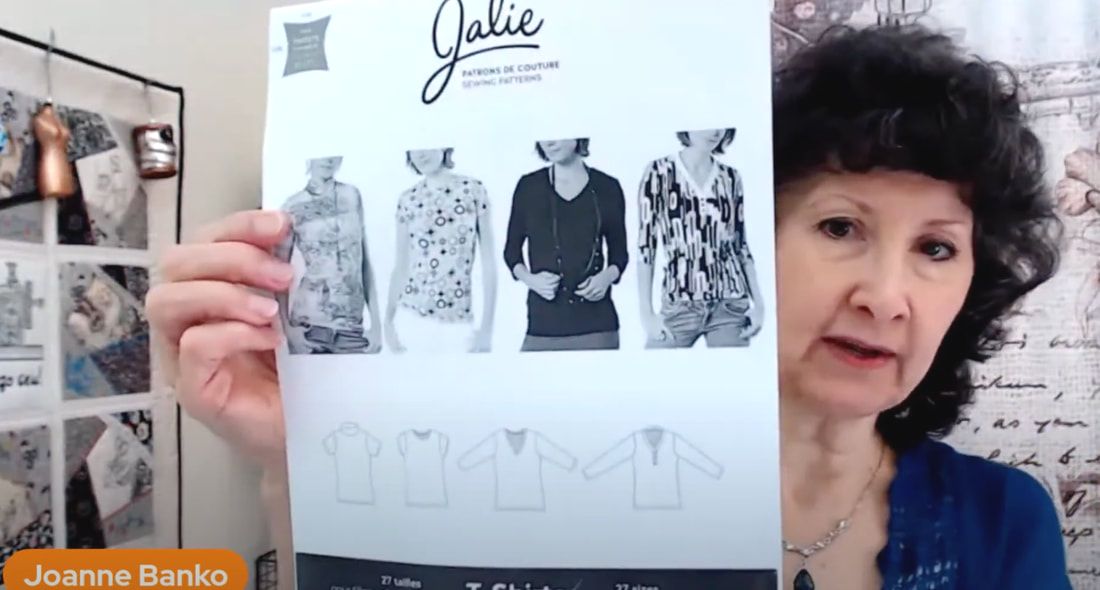
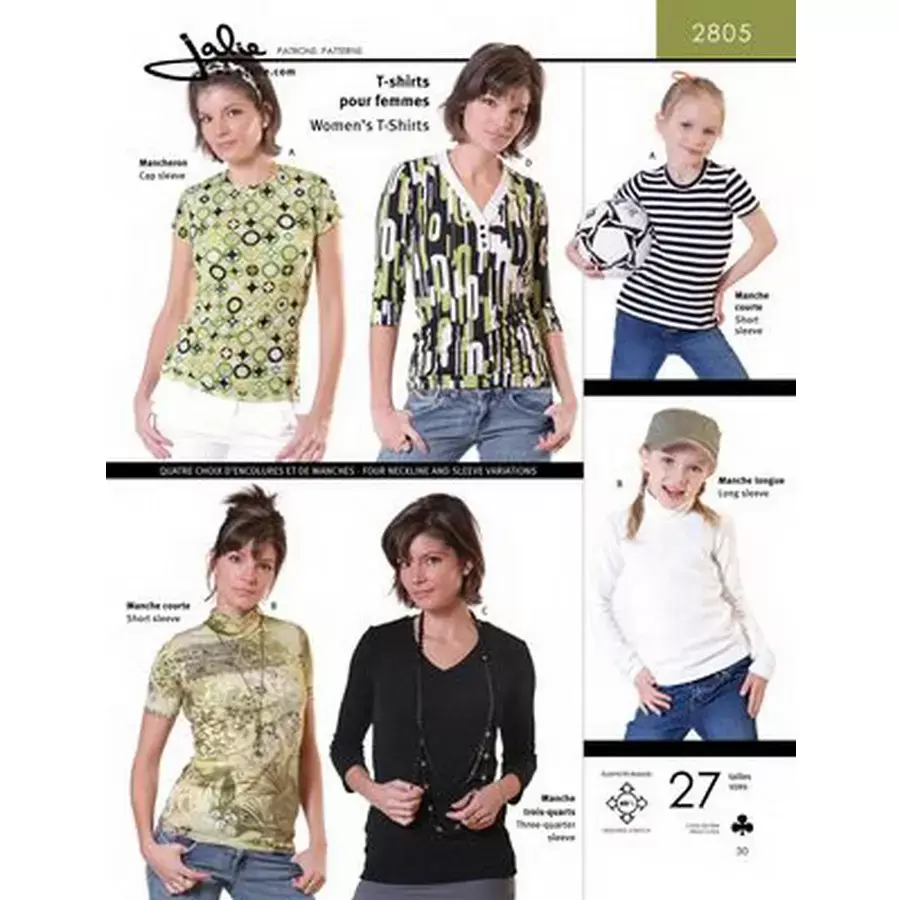
The 1/4-inch seam allowance included in this pattern makes it ideal for stitching with the serger. Take care to find fabric that meets the stretch requirements for this pattern. I always try to make a test garment when using a new pattern. Once I perfect the fit, I'm likely to use it over and over again so I transfer my perfected pattern to pattern transfer cloth such as Swedish Tracing Cloth, or Pellon 830 Easy Pattern.
For sizing my tiral garment, I like to pick my size using the measurements closest to my body, then add additional seam allowance so I have a total of 1-inch for side seams and corresponding sleeve seams, then I baste the seam at the one inch seamline, try on and adjust as necessary. That additional seam allowance can make or break the project as it's easier to take in that it sometimes is to let out a seam.
I hope this gives you some inspriation to make your own knit T-Top! If you'd like more serger sewing inspiration, check out this former live Q&A show titled What Can a Serger Do For You? on my YouTube channel HERE.
Oh wait! Just one more link to a serger Do's and Don'ts post. You'll find it HERE on my site.
As always, I welcome your questions and comments!

 RSS Feed