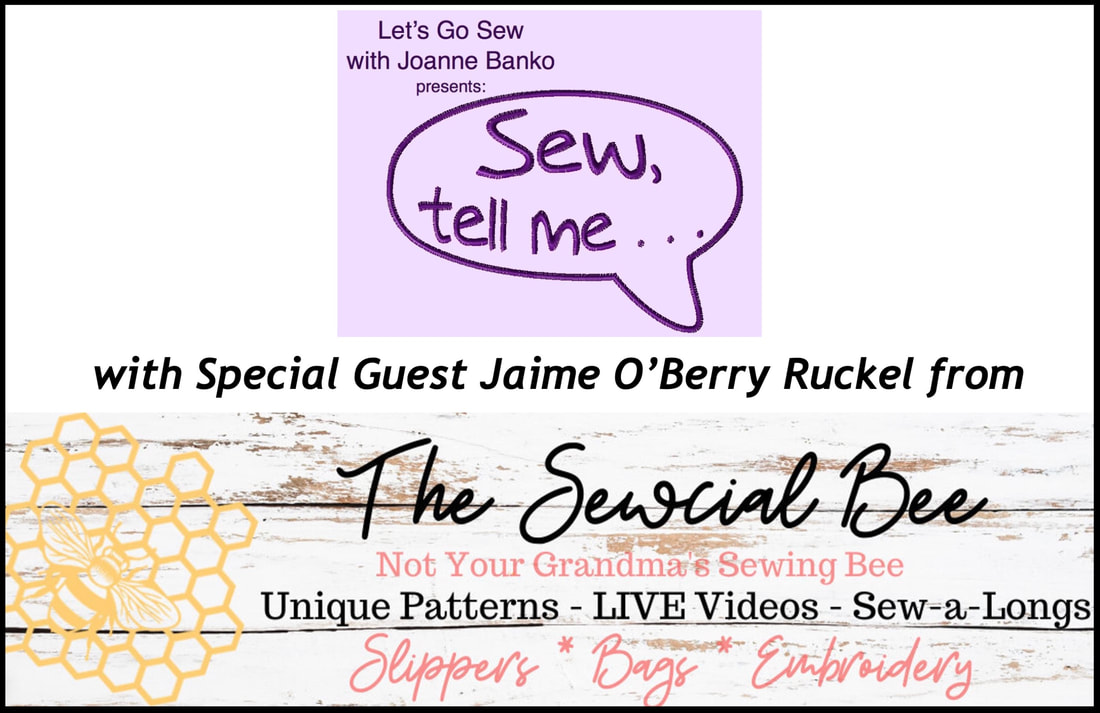
Conversations with Industry Experts and fellow Sewing and Embroidery Enthusiasts just like YOU!
On the fourth Monday of each month you can look forward to a Live YouTube show on my Let's Go Sew with Joanne Banko YouTube channel. In this post you'll find the replay for my April show along with follow up details and extra information I thought you would enjoy. This month my guest was Beth Sweet, owner of Quilts and Lace quilt shop in Melbourne, Florida. You can read Beth's full bio at the end of this post.
I met Beth Sweet a few years back while attending a Brother convention. We had a warm relationship from the very start and knew we would eventually connect one day for a special event.
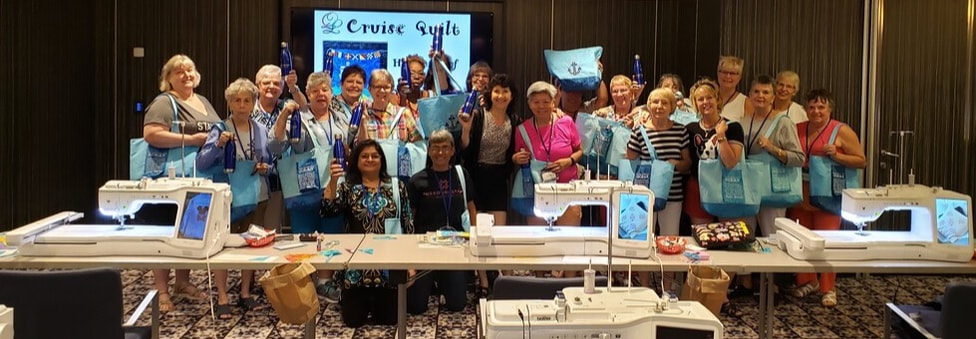
Well, it turns out Beth planned a really big special event in the fall of 2019, putting together a Caribbean cruise with myself, Beth, and Aira Kekäle teaching 21 enthusiastic sewing enthusiasts as we sailed, sewed, and had a wonderful time visiting island destinations together. Allan Reid (aka Aira's hubby) was our invaluable assistant throughout.

Beth and I have stayed in touch ever since! In this new series of interviews, I knew Beth would be the perfect person to talk to about patchwork and machine stitchery both for seasoned quilters and those who are just starting to explore the world of quilting.
Beth shared her own personal sewing journey and told us how she actually did not like sewing at all when she initially started in school, and how she ended up being passionate about piecing quilts. We talked about many ways to get started with quilting and continue advancing your skills with tips, tricks, & tools. She showed us inspirational samples and gave us a peek into classes offered in person for those who are near the shop, and online offerings for everyone else interested in sewing new and fun projects.
Beth shared her own personal sewing journey and told us how she actually did not like sewing at all when she initially started in school, and how she ended up being passionate about piecing quilts. We talked about many ways to get started with quilting and continue advancing your skills with tips, tricks, & tools. She showed us inspirational samples and gave us a peek into classes offered in person for those who are near the shop, and online offerings for everyone else interested in sewing new and fun projects.
April Sew Tell Me Replay!
This show is loaded with tips and ideas! Here is a replay of the 1 hour & 20 minute show recorded on Monday April 26, 2021:
Highlights from the video include:
Quilts and Lace Class schedule:
https://www.quiltsandlace.com/pages/classes
Quilts and Lace Class descriptions:
https://www.quiltsandlace.com/pages/events
Top quilting books for "newbies" and those looking for easy to sew quilt patterns:
Eleanor Burns Quilt in a Day - Log Cabin Quilt
Eleanor Burns Quilt in a Day - Snowball Quilt
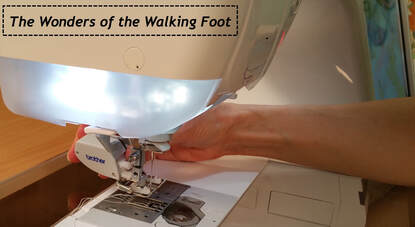
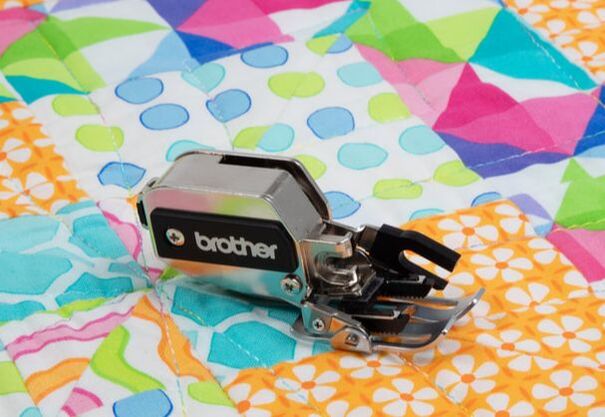
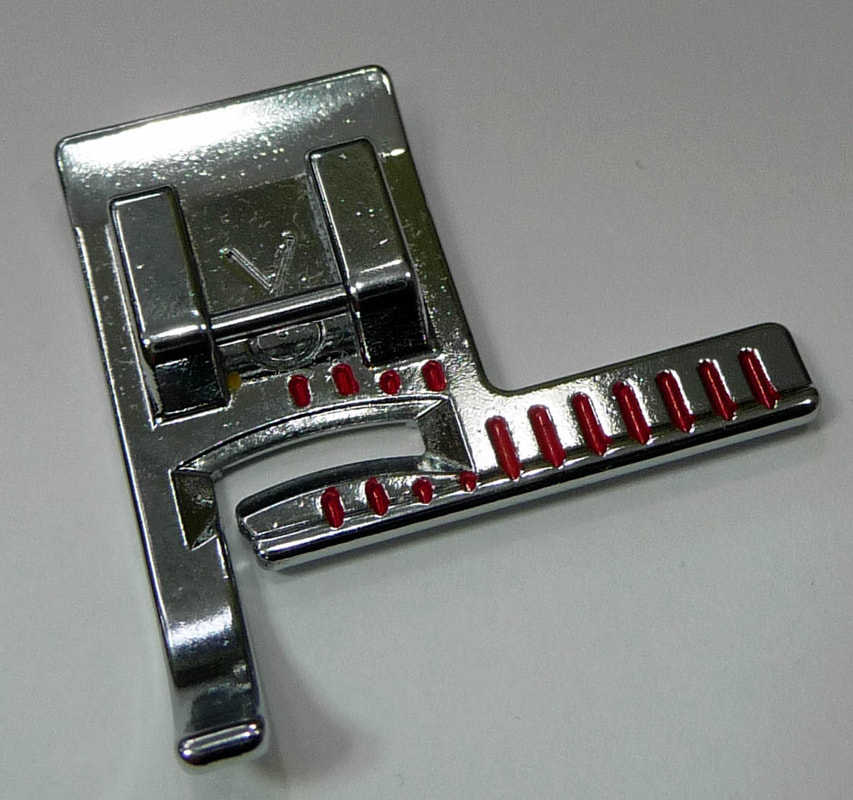
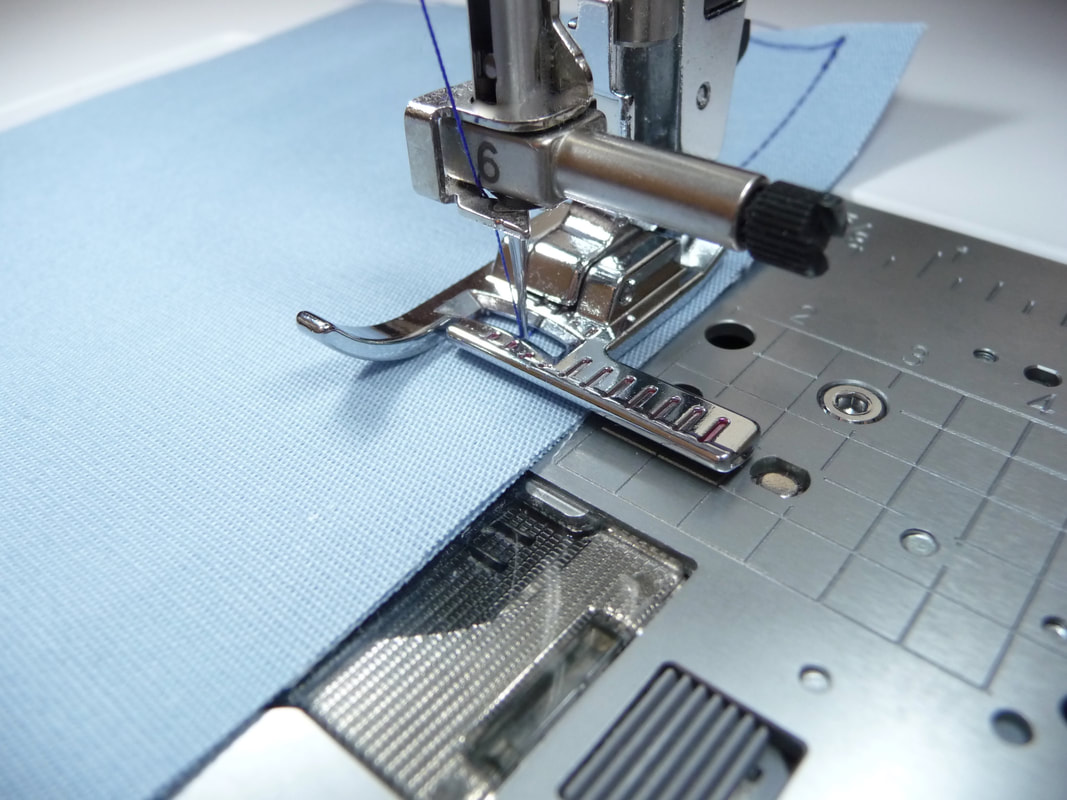
Quilting with a walking foot and a Dynamic Walking foot:
CLICK HERE for a tip sheet on the Walking foot.
CLICK HERE for more info on Dynamic Walking foot.
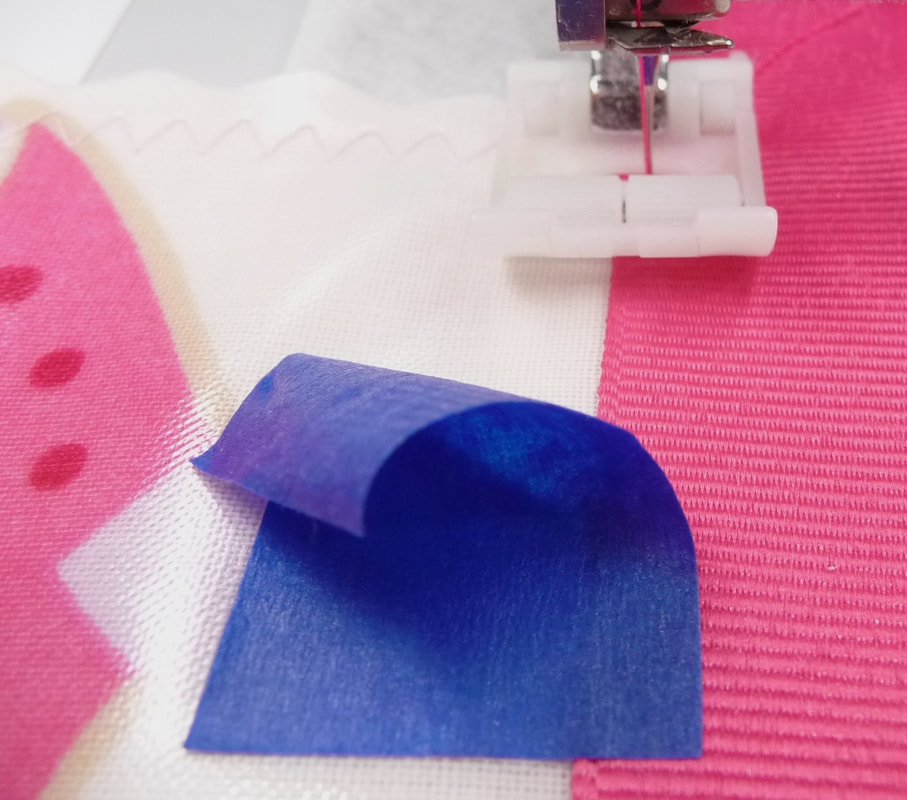
Using Mary Ellen's Best Press Spray to pre-treat fabrics for sewing.
Beth's favorite tool for finishing bias binding:
CutRight Bind Up tool.
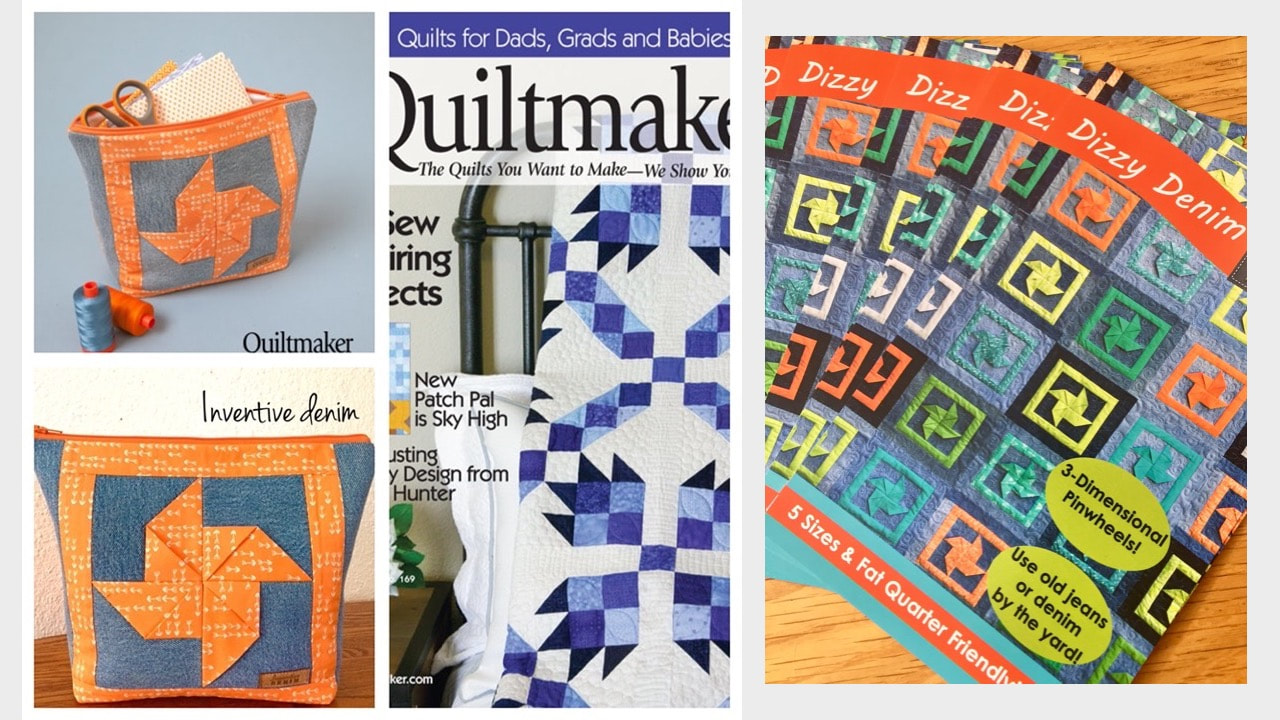
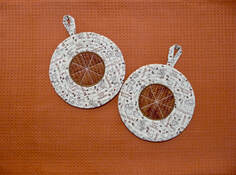
Beth's favorite quilt pattern, her "signature" spiral quilt from the book titled: Quilts Without Corners.
Another favorite: One Block Wonder
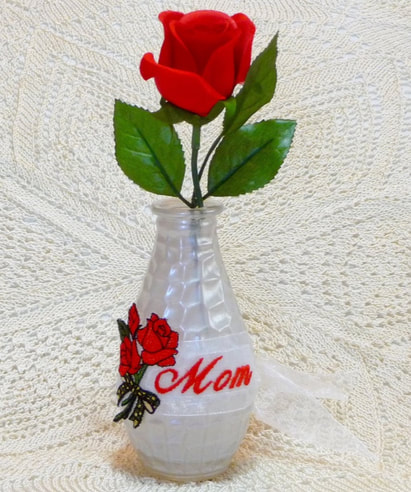
Ideas for Creating Quilt Labels can be found in the posts below:
Sewing with Tiny Fonts (On the Embroidery side of the machine)
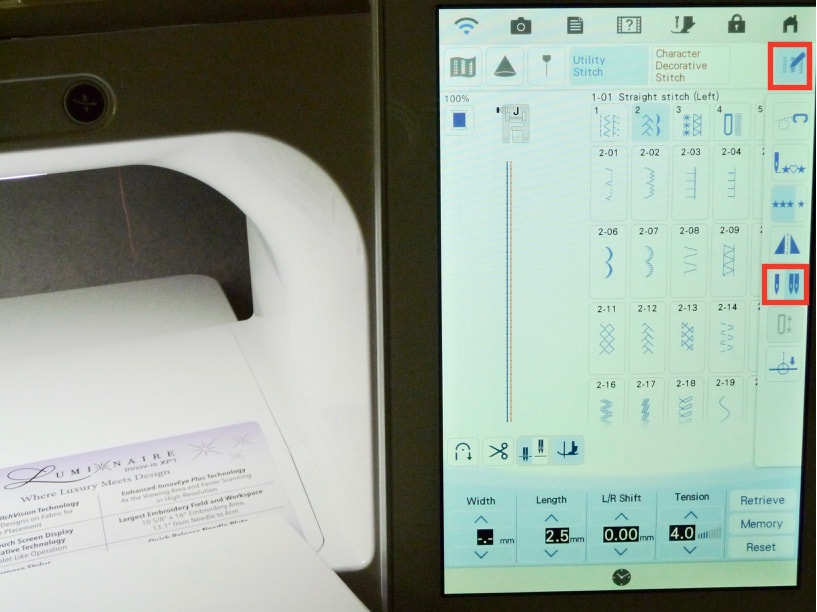
Stitching Multiple Lines of Built-in Lettering (On the sewing side of the machine)
Quilts and Lace Class schedule:
https://www.quiltsandlace.com/pages/classes
Quilts and Lace Class descriptions:
https://www.quiltsandlace.com/pages/events
Top quilting books for "newbies" and those looking for easy to sew quilt patterns:
Eleanor Burns Quilt in a Day - Log Cabin Quilt
Eleanor Burns Quilt in a Day - Snowball Quilt
Quilting with a walking foot and a Dynamic Walking foot:
CLICK HERE for a tip sheet on the Walking foot.
CLICK HERE for more info on Dynamic Walking foot.
Using Mary Ellen's Best Press Spray to pre-treat fabrics for sewing.
Beth's favorite tool for finishing bias binding:
CutRight Bind Up tool.
Beth's favorite quilt pattern, her "signature" spiral quilt from the book titled: Quilts Without Corners.
Another favorite: One Block Wonder
Ideas for Creating Quilt Labels can be found in the posts below:
Sewing with Tiny Fonts (On the Embroidery side of the machine)
Stitching Multiple Lines of Built-in Lettering (On the sewing side of the machine)
You'll find Beth Sweet at Quilts and Lace Quilting shop, 7720 North Wickham Road Unit 111-114, Melbourne, FL 32940, Phone (321) 622-8602
Interested in any of the classes and products mentioned on the show? Connect with Quilts and Lace via the following links:
Interested in any of the classes and products mentioned on the show? Connect with Quilts and Lace via the following links:
- Website:https://www.quiltsandlace.com
- Facebook Page: https://www.facebook.com/QuiltsandLace/
- YouTube channel: https://bit.ly/3e8IiaJ
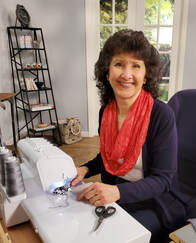
More about Beth Sweet . . .

Here she is posing at the front of the cruise ship Harmony of the Seas in October 2019. Always up for an exciting adventure, Beth provides exciting and enjoyable sewing experiences for her many valued customers at Quilts and Lace.
So, how did her journey lead her to owner/operator of Quilts and Lace? Here is the story in Beth's own words:
Throughout the years, I have had many jobs that I believe contributed the bits and pieces that prepared me for owning a quilt store. Hard to fathom that my first job out of college selling switches for Micro Switch of Honeywell to other sales positions, being a wife, mother of two, substitute teaching, volunteering in the community to most recently working at quilt stores led me to have, I believe, a few of the skills needed to owning a business!
I knew that I loved to teach and appreciated the variety and challenges that happen every day at a sewing store. Because of this and due to the joy I receive when working with people, learning constantly about fabrics, notions, social media, computers and how to use the sewing, quilting and embroidery machines, I decided to write a business plan. I found that developing ideas for how I would manage a quilt store very exciting. A wonderful series of events led to me working at the same store I now own. Through the guidance and support of the previous owners, I purchased Quilts and Lace on November 22, 2016 and became the new owner of Sweet Time Quilting LLC DBA Quilts and Lace!


 RSS Feed